
When they banned single use plastic bags in Canberra, I decided to start making my own cloth bags. I based the pattern off a single use plastic bag, so I knew they would hold a fair amount of shopping! Since then, I never fail to get compliments on my bags, especially at the super market! I found that having bags that were awesome and that match our personalities really went a long way to smooth the transition to no plastic. That and actually wanting to make a change in hopes of creating a better future for our environment.
With NSW currently going through the transition, I thought it was about time I shared my pattern with the rest of the world! It might not be the simplest of patterns, the bias could be a bit tricky, but it makes a super bag that folds down small enough to stash one in your handbag.
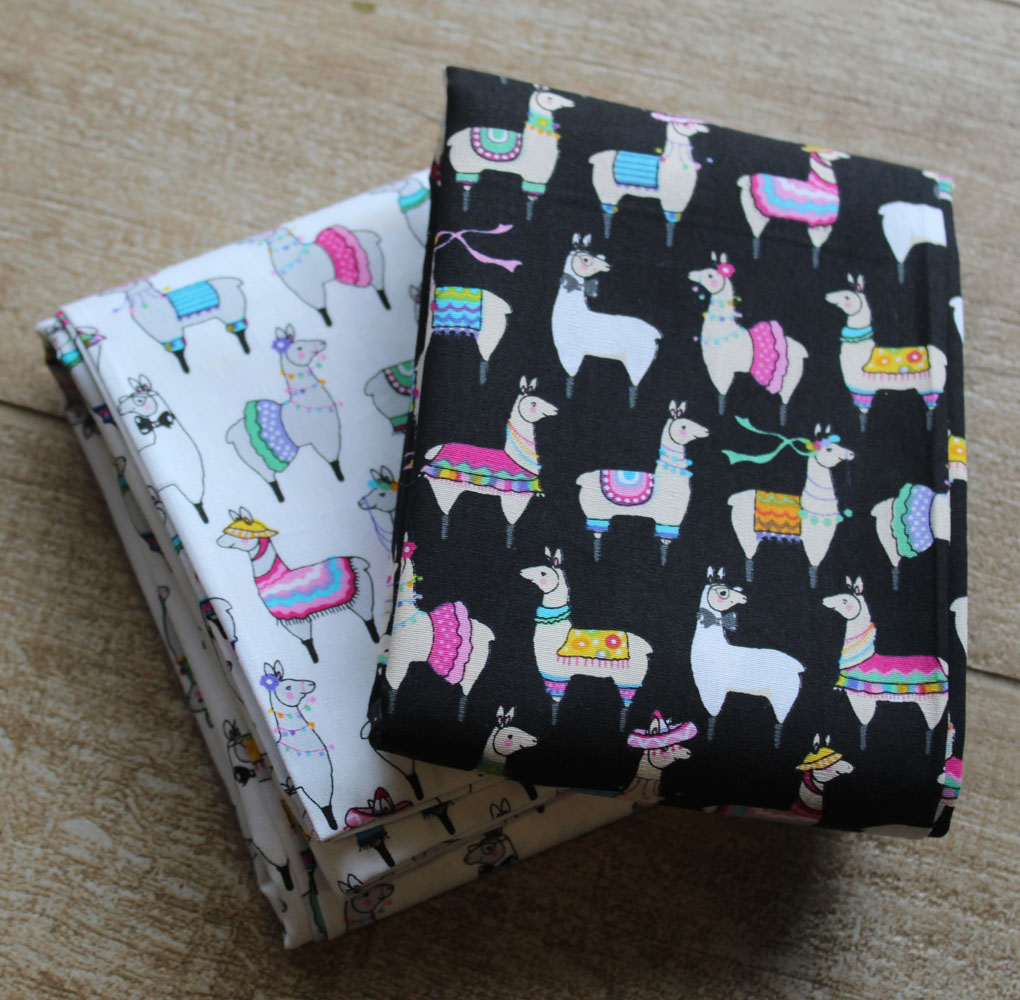
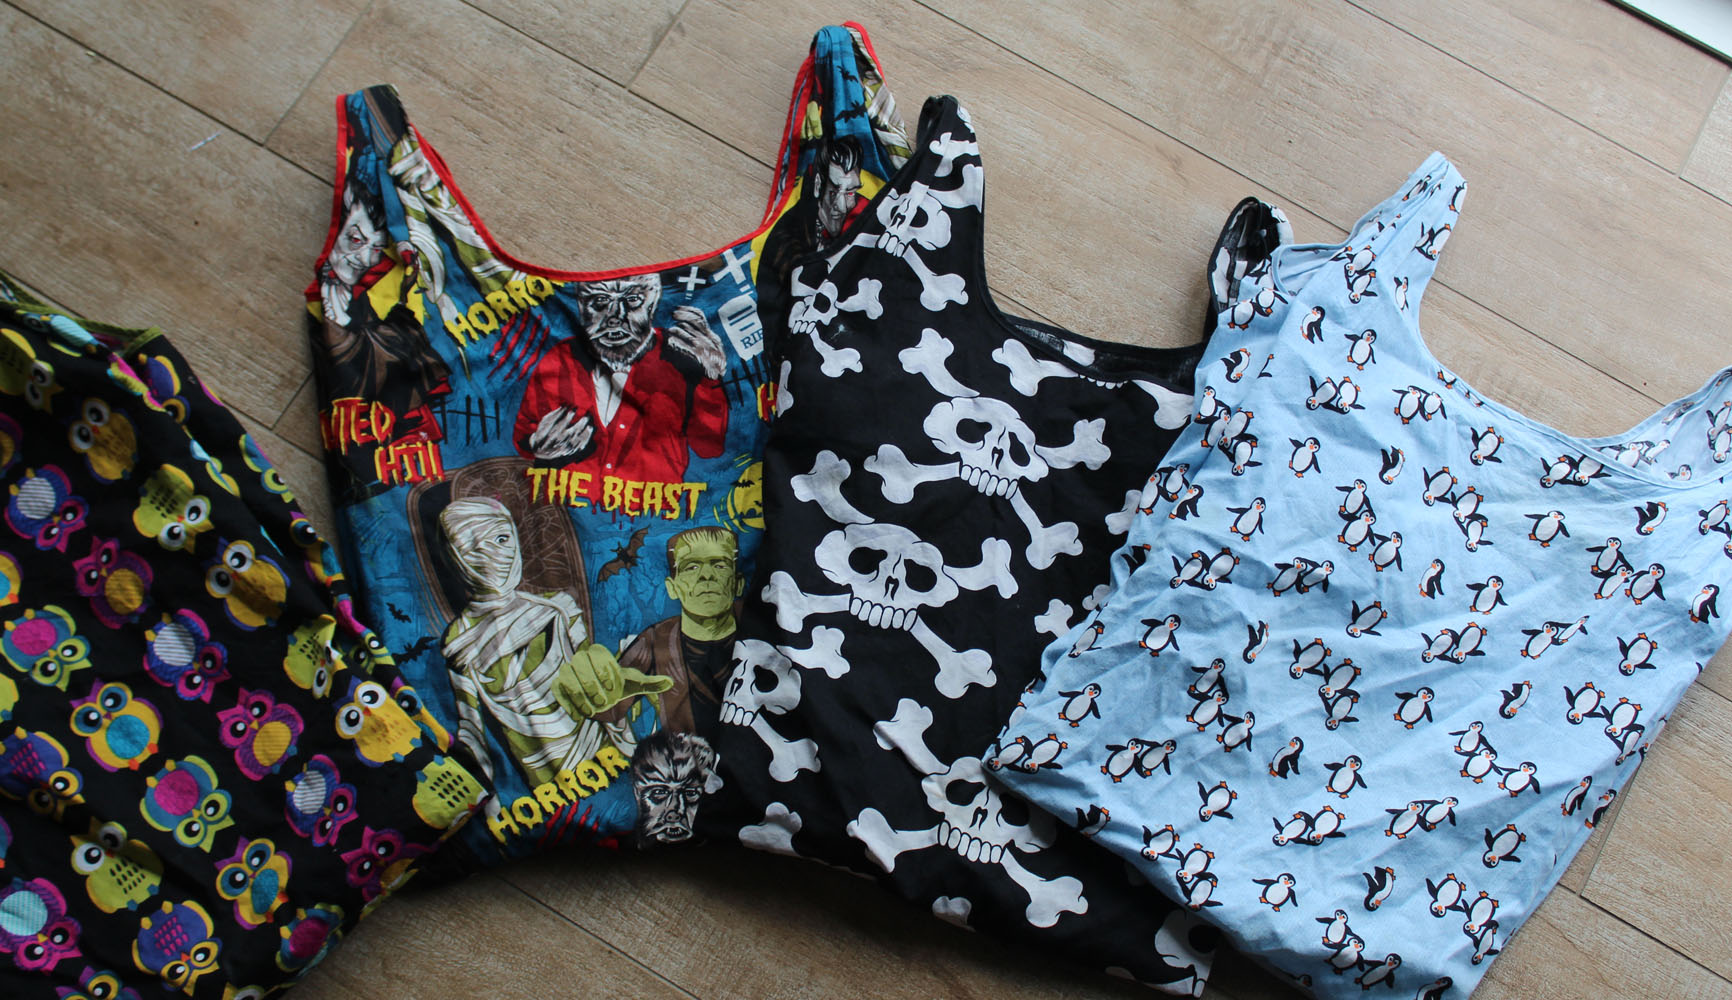
Material – I like to use poplin. It comes in an awesome range of prints and is nice and lightweight. I have also used quilting cottons and drill. Of course the heavier fabrics will be much more sturdy, but Guy manages to stuff 6 2L cartons of milk in one bag without breaking it, so poplin has been more than strong enough! I always buy 60cm of 112cm wide fabric. This gives me a little wriggle room. 1m of bias binding should be enough to edge the top parts, I usually buy it in 3m packs. A contrasting colour is nice, or pick out a colour that matches in with the design on the fabric. If your not too confident with bias, go with the wider stuff, as it will be easier to make sure you catch the fabric.
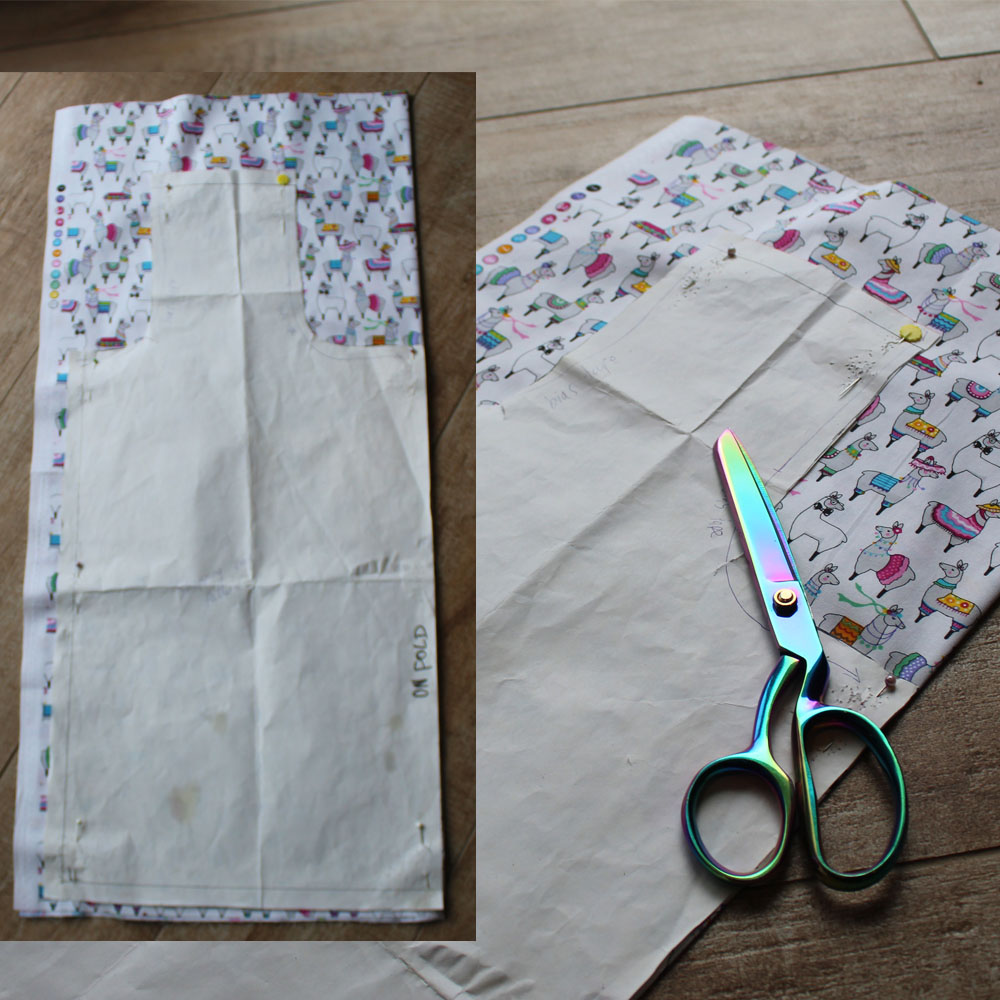
So first you’ll need to download my pdf shopping bag pattern and print it out. I put a 5x5cm square on it that you can measure so you can make sure it prints at the right size.
You will also have to tape these together and cut it out. The pattern already includes seam allowance.
Next up, lay out your fabric. The pattern calls for two pieces cut on the fold. I cut both at once, so I fold the fabric with selvages together, then fold in half again, so the fold is against the selvages. Place your pattern piece with the “cut on fold” up against the edge of the fold, and the other edge towards the selvages. Pin and cut out.
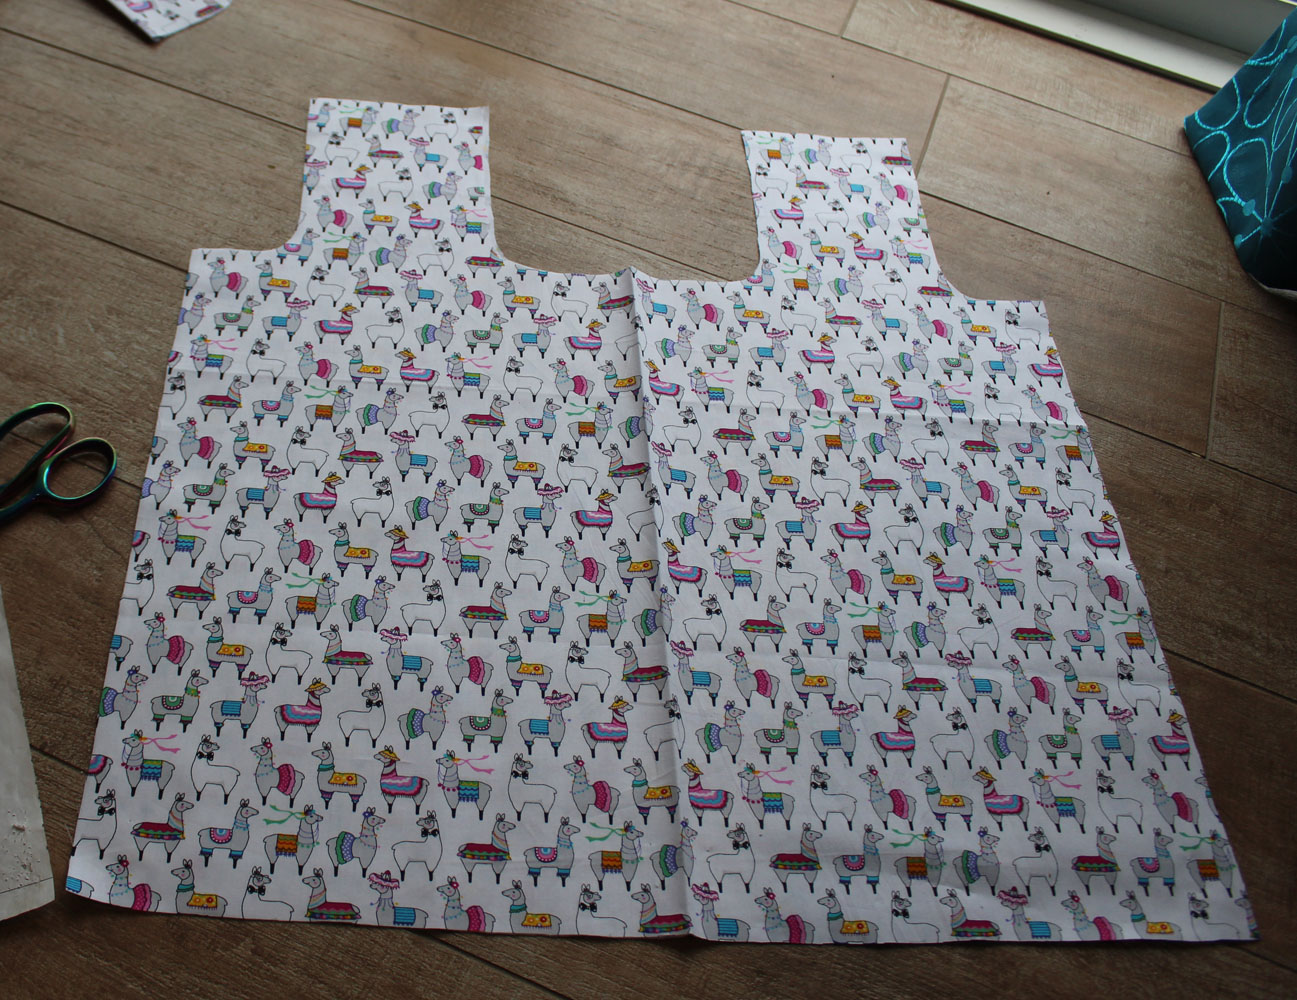
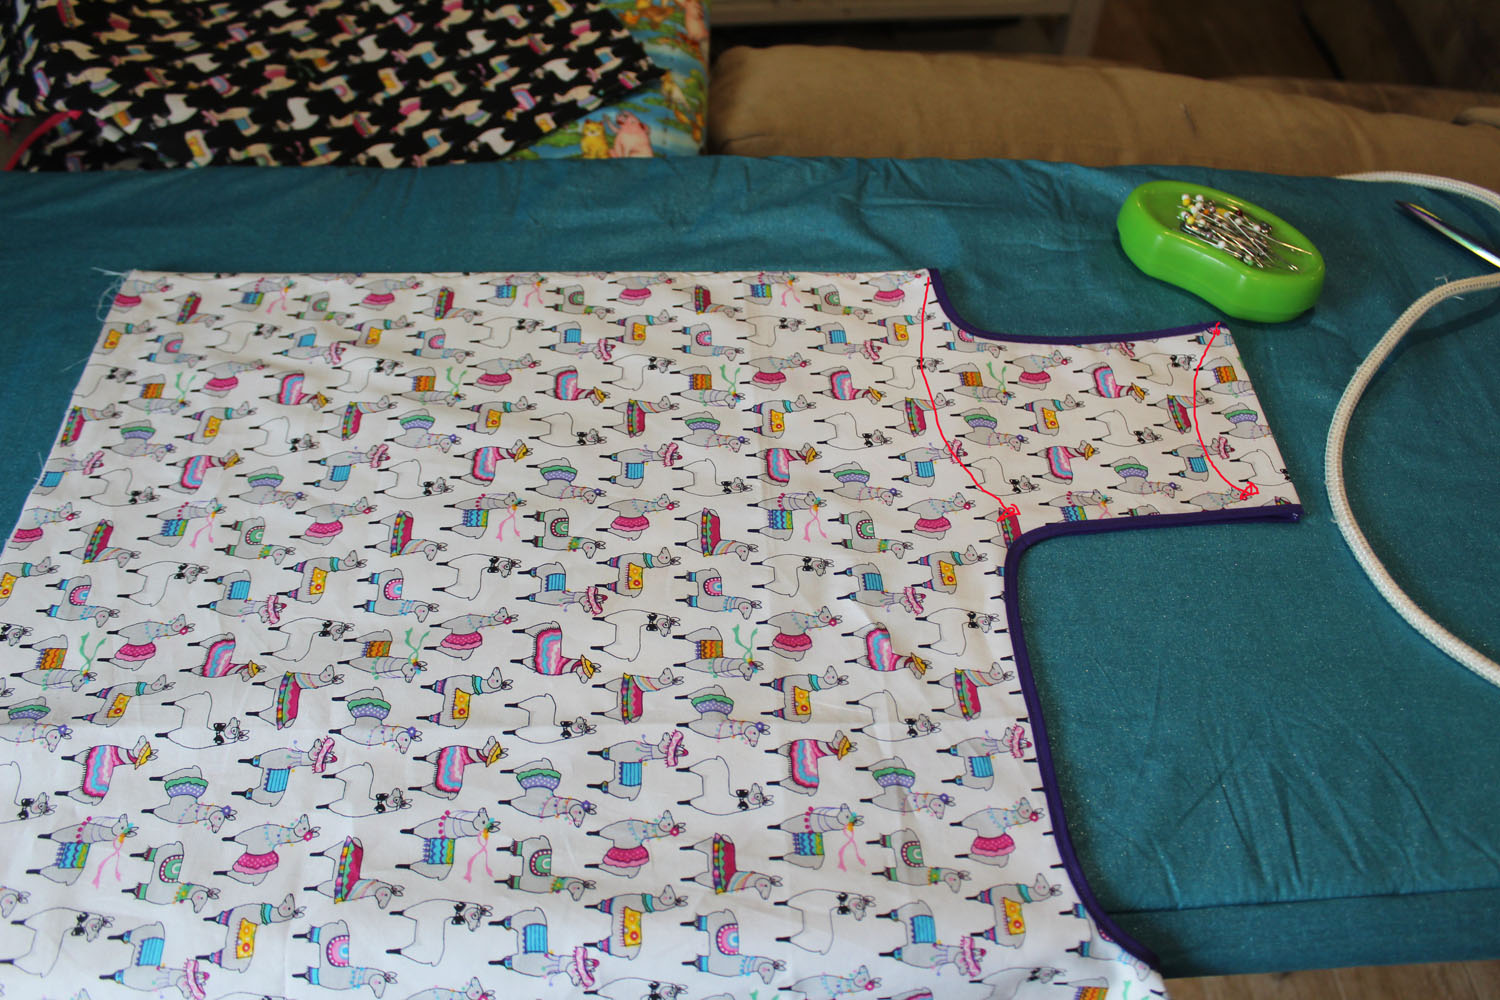
All going well, you should have two pieces that look like this –
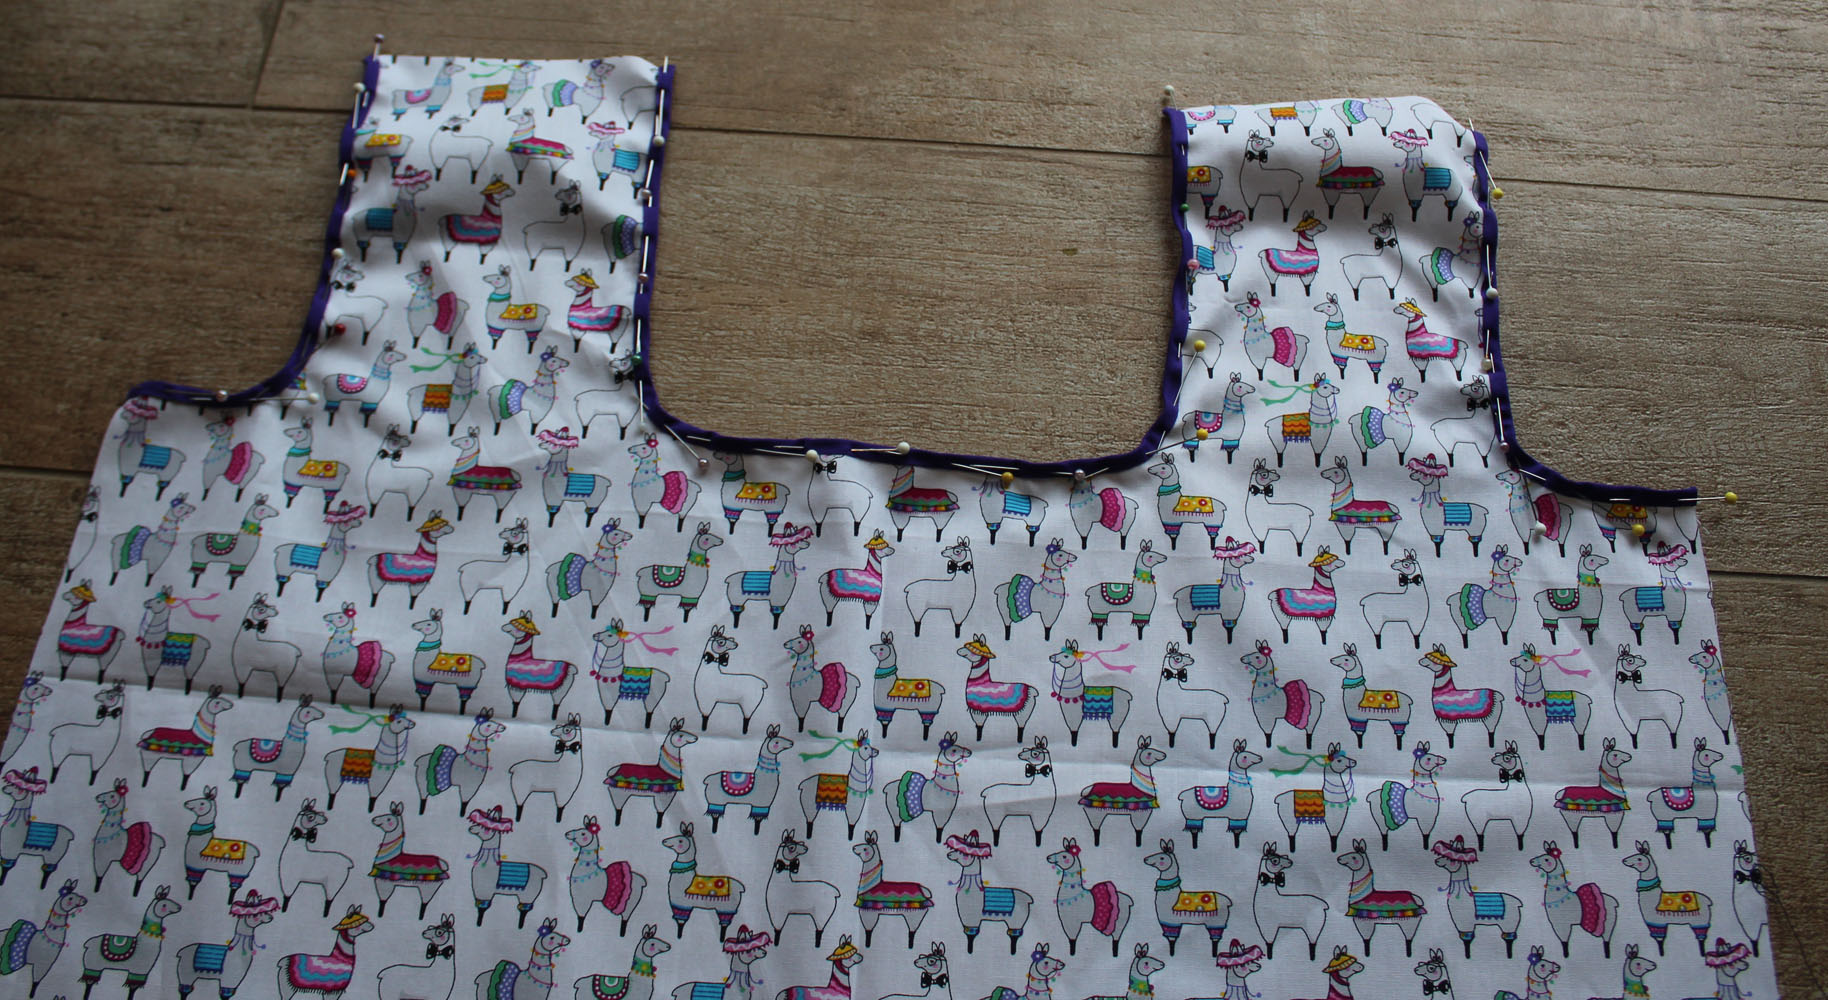
Now for the fiddly bit – applying bias around the handles and top edges. Use pins. Lots of them. Some people have feet for their sewing machine that can help with this part too. I don’t. So I use lots of pins, and play close attention to the curved parts, really making sure its well on. Carefully stitch along the bias, staying close the the edge of the tape.
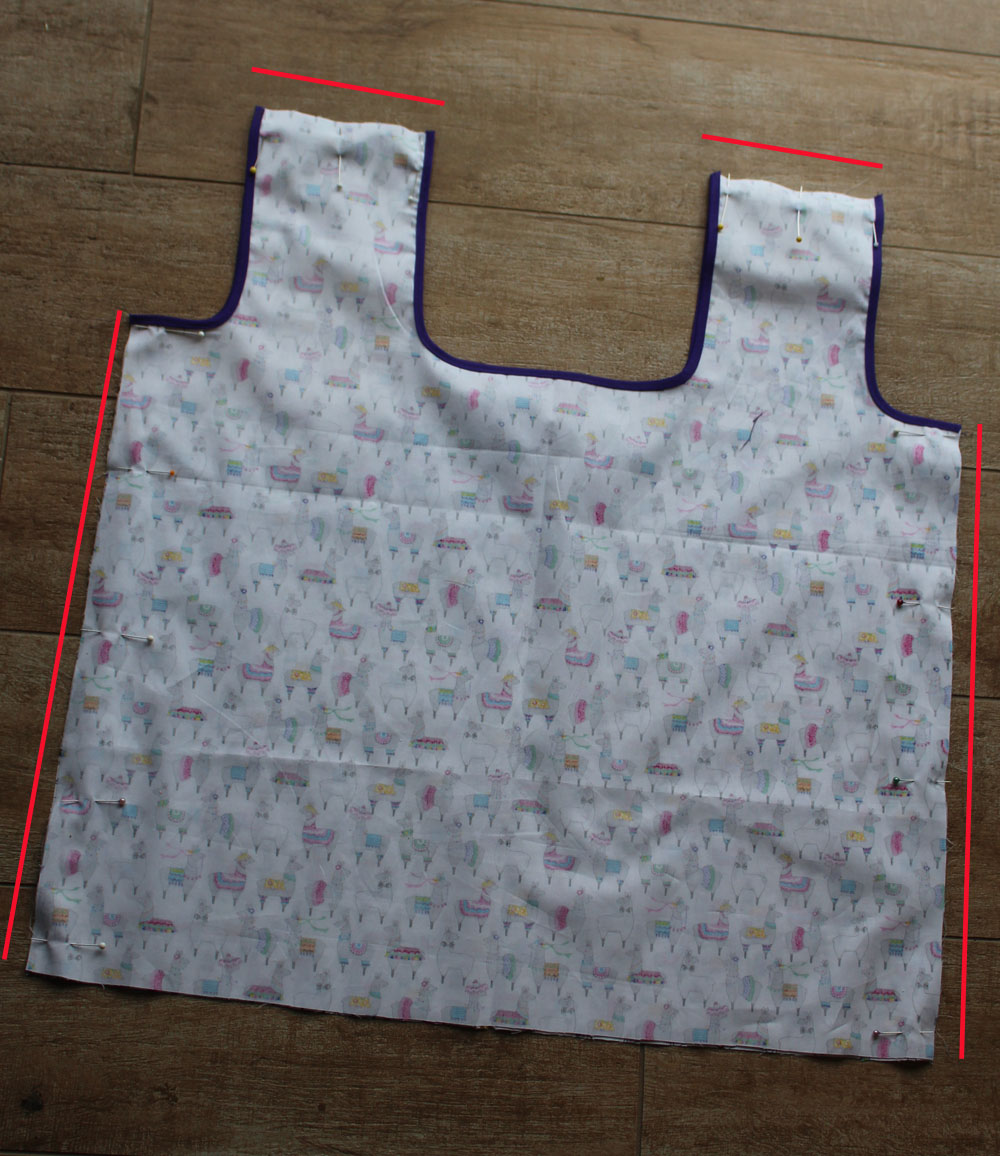
Now it’s time to start stitching the bag together. Lay the two pieces right sides together. Pin along the sides, and the top of the handles where we did not put bias. Sew along these edges. leave 1/2 inch seam allowance. You can overlock these seams. I don’t have an over locker, so I stitch the seams first, then go back and do a zigzag along the raw edge to stop it from fraying.
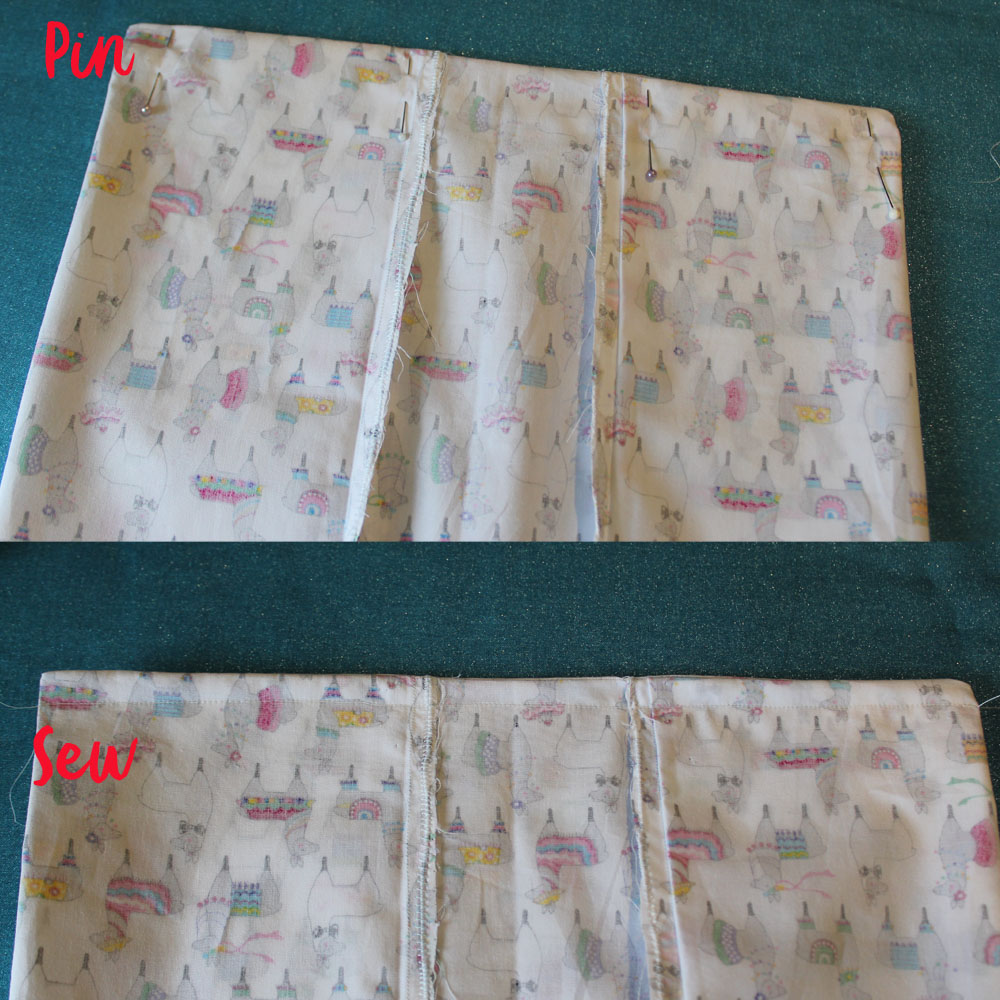
Turn the bag right sides out and press. Now we work on the bottom seam. To do that, first we need to fold each side in. Fold the handles in half, bringing the edge furthest to the outside, under to meet the edge towards the centre. Press the rest of the fabric to sit flat into the fold. You should have a fold of fabric approx 12cm. Pin. Repeat for other handle and side.
The outer edges of the handle fold under and the edges fold in
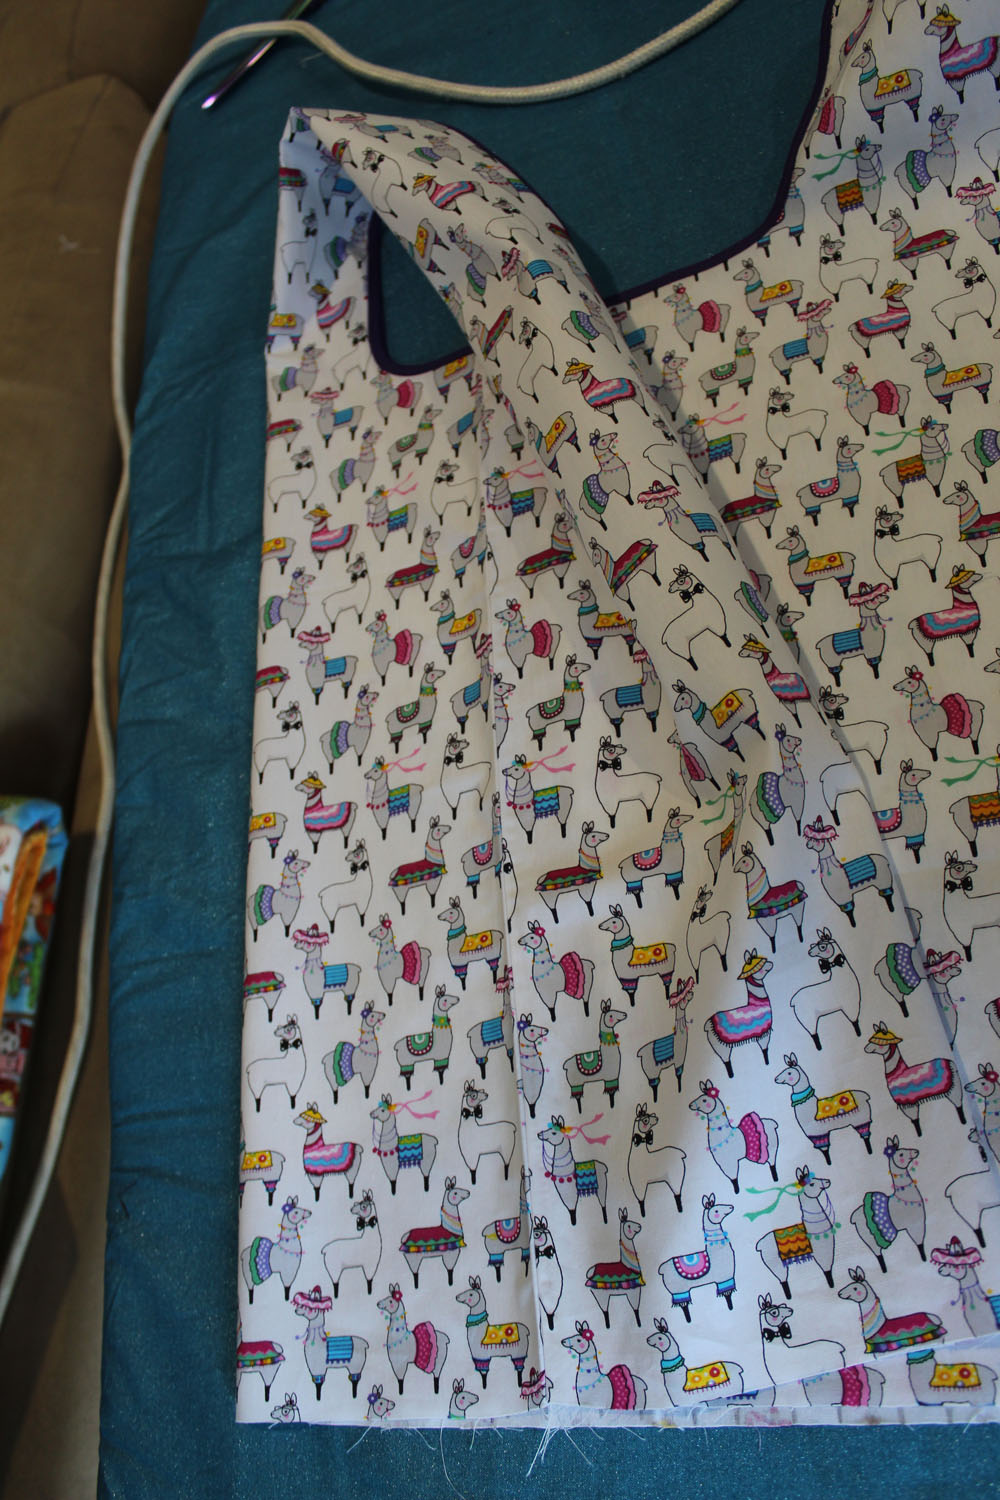
A more detailed photo of how the handles fold in and under
You can see that I have folded and pressed one side and not the other. This is what it should look like.
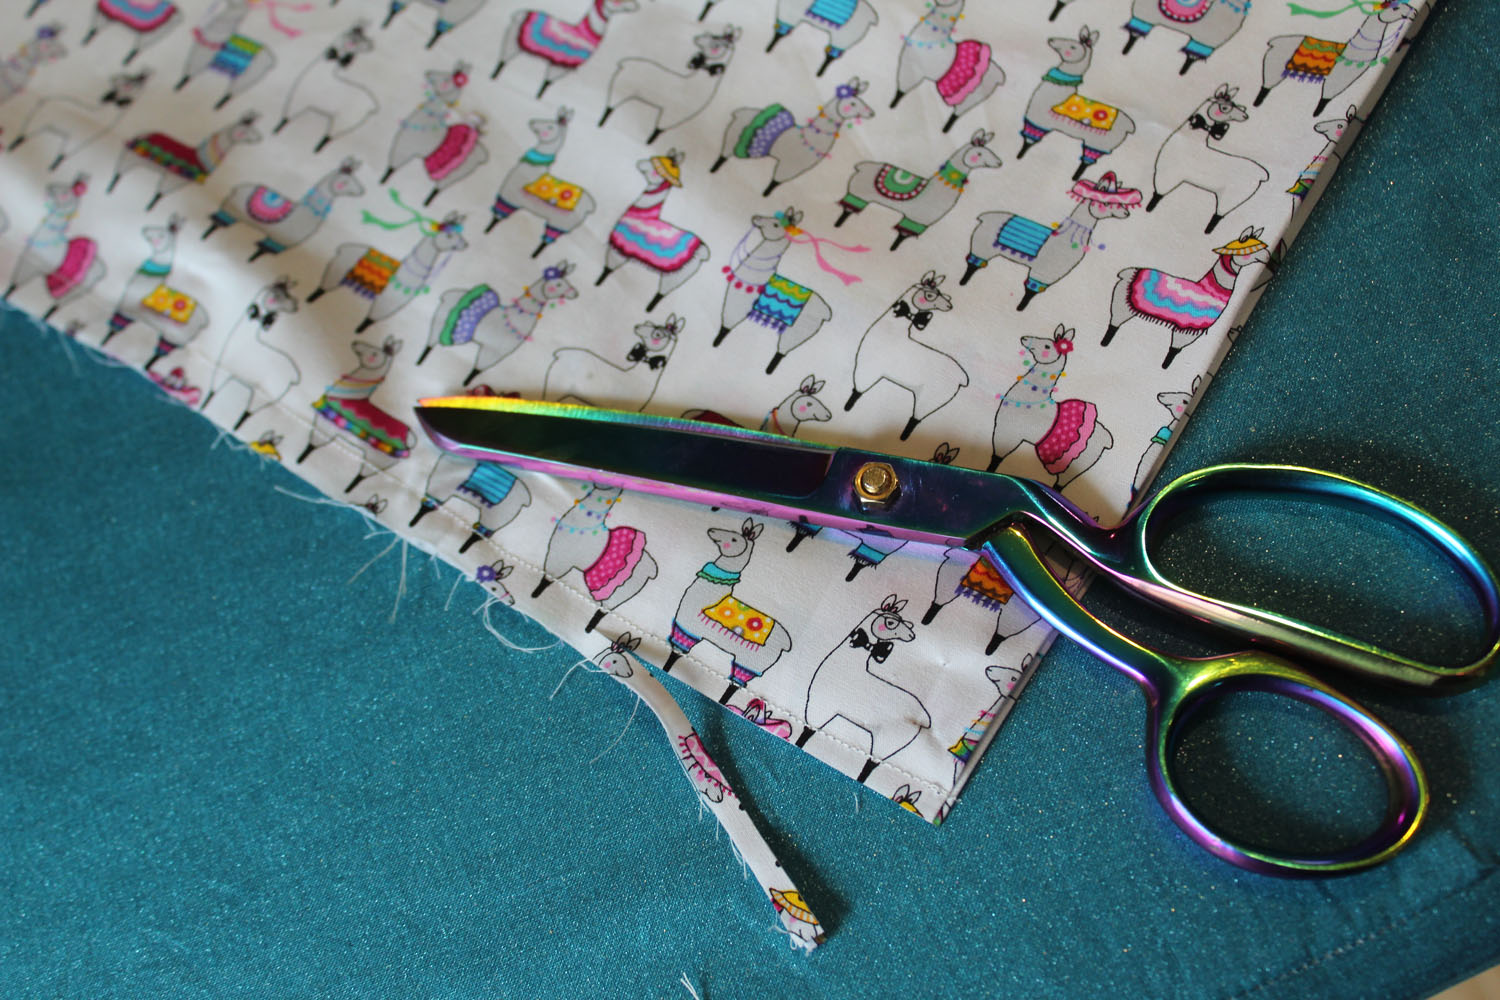
Stitch along the bottom leaving 1/2 inch seam allowance. Trim as necessary.
Turn the bag inside out, making sure everything is sitting flat. Pin the folds down so they don’t move. You will stitch along the bottom edge again, enclosing the previous seam.
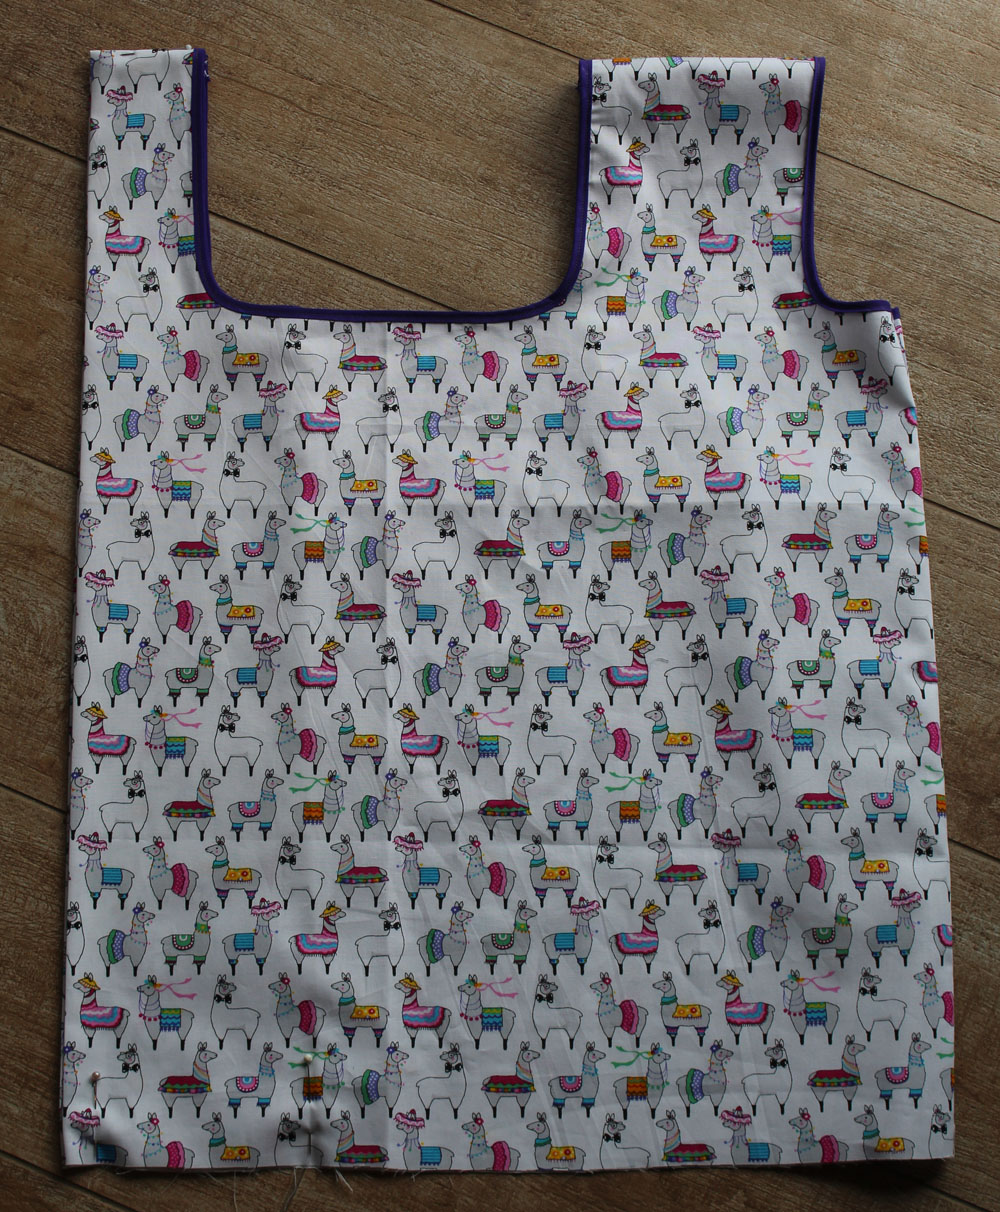
Turn the bag right sides out again. Put a couple of stitches along the handles to make them stay folded, and your done!
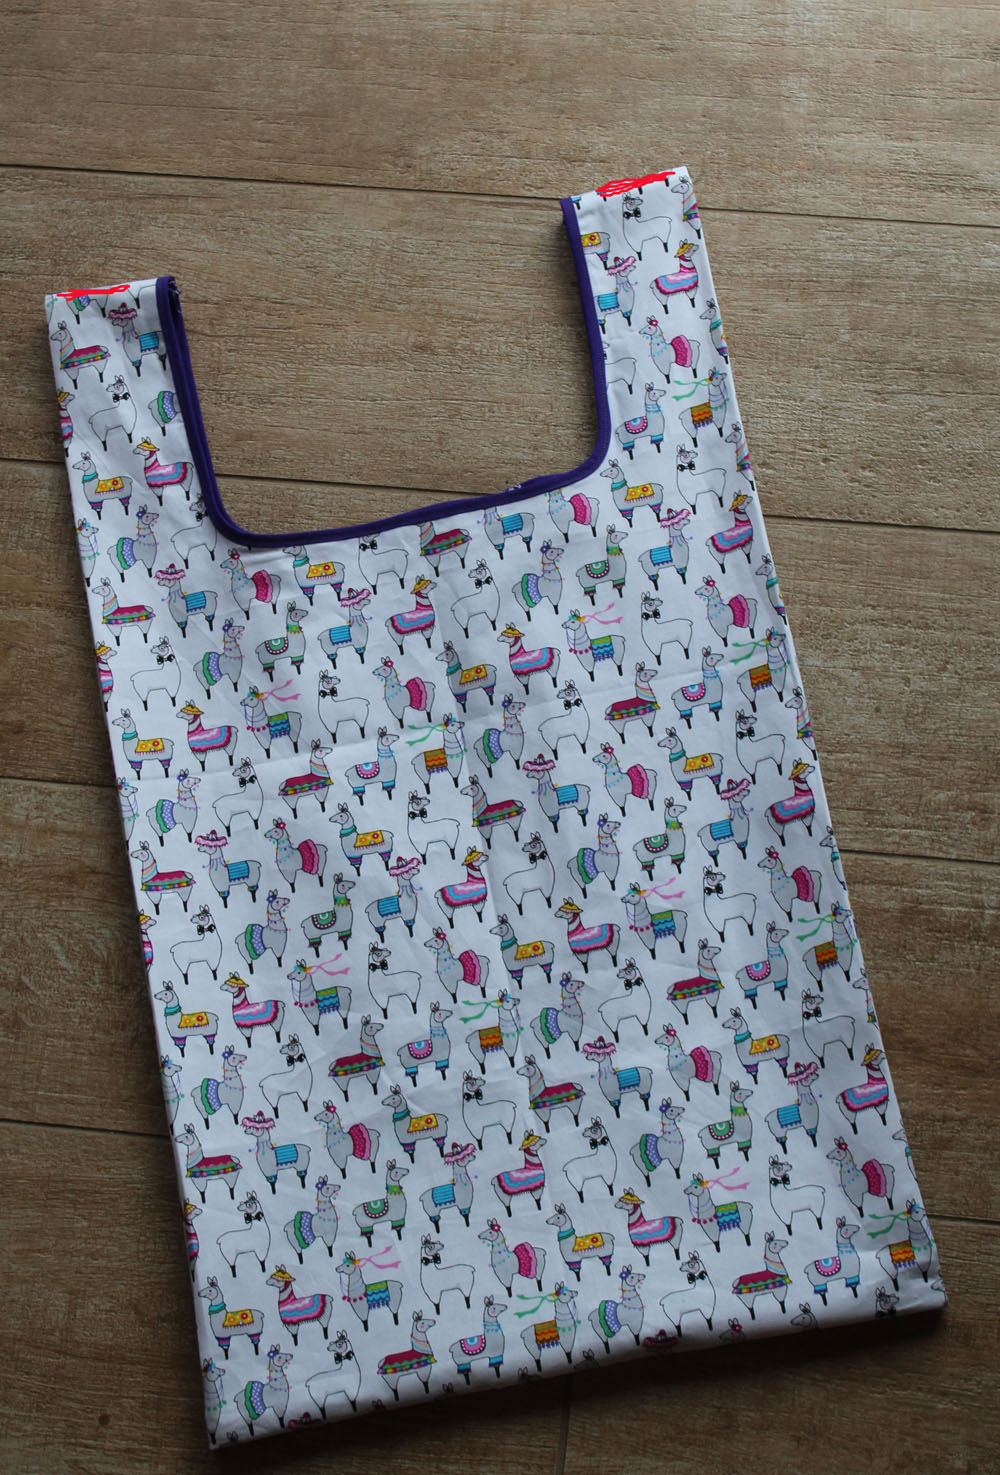
They fold down neatly so you can stash them in your handbag
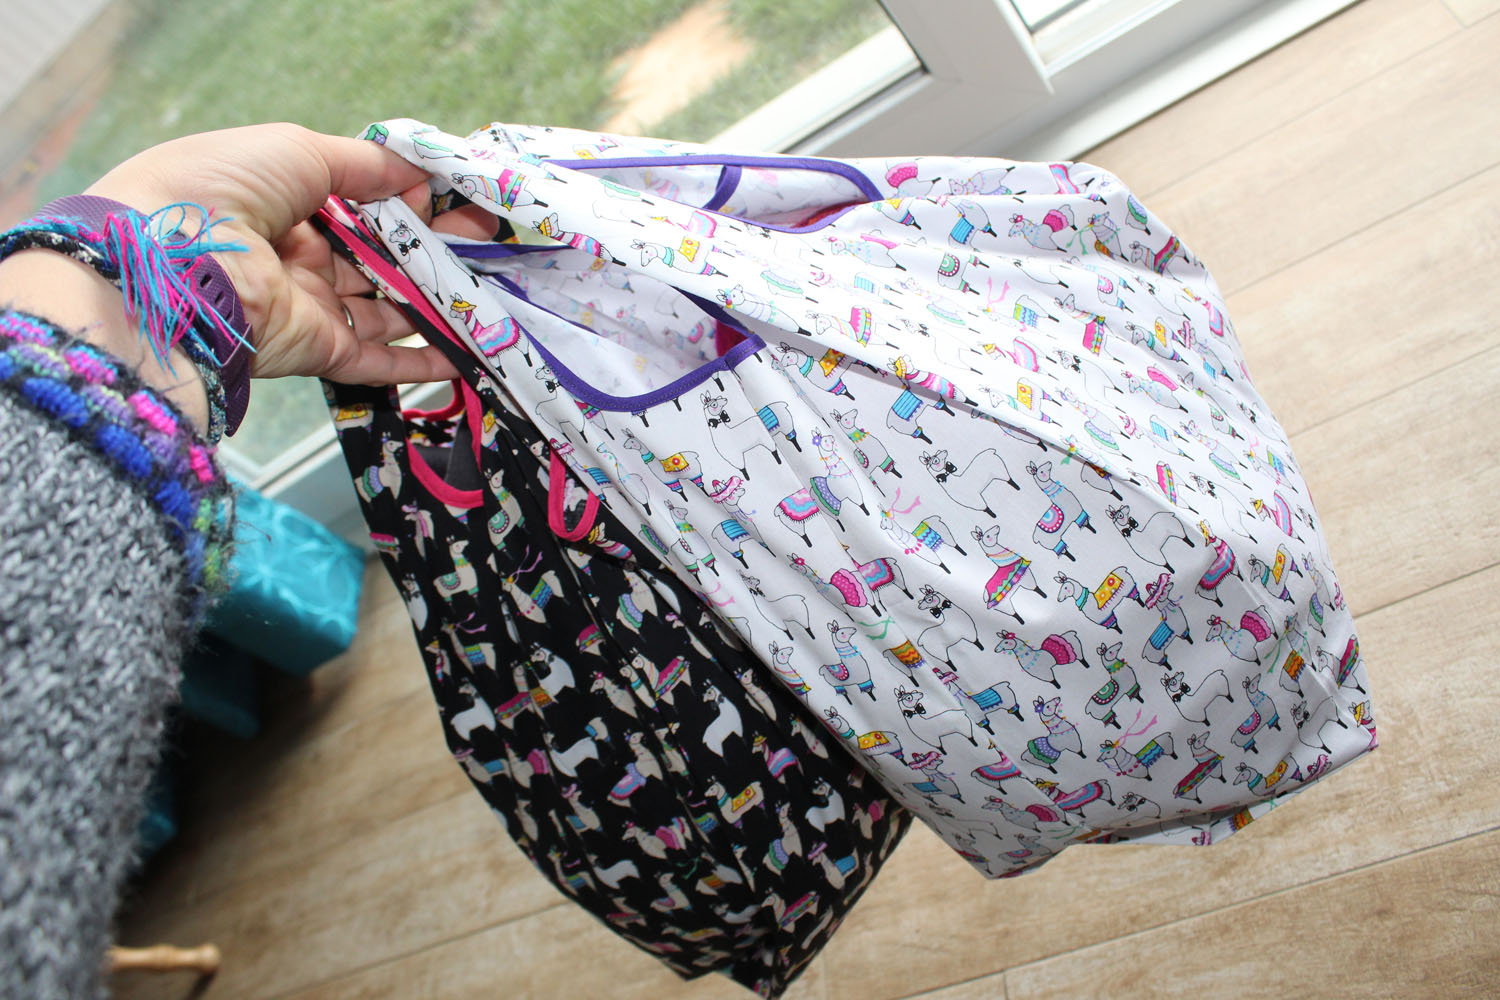
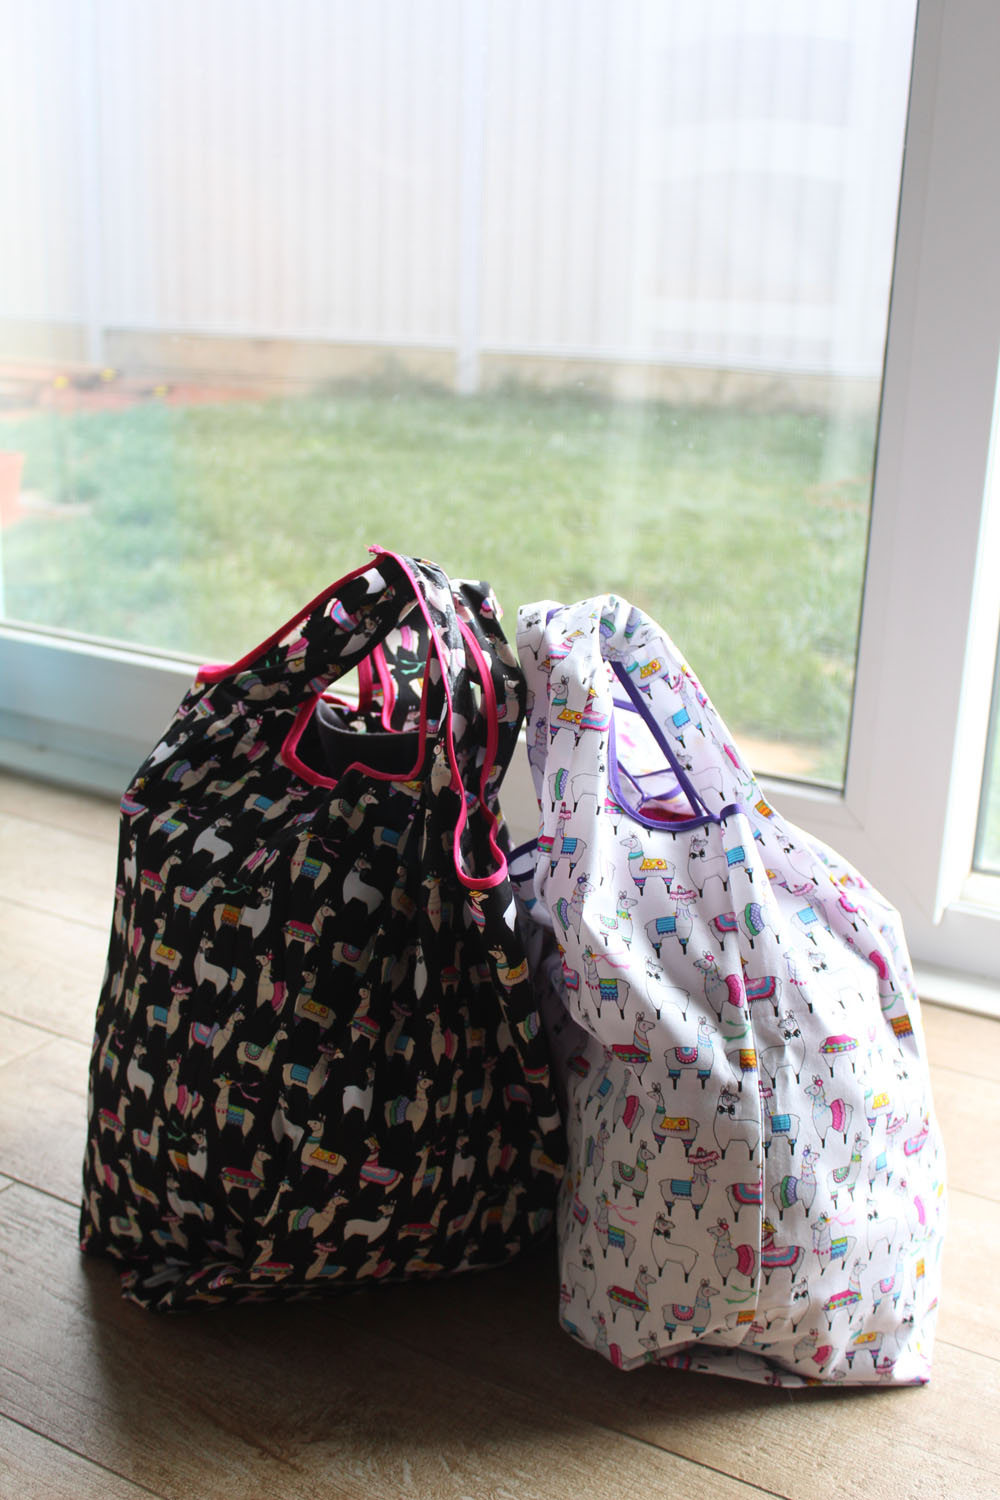
A tiny selection of previous bags. These ones have been in circulation for about 5 or so years now.

thank you so much for sharing this! I only use re-usable bags and love that this one is compact enough to keep in a handbag!!! terrific!!
Thank you for your kind words 🙂 We try and use re-usable where ever we can!