
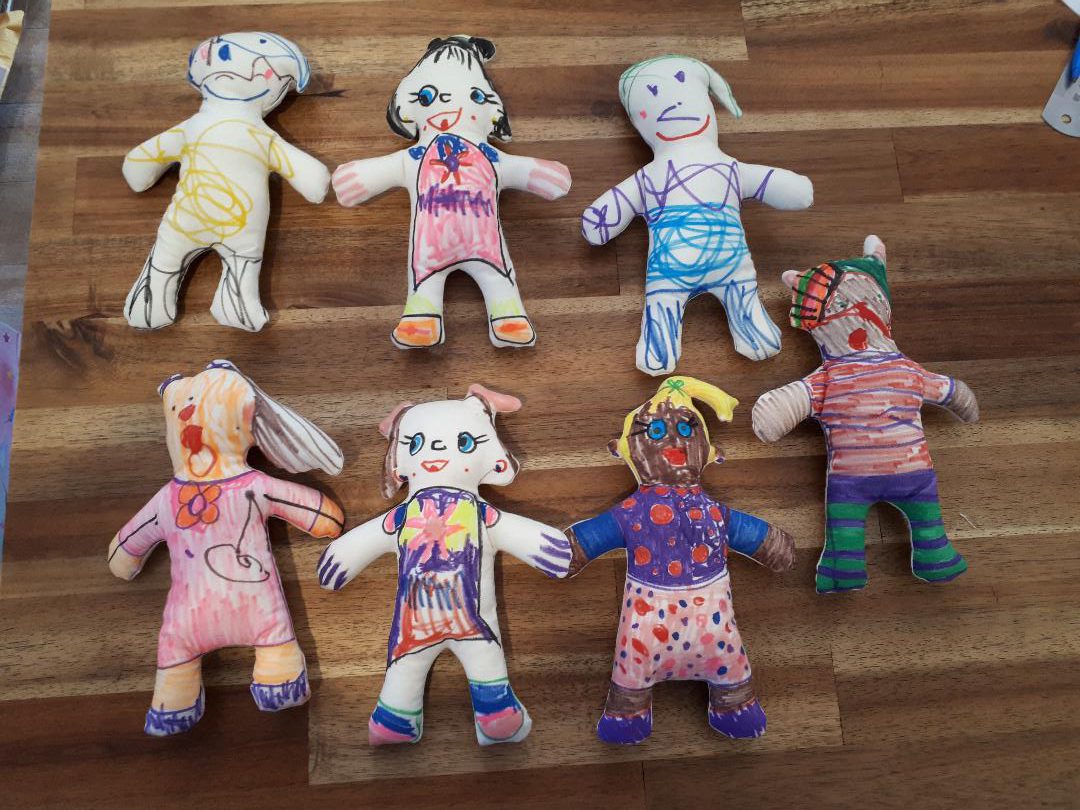
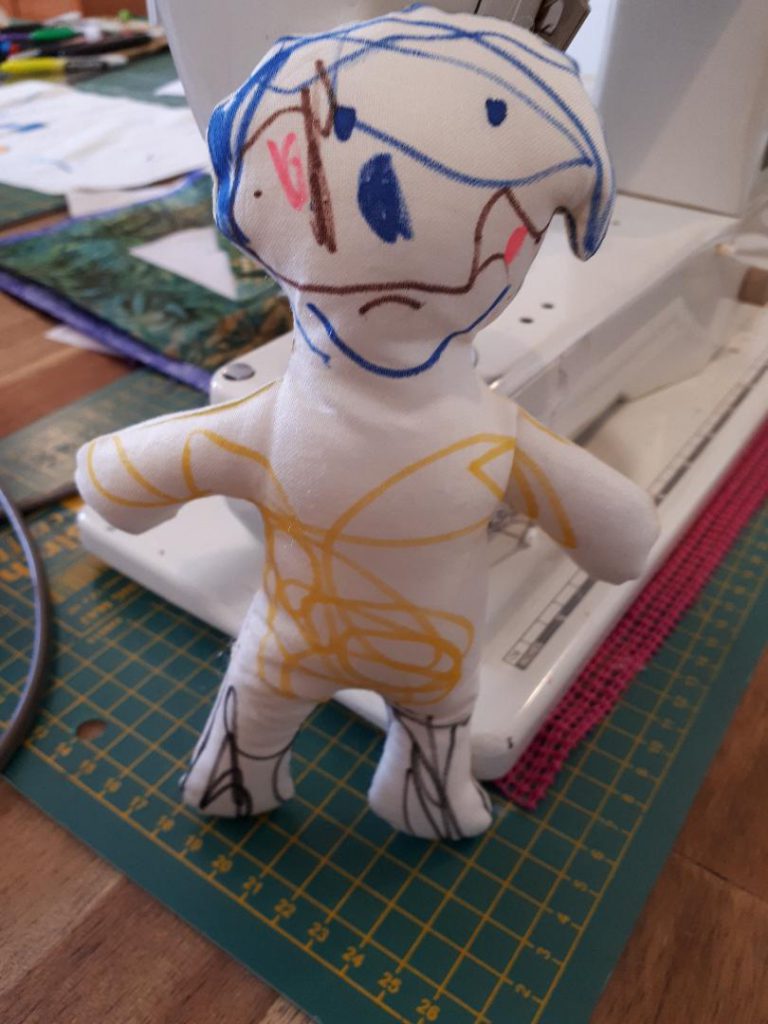
My heart was absolutely melting as I stitched these dolls up! They are so damn adorable!
Making and designing dolls is super fun! I have been doing it since I learnt how to use a sewing machine. It wasn’t long before I started drawing my own outlines aka pattern to sew my own designs. To make something that you can then play with is super satisfying and such a proud moment for children! It amazing to watch children proudly play with their dolls and tell everyone that it is their design! But it isn’t limited to children! I had a lot of fun coming up with the concept! I now have a mini me! haha
These dolls are a simple rag doll, which encourage creativity and develop a usable resource at the end. I had children do the drawing, whilst I did the sewing, but you could use it as an introduction to sewing as well, whether it be hand sewing or machine sewing. We just weren’t quite there yet.
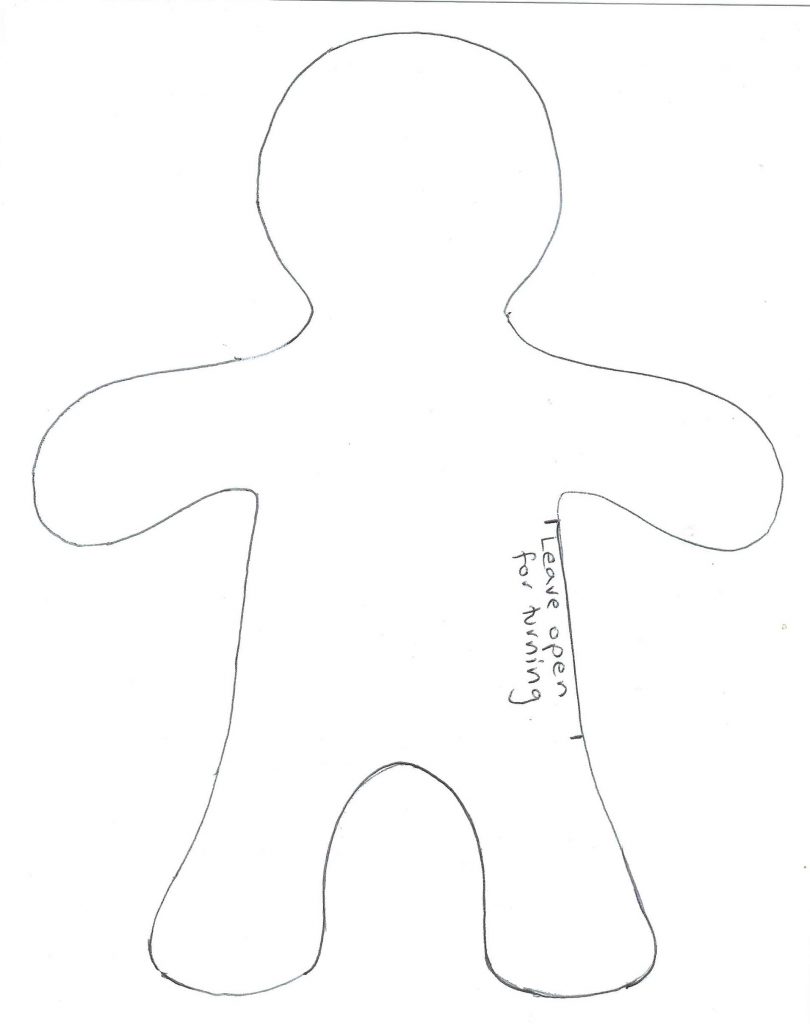
To start with I drew a simple template, and then traced this onto fabric, leaving enough room around each doll for seam allowance. I used an off white homespun I had left over from another project. I think you can get ~7 dolls per metre of fabric (fronts and backs).
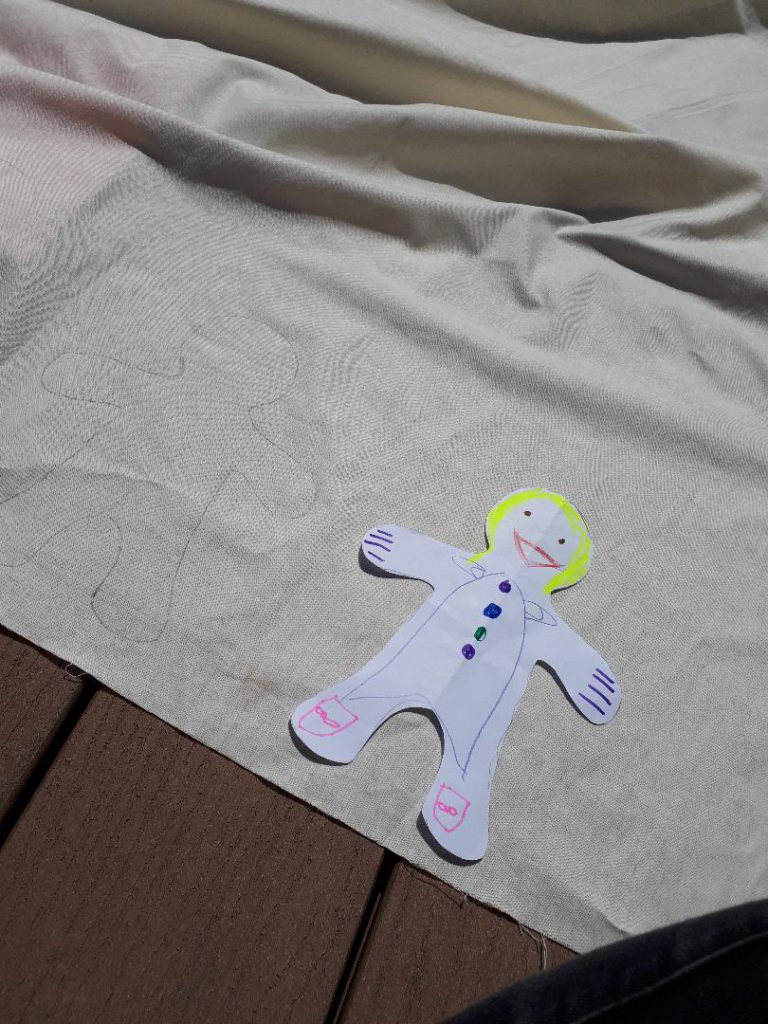
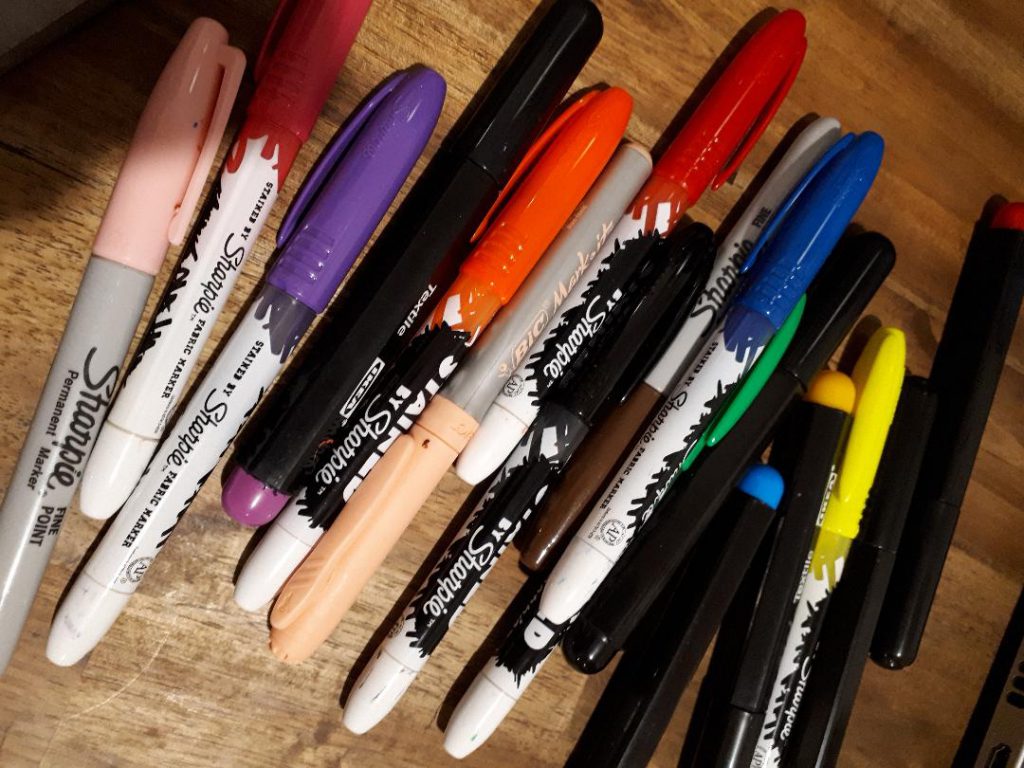
Then I gave this to the children (they had two each) along with a bunch of fabric markers. We were using “Stained By Sharpie” and the fabric markers from Ikea, along with some normal sharpies to round out the colour selection (still to be determined how these withstand the test of time). I am looking for a full set of fabric markers with a decent range of colours (hoping for brown, beige, light pink), if you find some, let me know!
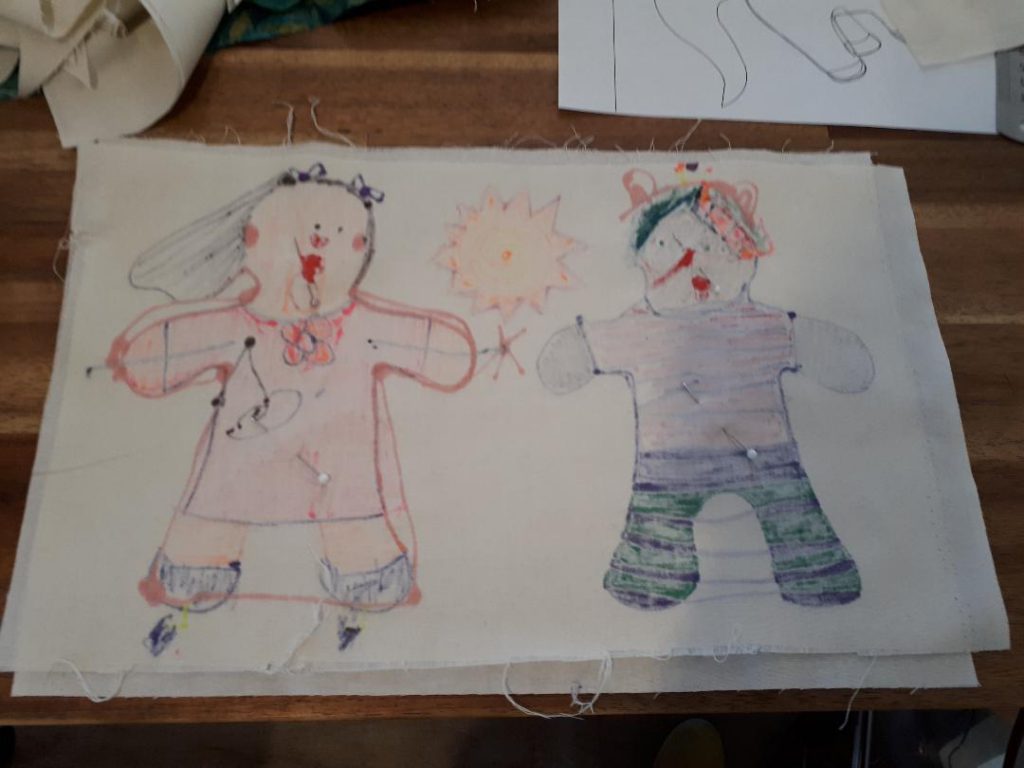
Then have fun! drawing, colouring, decorating. Make one to look like yourself! A friend? Your favourite character, a character you made, a super hero, JUST DRAW and be creative. There are no rights or wrongs.
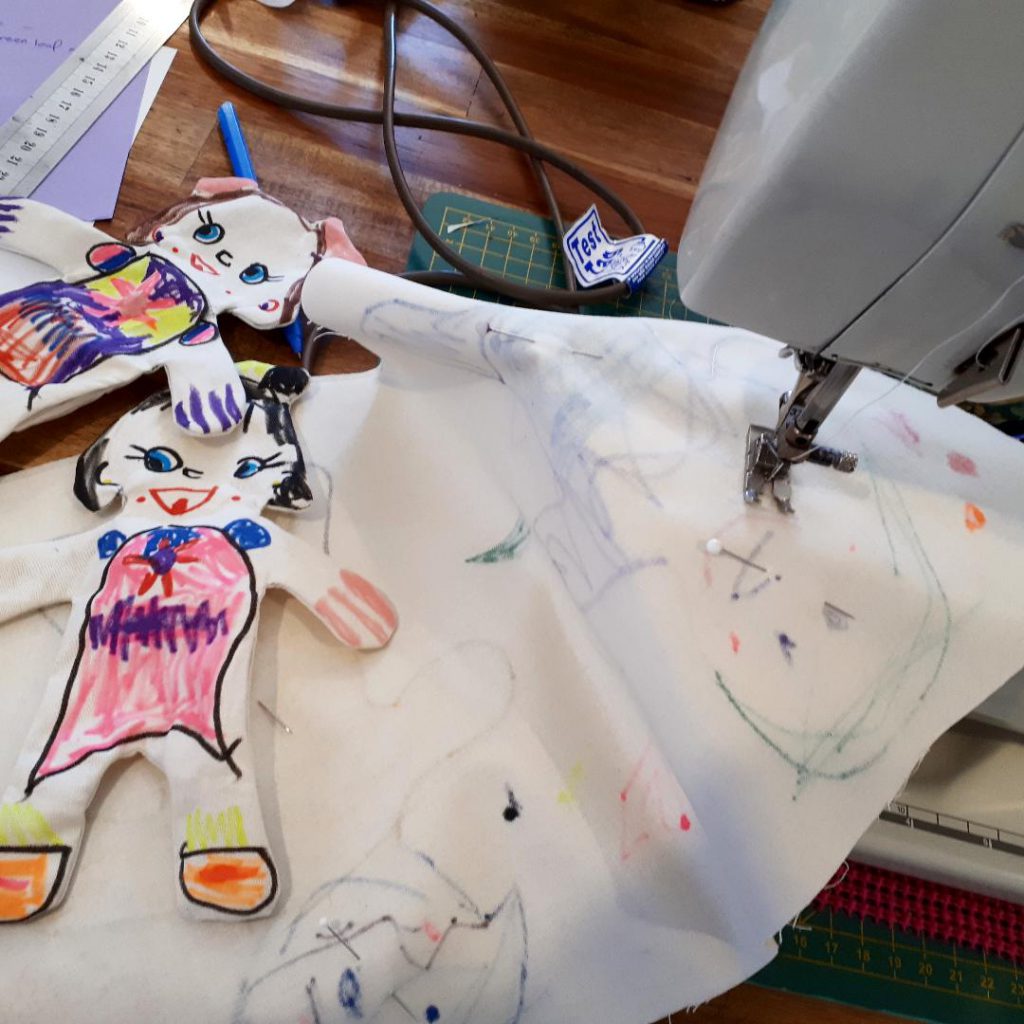
I took the drawings back to the studio to sew up. The children did not totally stick to the template. I tried to stay true to their drawings where possible, so I too diverted from the template whilst sewing. This was mostly in the head area where they had added hair, ears and bows.
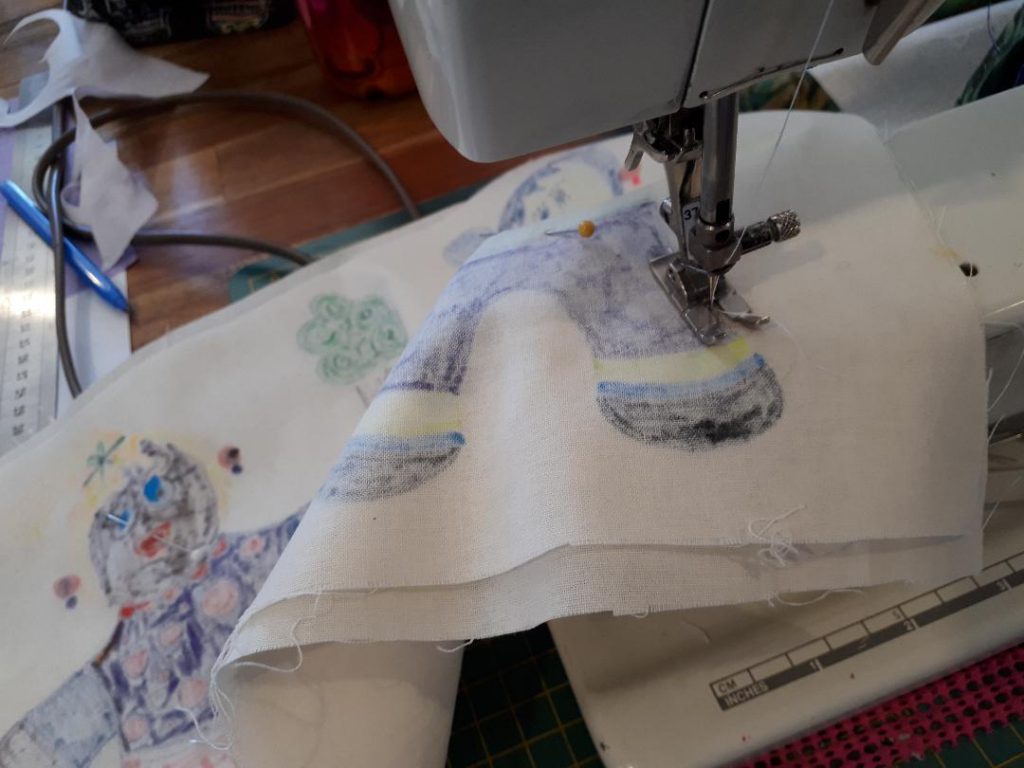
To sew, I took their drawings and laid it right sides together with another piece of fabric. I used the same plain homespun, but if I did it again, I would use something with a pattern. Stitch on the line from the template, or close to the drawings. Make sure you leave a turn out gap!
Cut the pieces out a 1/4 inch away from seam. Clip curves and turn right sides out. Use stuffing (poly-fill or something similar) to stuff. Hand stitch opening closed.
Wala! A gaggle of gorgeous custom dolls!
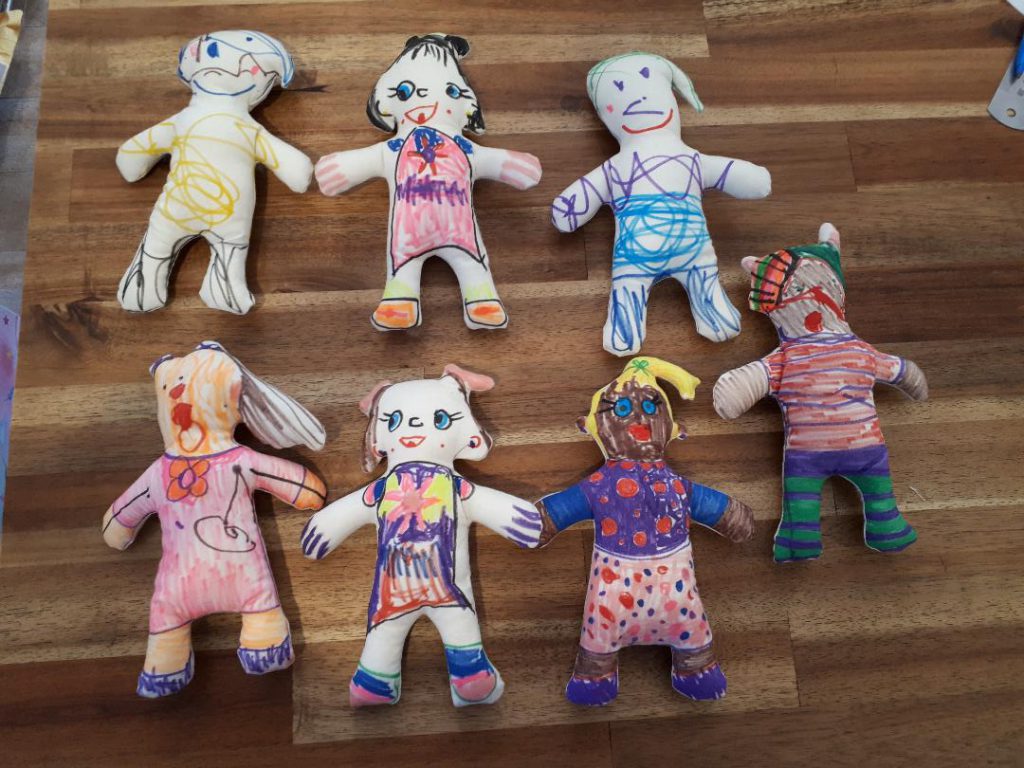


I would love to see what you (and your children) come up with! I do intend on trying to make some simple clothes for them, but that might be a while off yet!
Have a creative week
<3 Cate

Comments