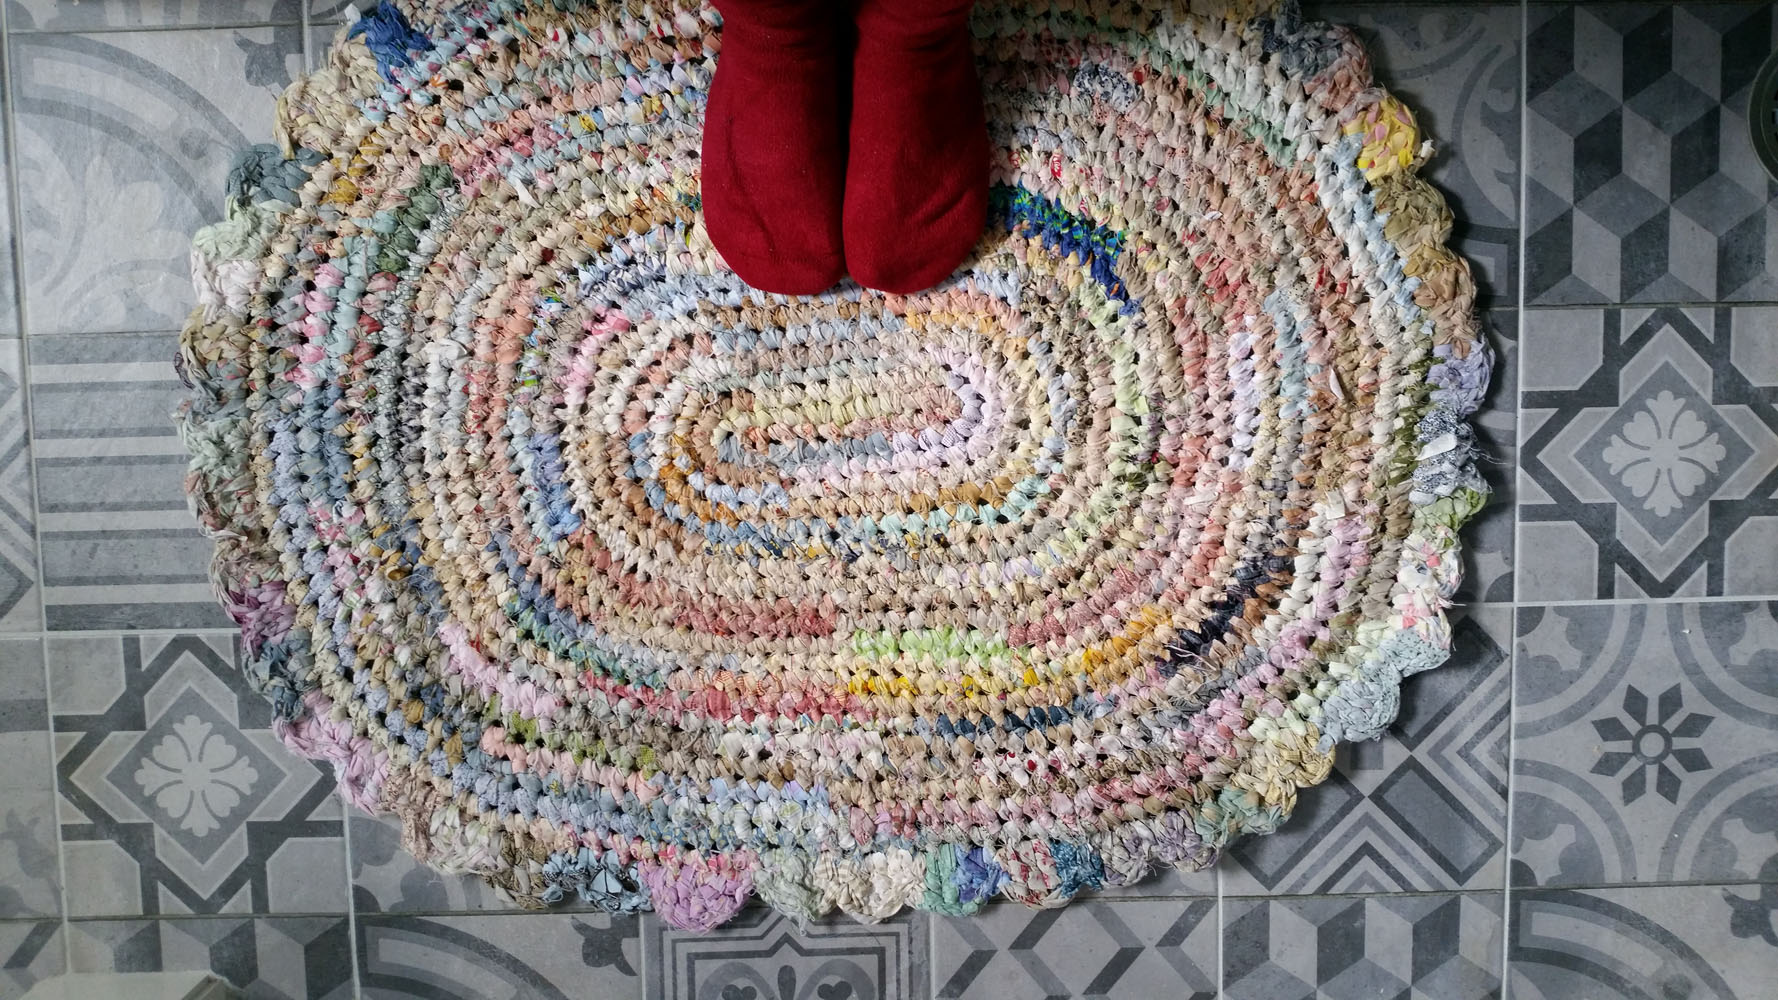
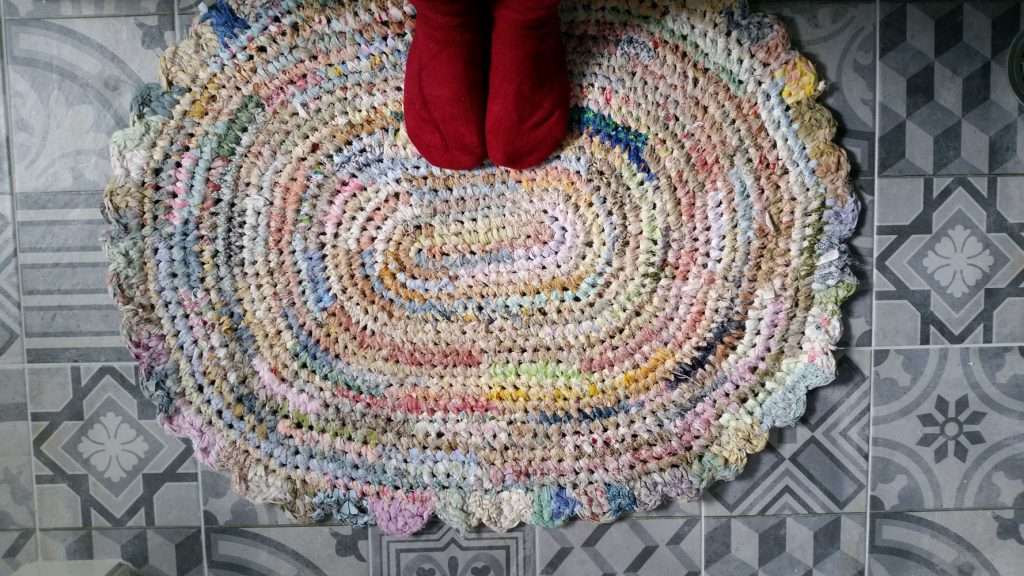
A couple of years ago, my Aunty approached me to do a demonstration at her local museum which she runs. She asked if I could demonstrate a crochet rag rug, which my mum had actually made.
Now, I had not made a rug before, but said yes anyways.
So I spent some time figuring it out, and then writing some instructions, and today, I’m going to share those instructions with you.
Rag rugs are a great way to transform old, worn textiles into something that is both practical and beautiful. You can crochet your own from materials you have on hand.
Last week we looked at ways of making yarn. Now it’s time to crochet!
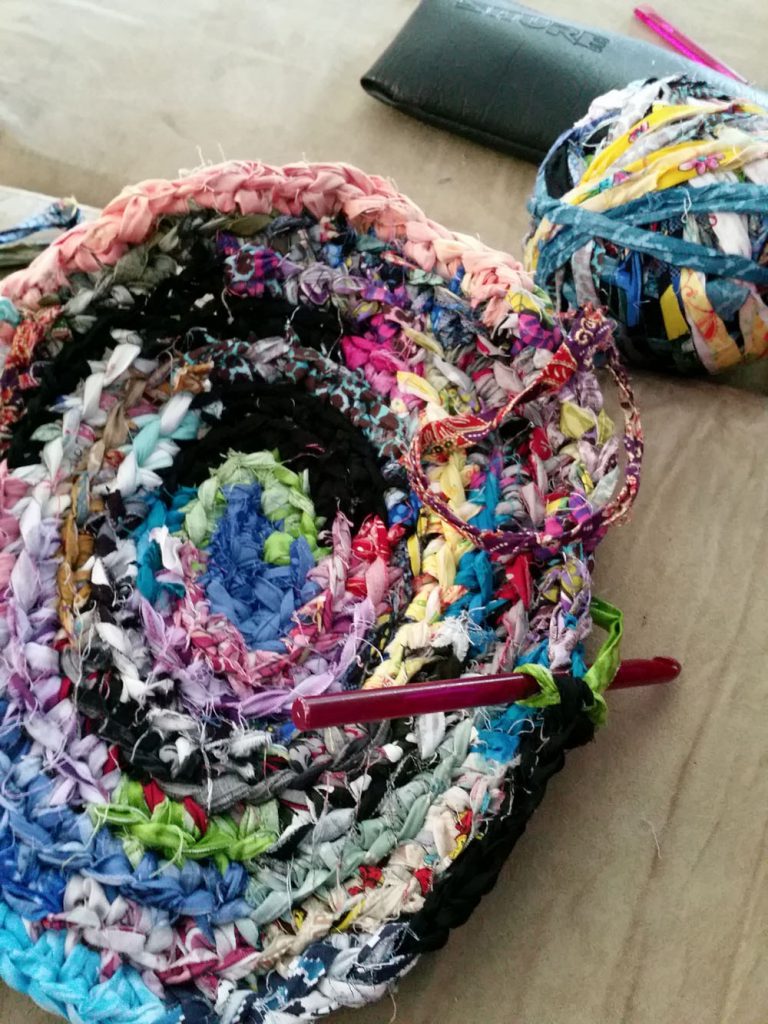
I will give you a run down on how to crochet an oval rug. You could make it any shape you desire of course! But the oval is a good place to start. With the oval rug, you increase on the ends and maintain the sides. the longer the starting chain, the longer and skinnier your rug will be. The shorter your starting chain, the shorter and fatter your rug will be. Be prepared to wander from these instructions. It is hard to give instructions on how to make a rag rug, as variances in yarn can change the way the crochet material acts.
When choosing a hook, find a nice big one. The size of your hook could depend on a couple of factors. The width and thickness of your yarn, and your tension – how tight or loose you crochet. I am using an 11.5mm, I find a 10mm to be a nice size too. Test out a couple of hooks and see what works best for you, your yarn and your tension.
You will need to know how to work a chain and a single crochet. I abbreviate these through out the instructions to – chain (ch) and single crochet (sc)
To begin, make a chain (ch). I find 12 ch to be a nice number. The last two ch equals 1 sc, giving you 10 stitches to work with.
Work a single crochet (sc) into the second chain from the hook. Continue to sc into each ch until you reach the last ch.
In the last ch do 3 sc to increase. Continue around with 1 sc in each chain until you reach the last ch to increase.
On the sides of the rug you will continue with 1 sc into each. Only at the ends will you increase.
For the second round of increases sc into each of the stitches on the previous row. When you get to the 3 sc increases on each end, do 2 sc into each. Continue to 1 sc into each sc on the sides.
Continue in this manner, 1 sc along the sides and increases at the ends. For each round your increases will get further apart. For example, on the third round you will do 2 sc into one, then 1 sc into one, 2 sc etc. Then on the fourth row increase the sc between increases to 2, so you have 2 sc in once, 1 sc into one, 1 sc into one, 2 sc into one etc. The 5th row you will have 3 sc between increases and son on and so forth until your rug reaches the desired size. You may need to play with where your increases fall and experiment with what works best for your yarn.
Trouble shooting
Your rug may start to go wobbly or maybe even start turning up like a basket. If it goes wobbly, it means you have too many increases and need to do less increases. If it starts turning up like a basket, it means you have too few increases and you will need to put a few more increases in.
If, when you finish, your rug won’t lay flat, you can try blocking it. To do this you will need to lay it out on something that can get a bit damp. I have a piece of acoustic board which I cover in towels, and I can pin directly into. A plastic sheet on some carpet will work the same as well. Lay your rug out and pin down. Moisten the rug with water. Move your hands over the cloth and press down on any places in need of smoothing out. Stretch, pin and shape as necessary. Allow to dry, then unpin.
I love working with scrappy yarn, it gives so much texture. There are many different things you could make besides a rug. What else can you think of?
Have a creative week!
<3 Cate






Comments