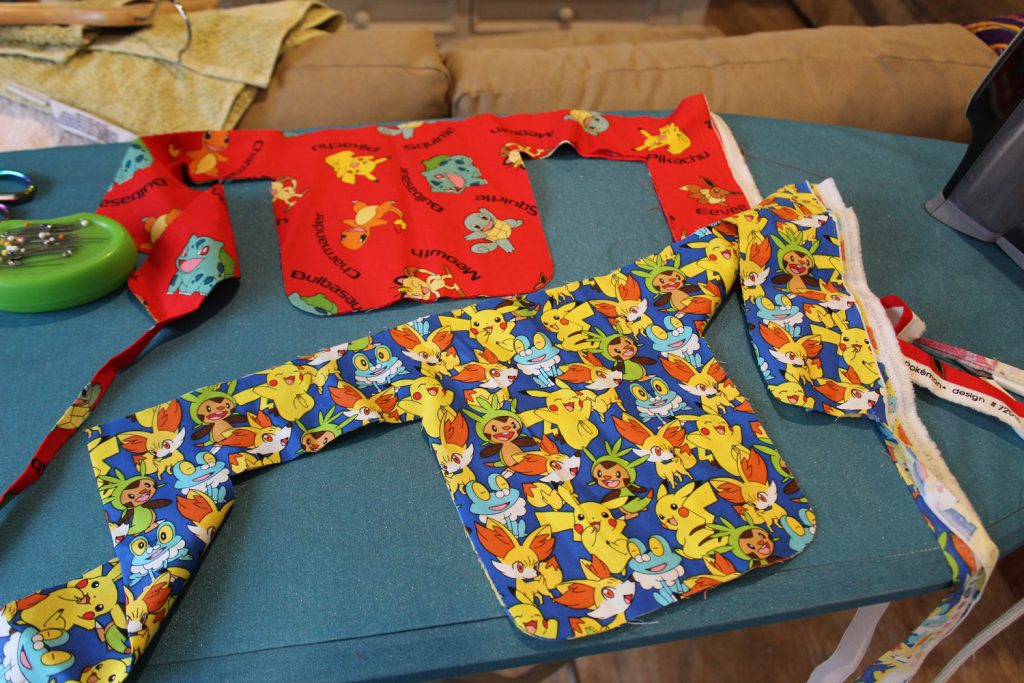
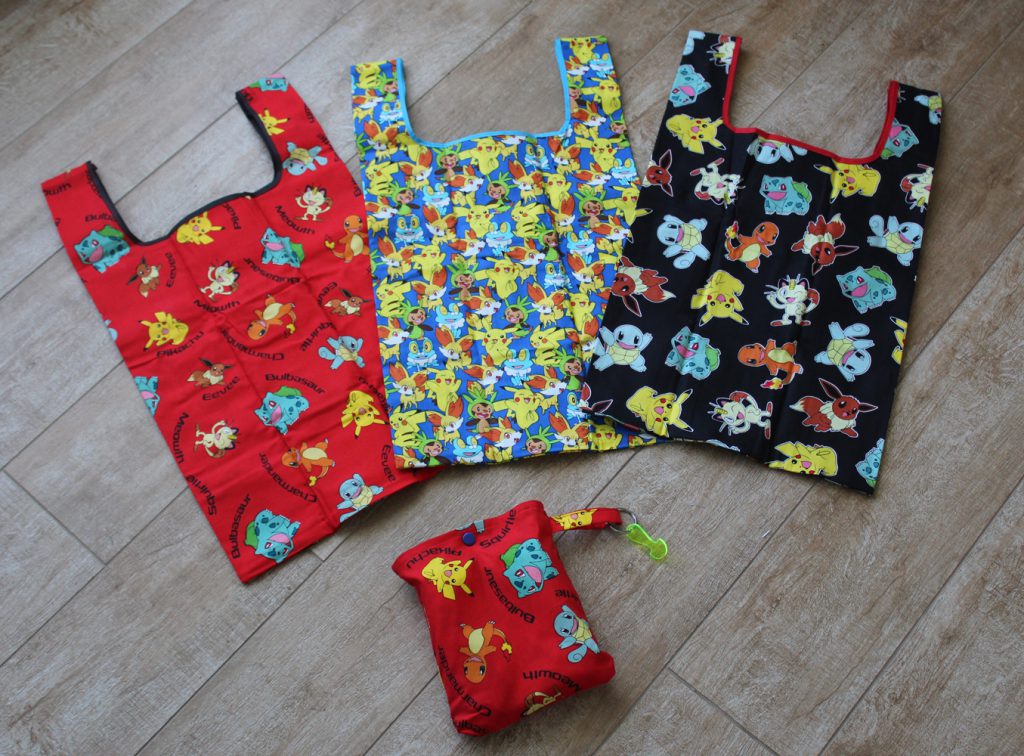
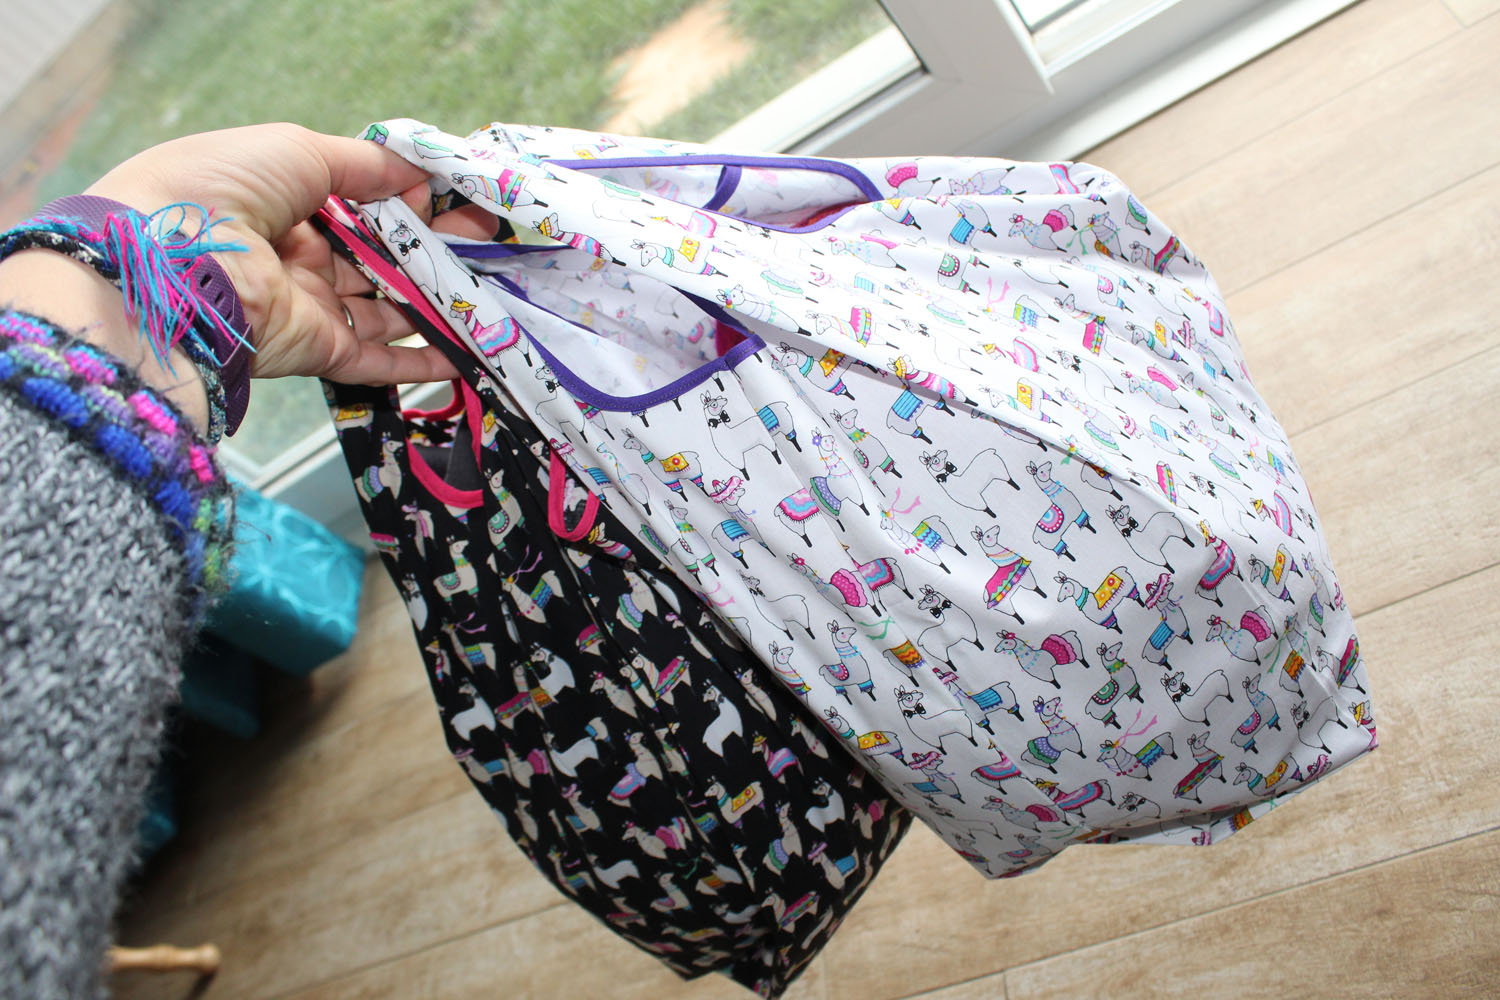
I wrote the tutorial for my shopping bags last year. For Christmas this year, I made sets of shopping bags for Guys side of the family. Instead of just giving them a stack of bags, I decided to make it into a shopping bag kit of sorts, making a little pouch for the bags to go in, complete with a key ring to keep a trolley token on!
I made the pouches using the leftover fabric from making the bags.
Pin It
Facebook
Twitter
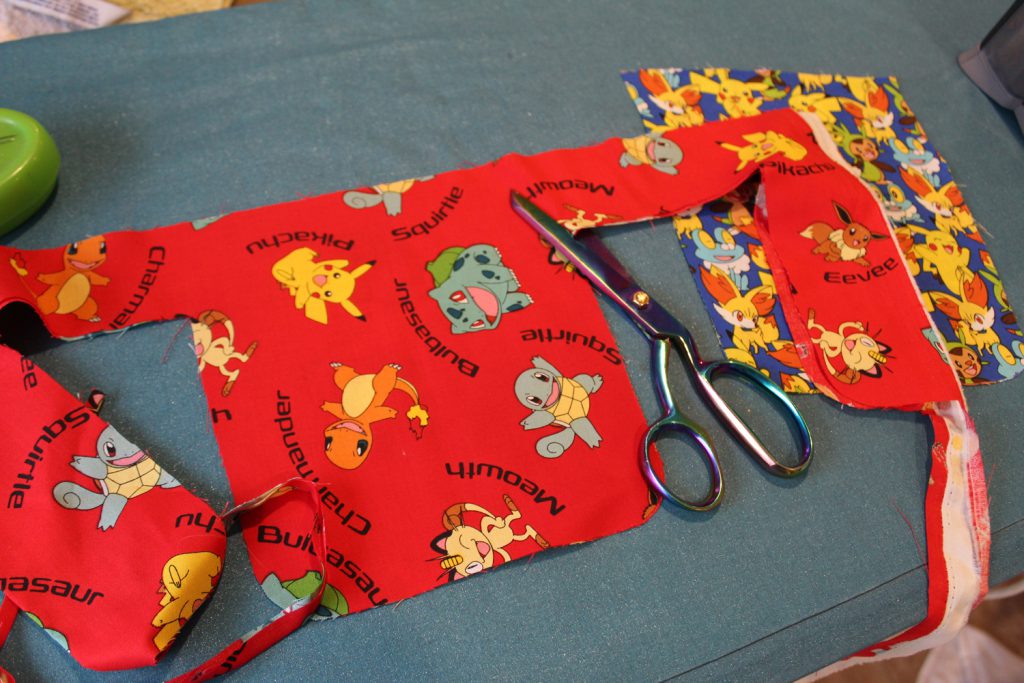
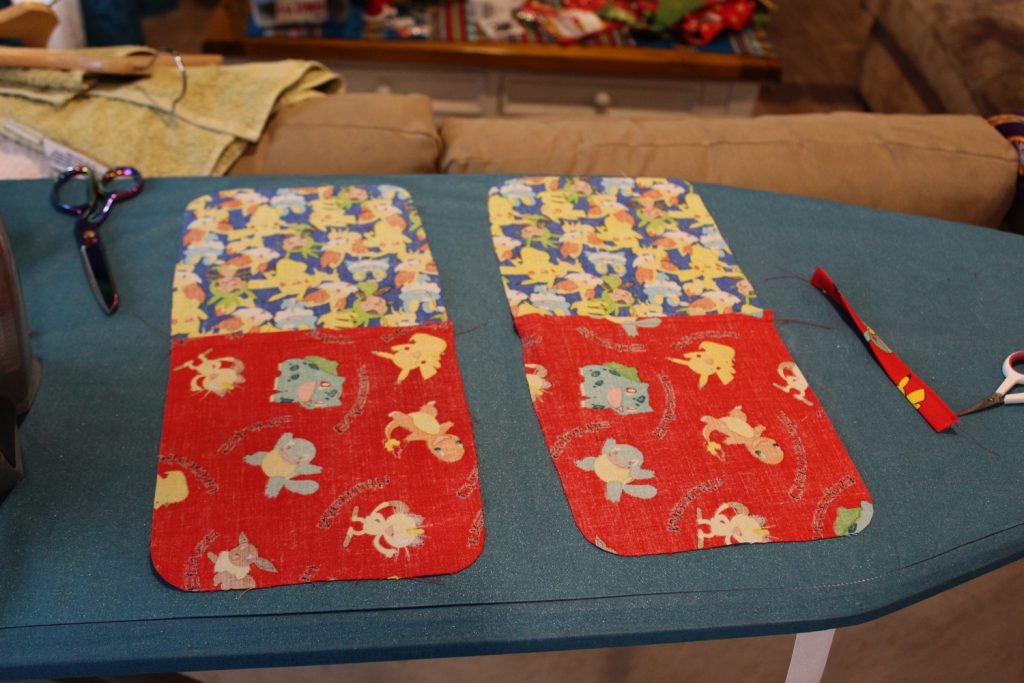
After cutting out bags out using my shopping bag pattern, you end up with scraps looking like this. To make a pouch, you will need the scraps from two bags.
Pin It
Facebook
Twitter
You will have a large section of fabric, with curved corners, and pieces attatched to the sides. Cut the attached pieces off, so you are left with a rectangle like shape with two curved corners.
Pin It
Facebook
Twitter
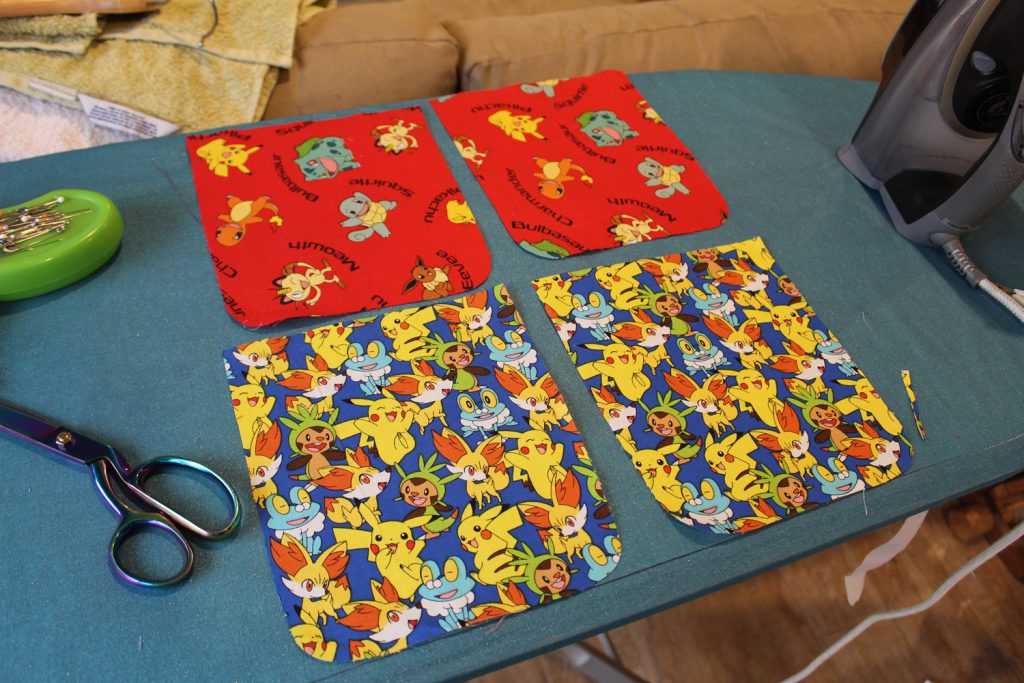
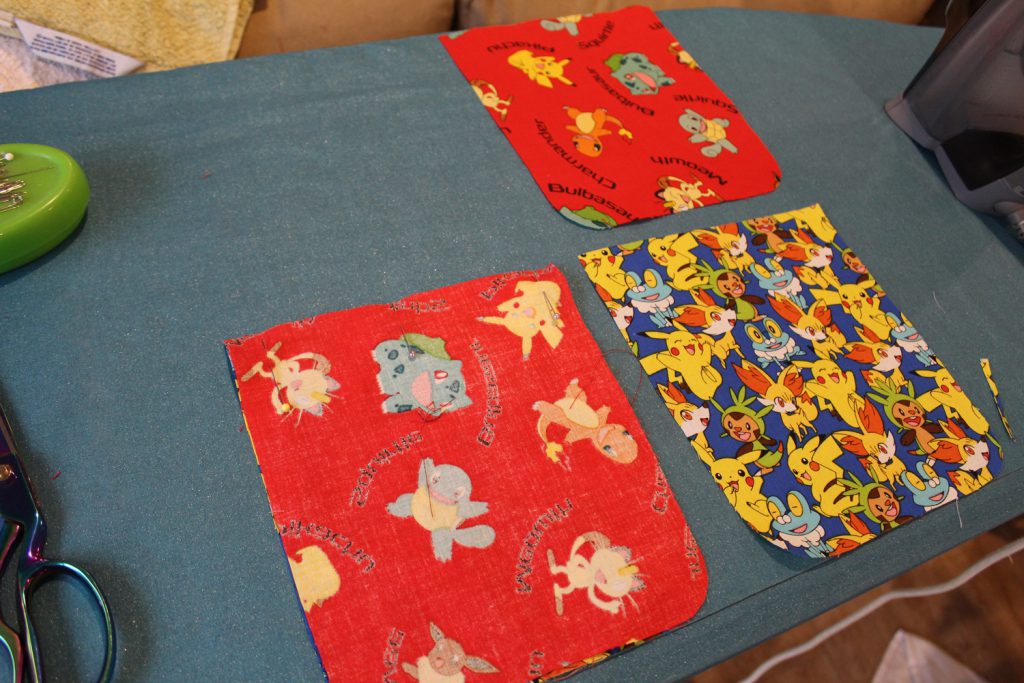
You will have four pieces of fabric the same size, that look like these. If they are not quite the same size, trim them a little so they are.
Pin It
Facebook
Twitter
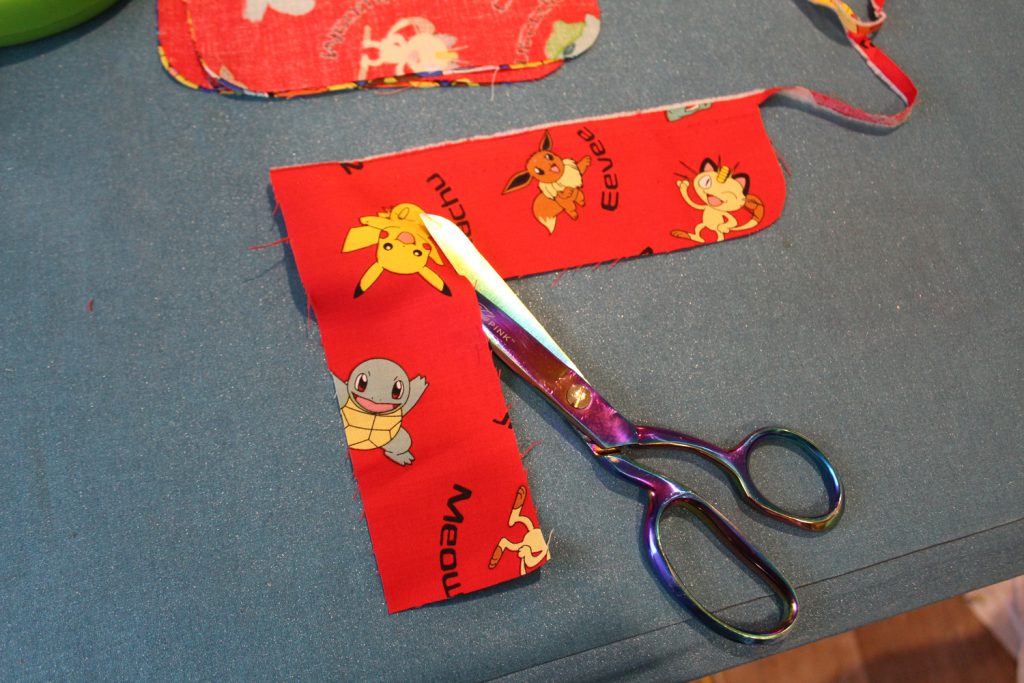
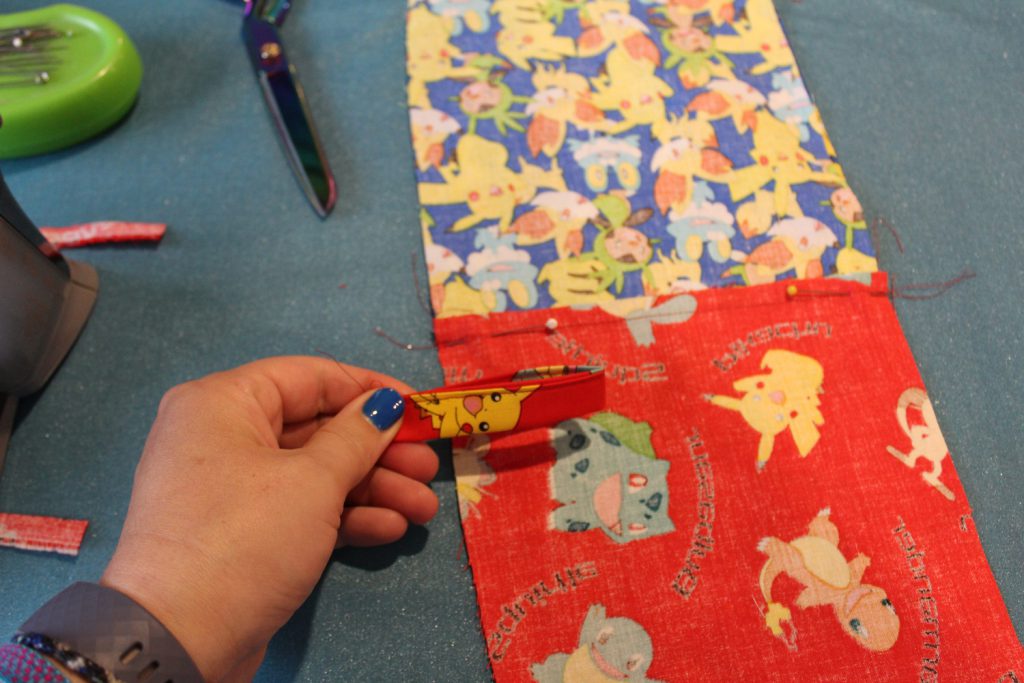
cut a rectangle approximately five inches long
Pin It
Facebook
Twitter
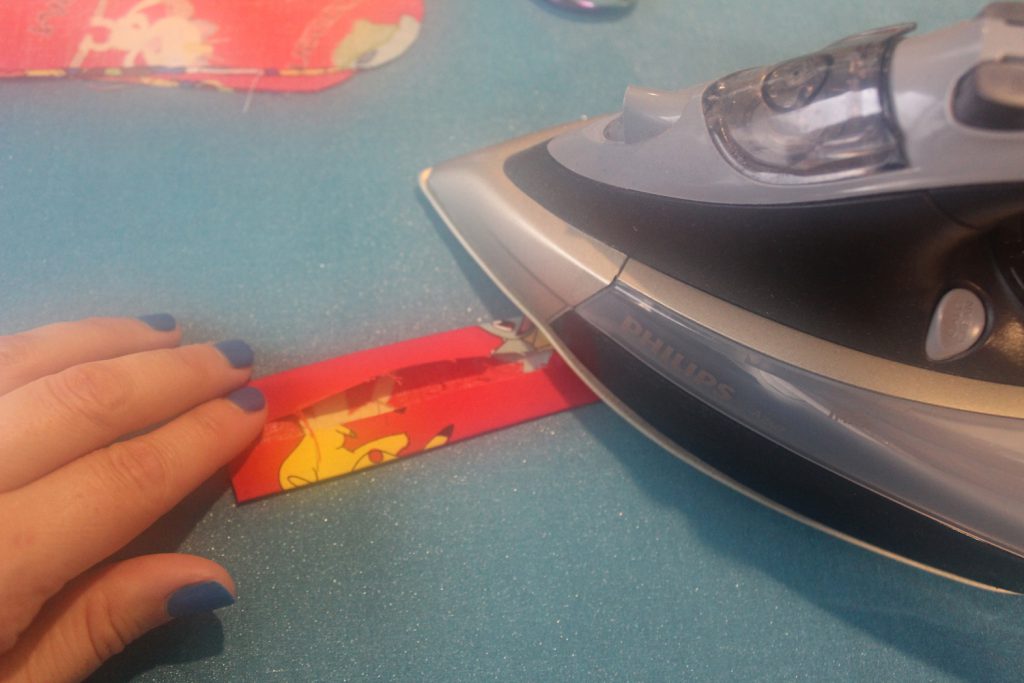
iron both edges into the middle, then in half.
Pin It
Facebook
Twitter
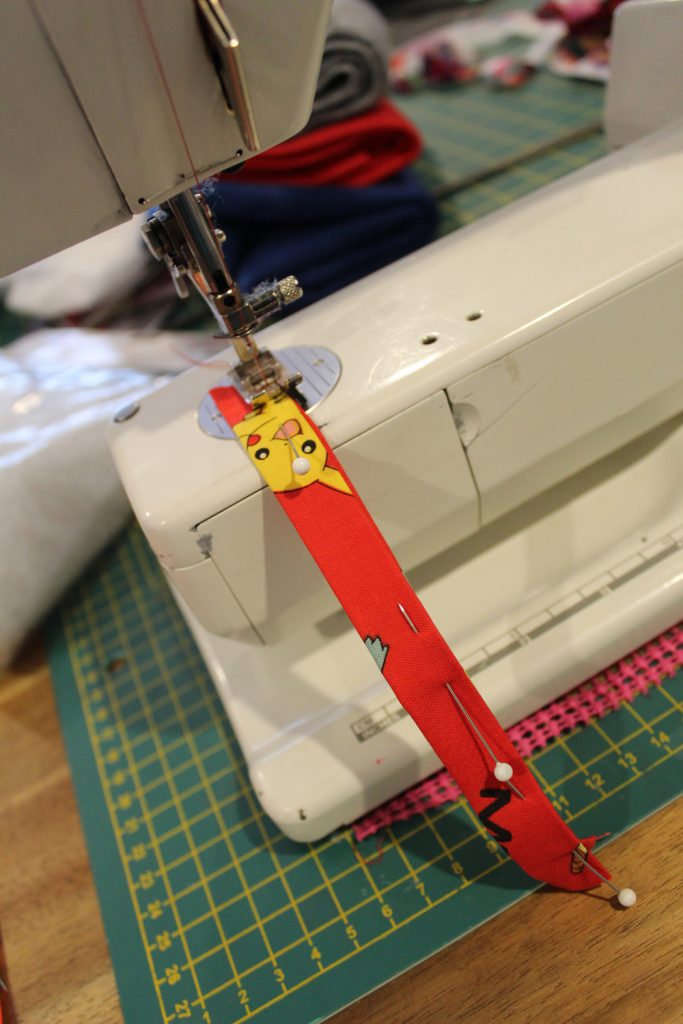
stitch close to the edge
Pin It
Facebook
Twitter
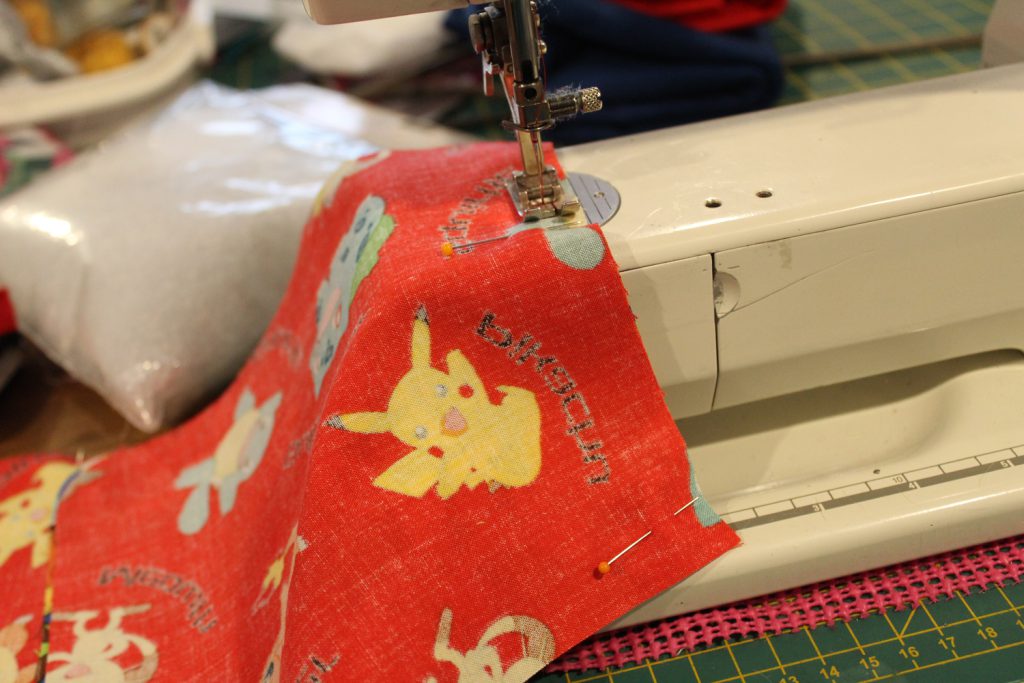
Pin two pieces together along the top edge, right sides together.
Pin It
Facebook
Twitter
sew along pinned edge
Pin It
Facebook
Twitter
iron seams to one side
Pin It
Facebook
Twitter
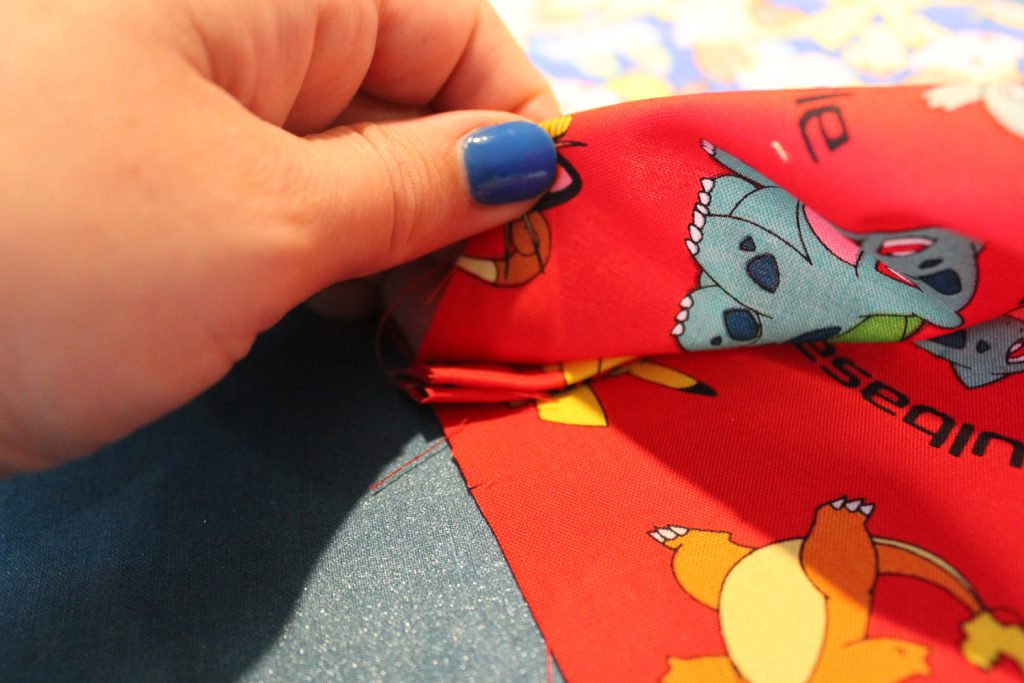
Lay the two pieces rigth sides together, making sure centre seams line up. Pin at centre. Fold loop piece in half. This will be sandwiched between the two layers to one side.
Pin It
Facebook
Twitter
The loop is sandwiched in between the two layers, about an inch down from the centre seam. I put a key ring on the loop before sewing in, as it is easier to do now rather than later. Then make sure it is pinned in. Then pin right around.
Pin It
Facebook
Twitter
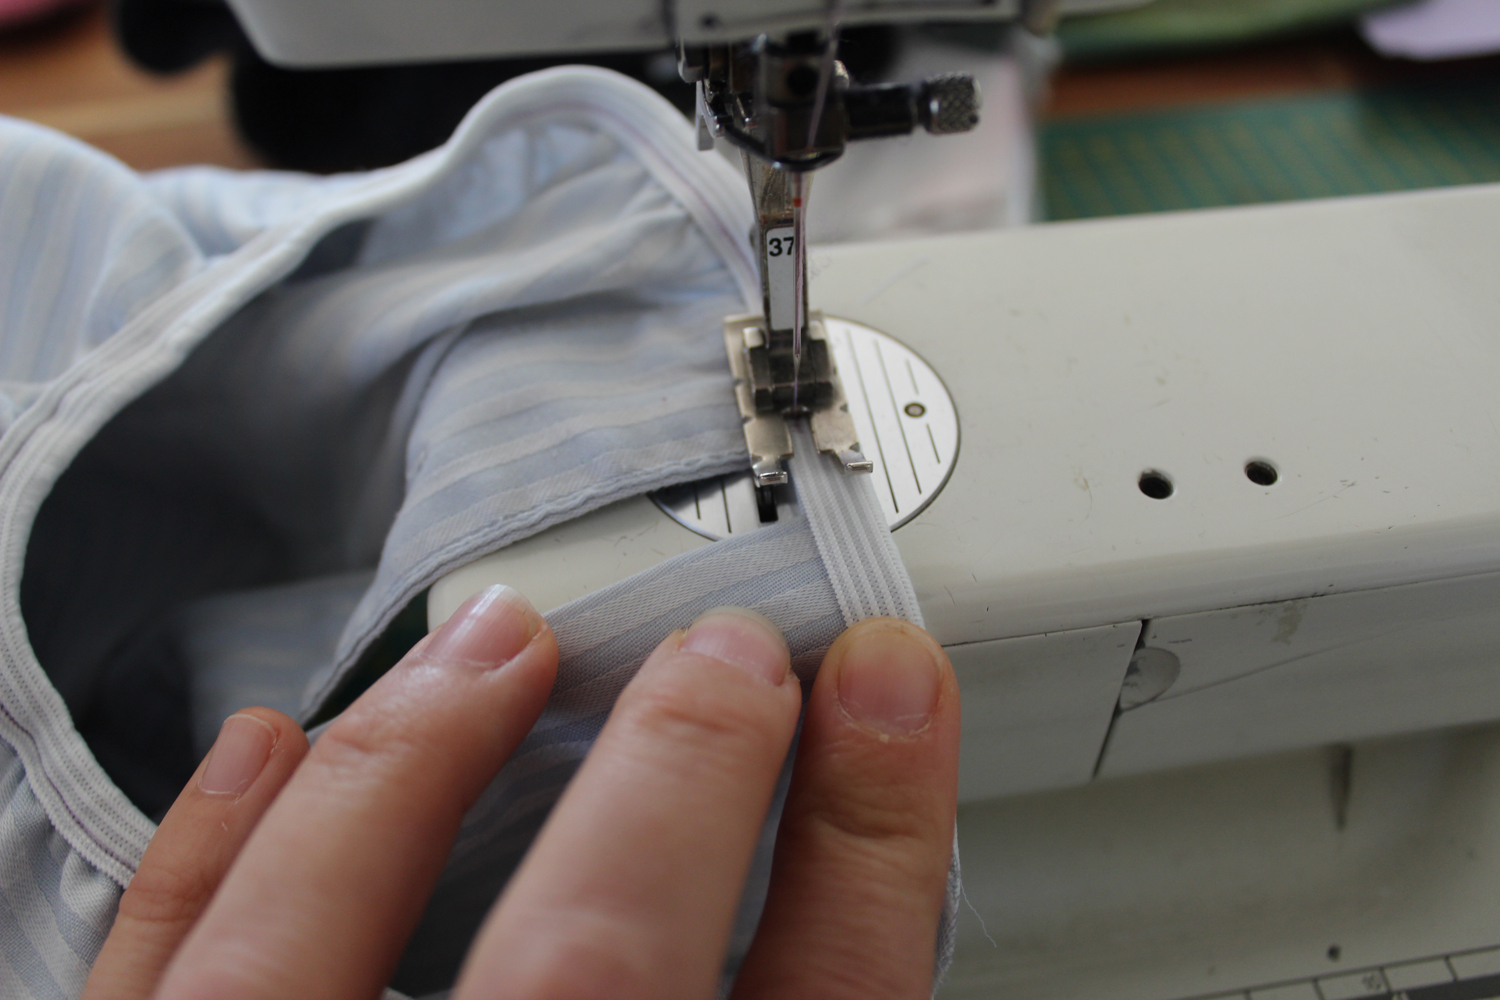
Sew right around the edge, leaving a opening on the end opposite to the end you attached the loop to. This will allow you to turn out the pouch.
Pin It
Facebook
Twitter
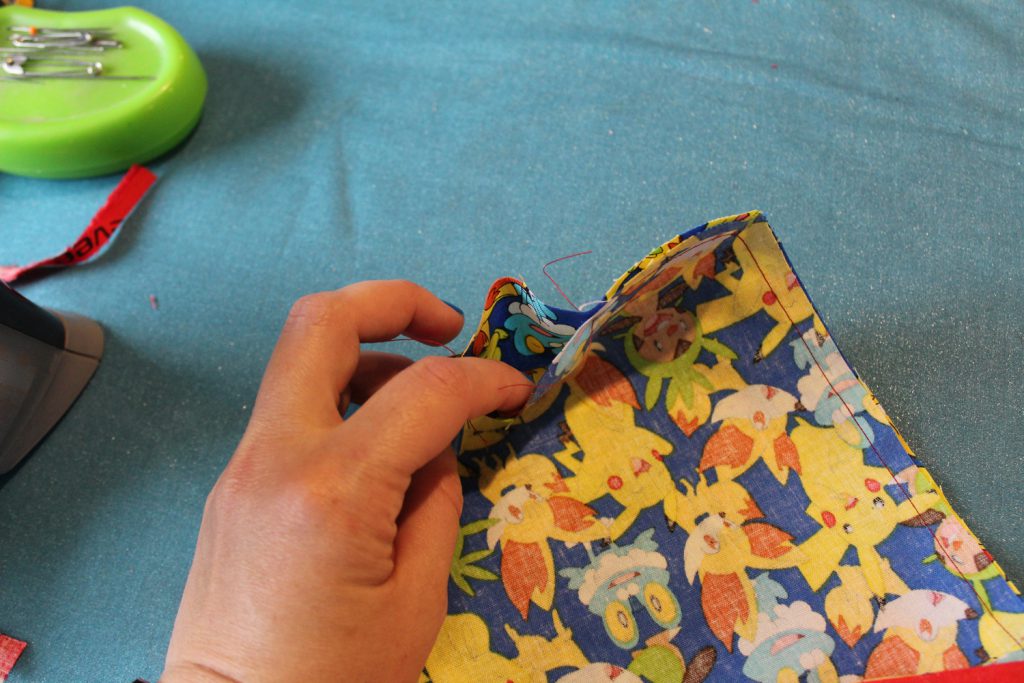
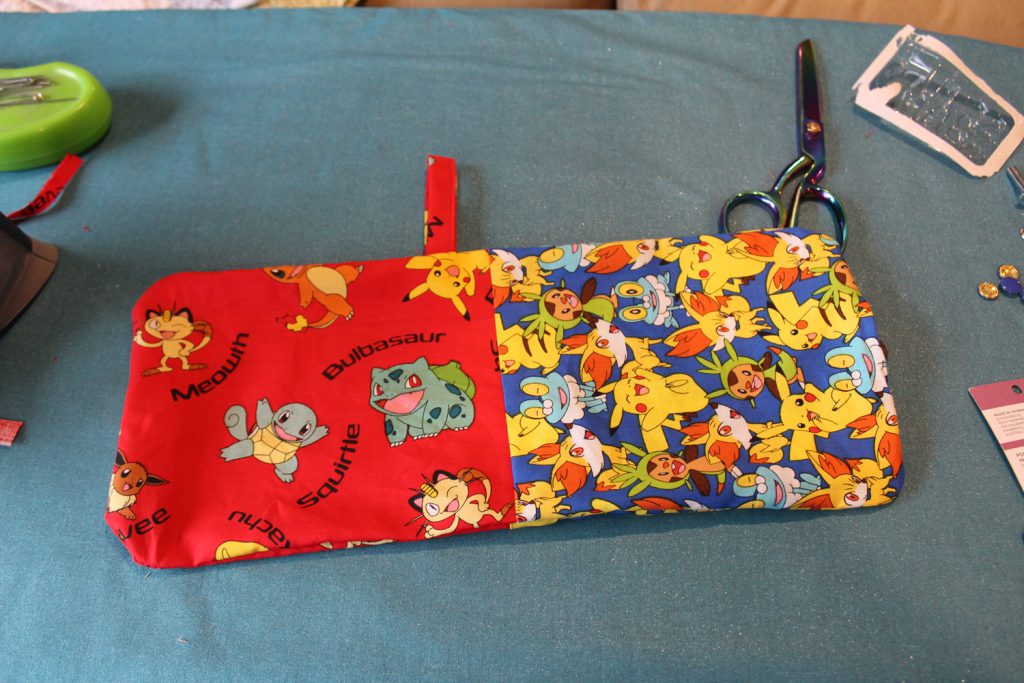
Turn right sides out. It should look something like this. Stitch the gap closed, I was lazy and did a top stitch with the sewing machine close to the edge, but hand sewing this could be neater. It will be on the inside though, so should never really be seen!
Pin It
Facebook
Twitter
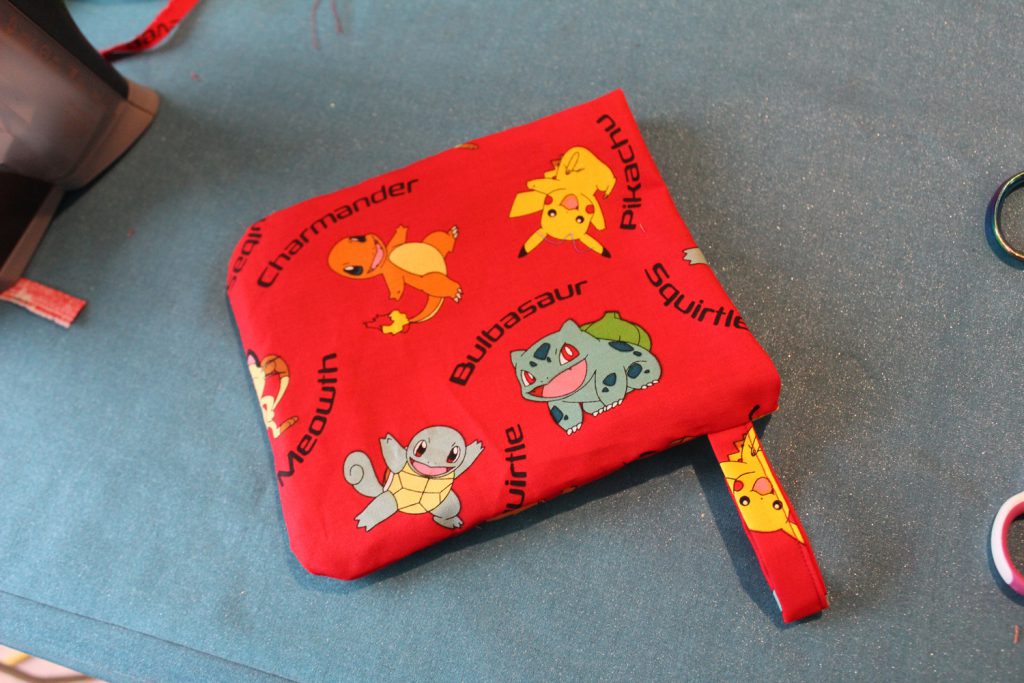
And then the magic happens. You kinda just stuff half the bag into the other half, smoothing out edges and corners as you go. It should look something like this. Top stitch around the top seam, this will hold everything in place. I also added a snap in the middle to hold the top closed. I didn’t get photos of that process, but follow the instructions on the snaps packet and you should be sweet 🙂
In most of the bags I made, I put a keyring on the loop before I sewed it in. I didn’t do that in this one, I put it on after, which made it a little harder, but equally achievable!
Since the laws in Canberra changed, forcing all supermarkets to chain their trolleys, we have had to carry a coin to detangle the trolleys before use. We sourced little trolley keys, which come straight out after unlocking the trolleys, so you don’t have to worry about finding another trolley to get your coin back!
Pin It
Facebook
Twitter
The set of bags complete 🙂
I hope all that made sense 🙂 Please feel free to contact me with any questions!


Comments