
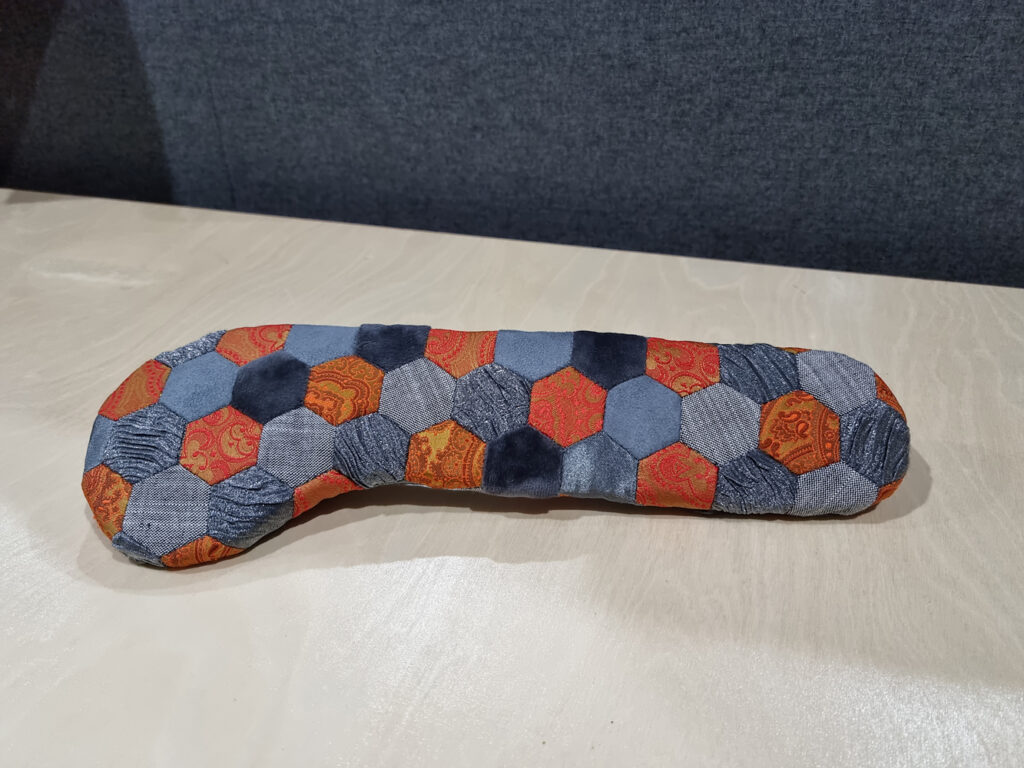
I’ve been wanting to dip my toes further into reupholstering furniture ever since I did the hexagon patchwork chair.
When a little kids couch became available on our local “buy nothing” page I nabbed it and began the quest of making it look pretty.
It was manky and gross and I started to question my sanity.

This is what I had to work with…
The little dude loved it, even in all its manky yuckness. So to keep him away from it, I started pulling it apart pretty quickly.
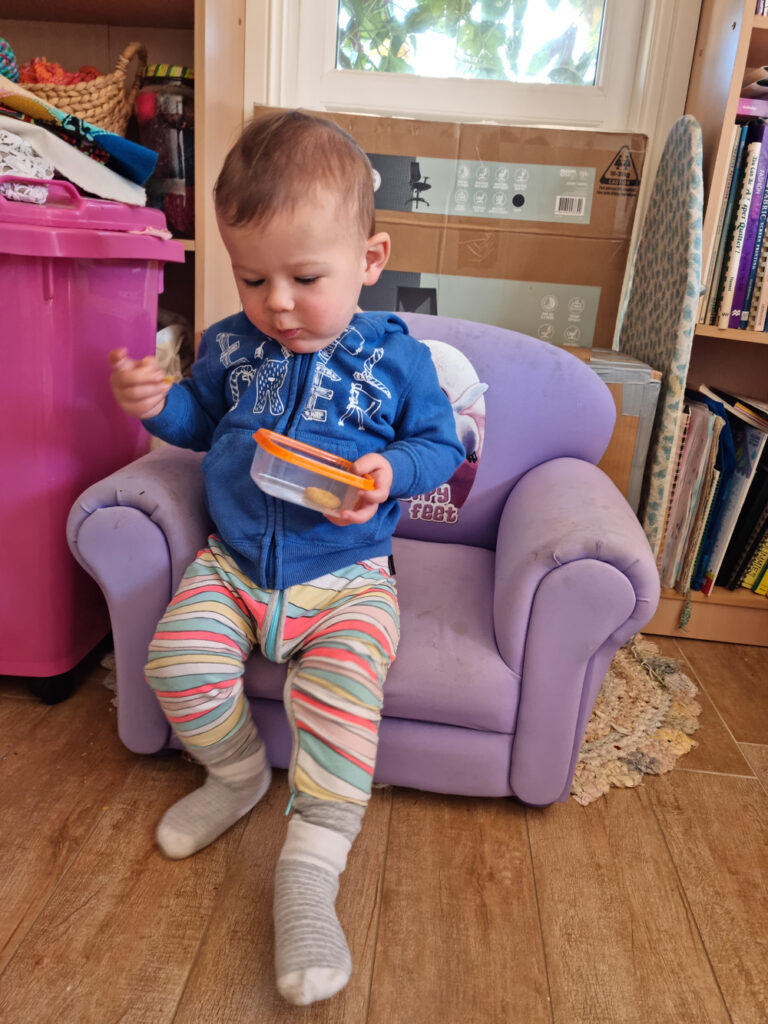
He loved it from the second we picked it up
For the fabrics –
I wanted to only use fabrics from my stash or opshop more fabrics. But once I started I had quite a specific look stuck in my head. I didn’t have enough fabric to complete the project and we were in the middle of a lockdown so I couldn’t just head on down to the local opshops. I ended up ordering the main fabric online and waiting for it to be delivered.
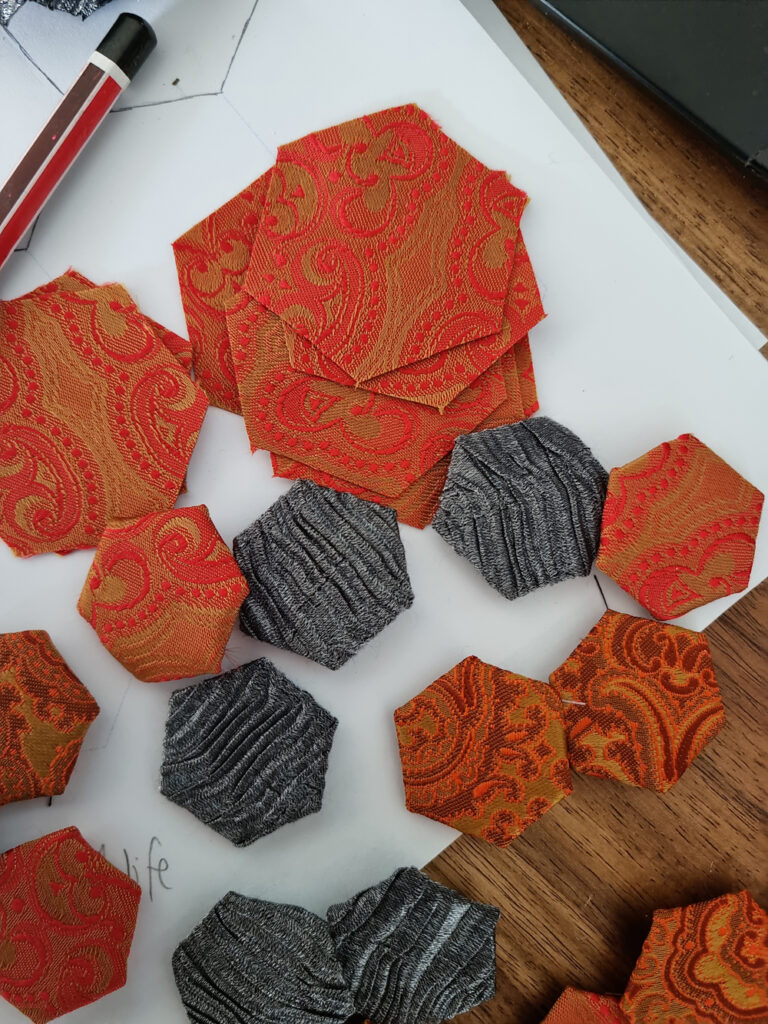
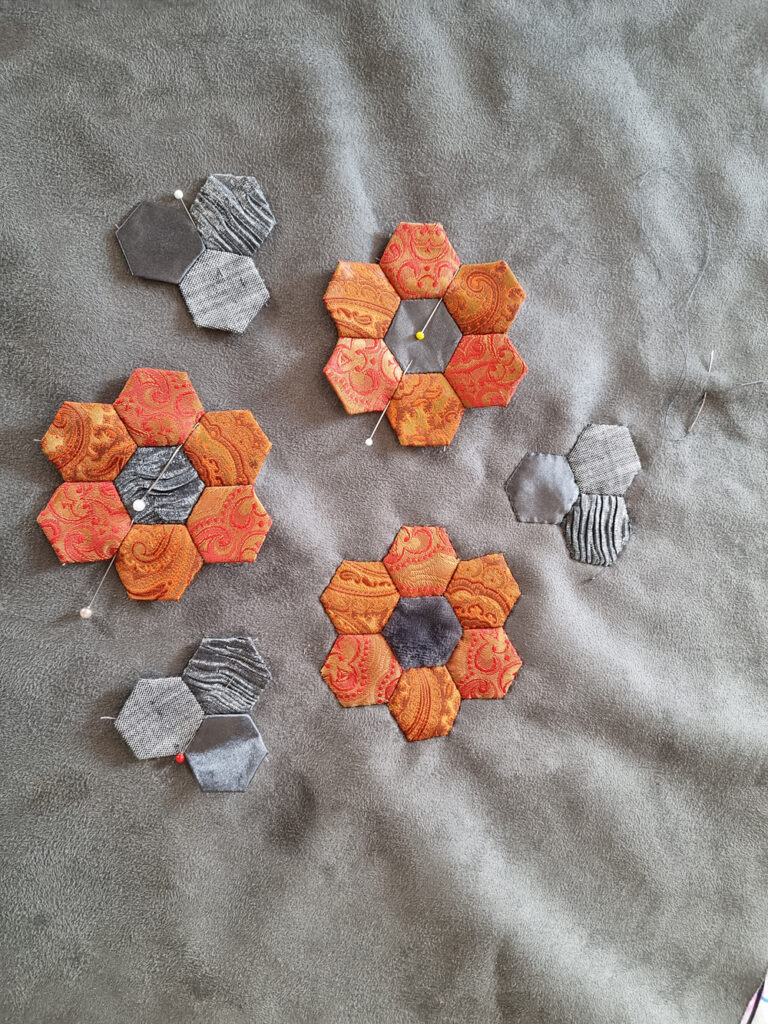
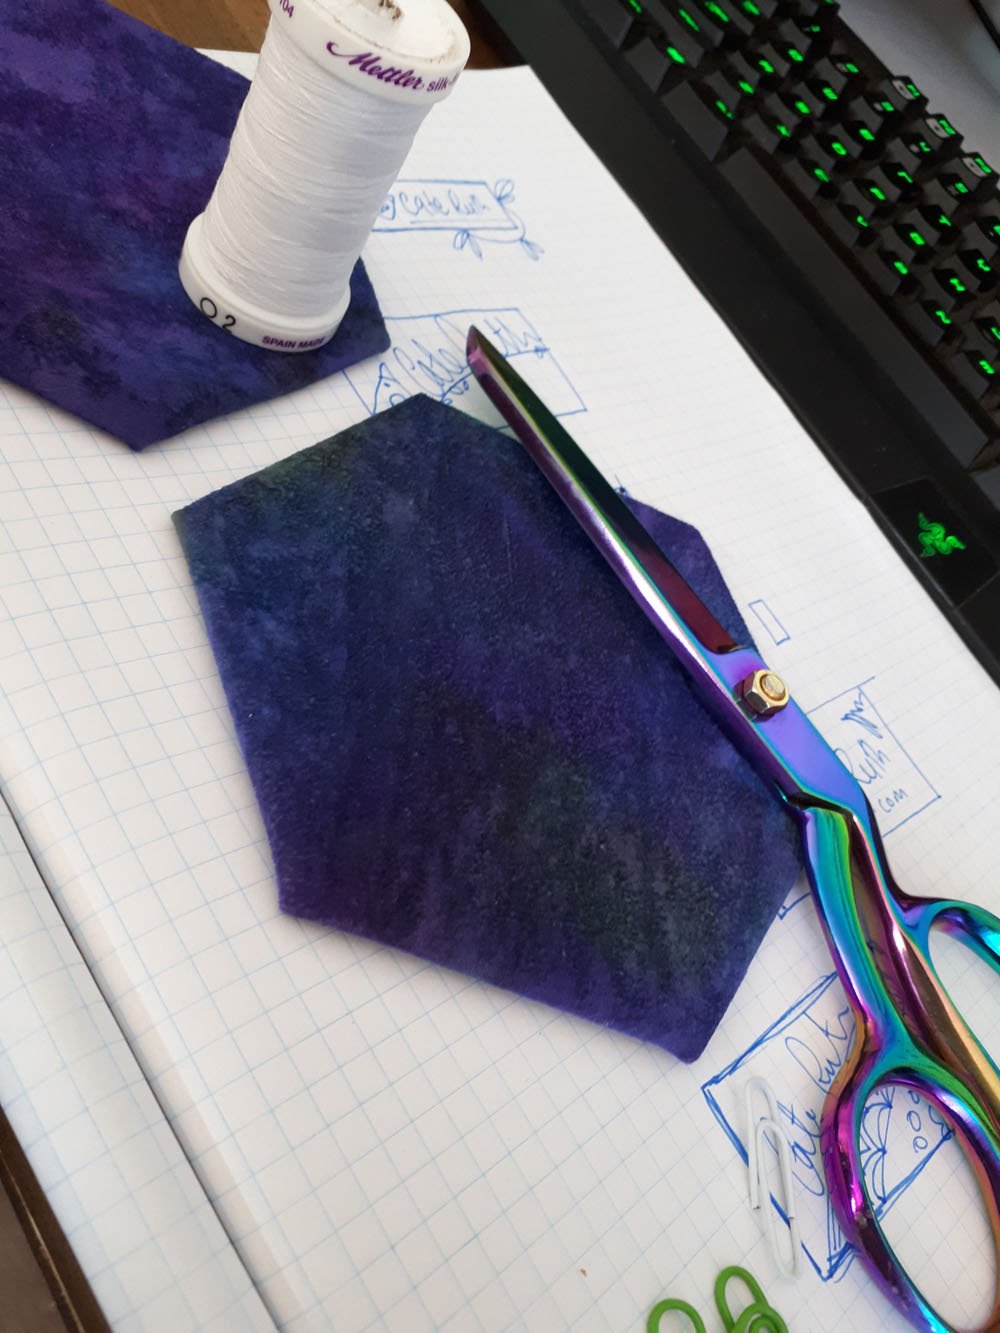
However, I did manage to use upcycled fabrics for the hexagon accents. All the orange fabric comes from two men’s neck ties, whilst the grey fabrics come from a fake suede skirt and its lining, a linen jacket and some fabric remnants left from other projects.
To begin –
I just started to pull stuff apart. Actually, I think Guy started pulling it apart, either way, the first thing we did was to pull it to pieces and figure out what we were working with. We took photos and wrote on the pieces as we took them off, which came in really handy later in the process.
I measured everything and figured out how much fabric I needed.
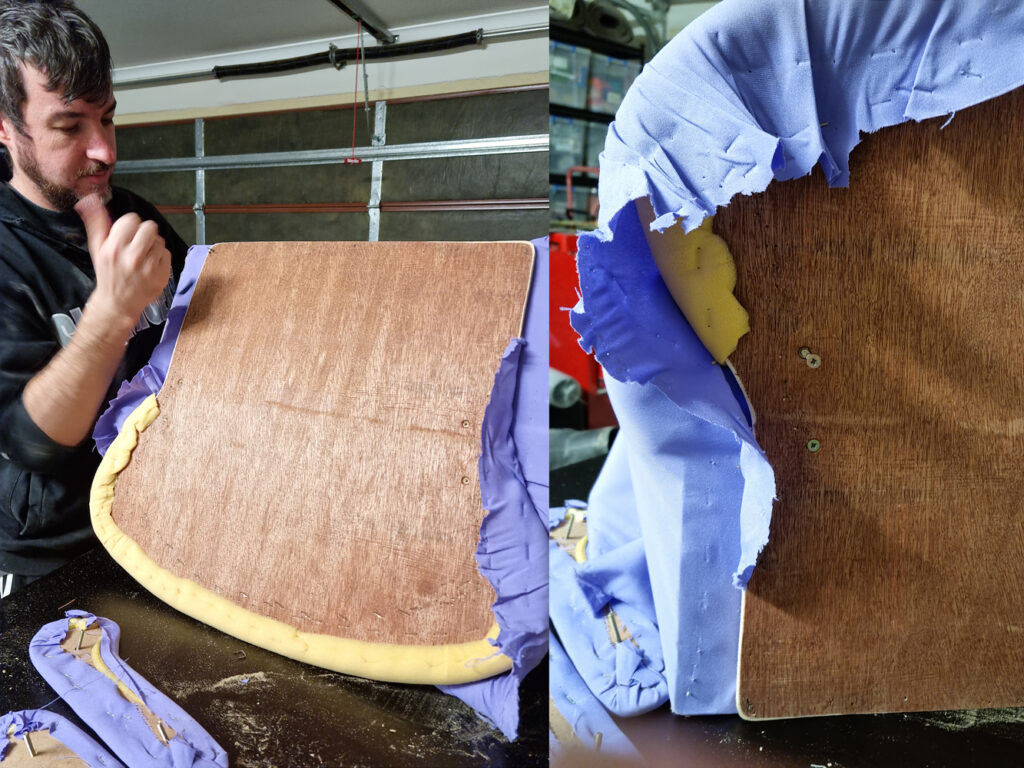
We started by pulling the chair apart, removing all the staples, and taking note of how the pieces go together
A few structural things –
Once we had everything pulled apart, we found a few structural things that needed attention. A couple of bits of wood had seen better days, so Guy quickly replaced those and tightened everything up. He made sure we had nice strong bones to work with!
The Hexagons –
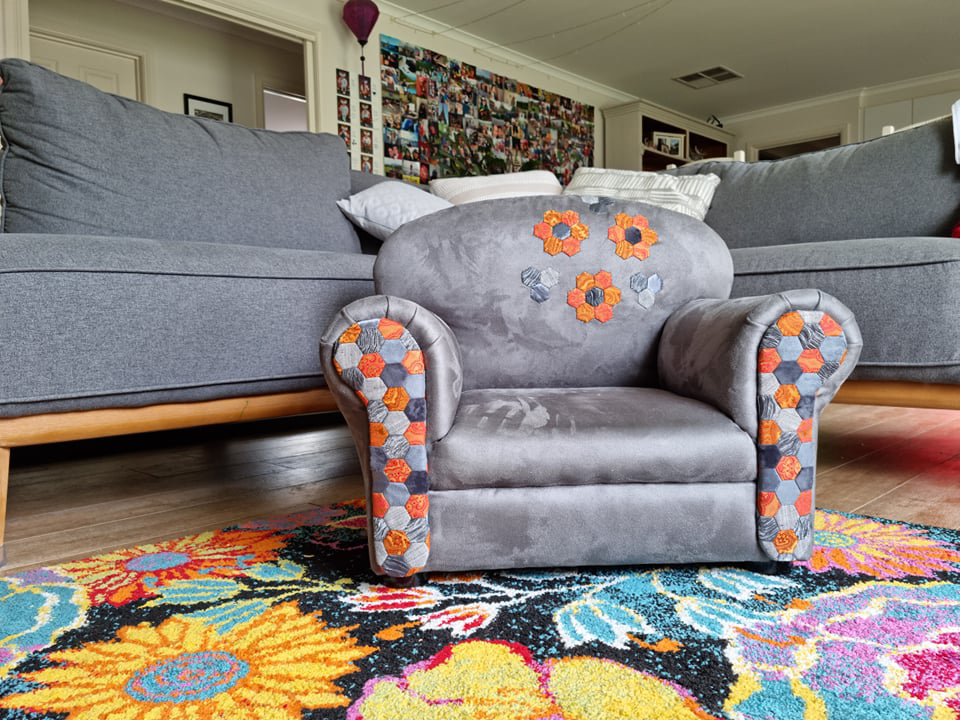
Hexagons end up being a labor of love that look amazing! Cutting the papers and fabric (if your smarter than me, you’d just buy pre-cut papers) then basting and finally stitching them together takes timeeeee! But I’m always super happy with the result, and this time was no exception. The two arm fronts are completely covered in hexagons, and I think in an ideal world, I would have done the back completely in hexagons too, but I settled for the flower motif because I was restricted in fabric (mostly just the orange) and time.
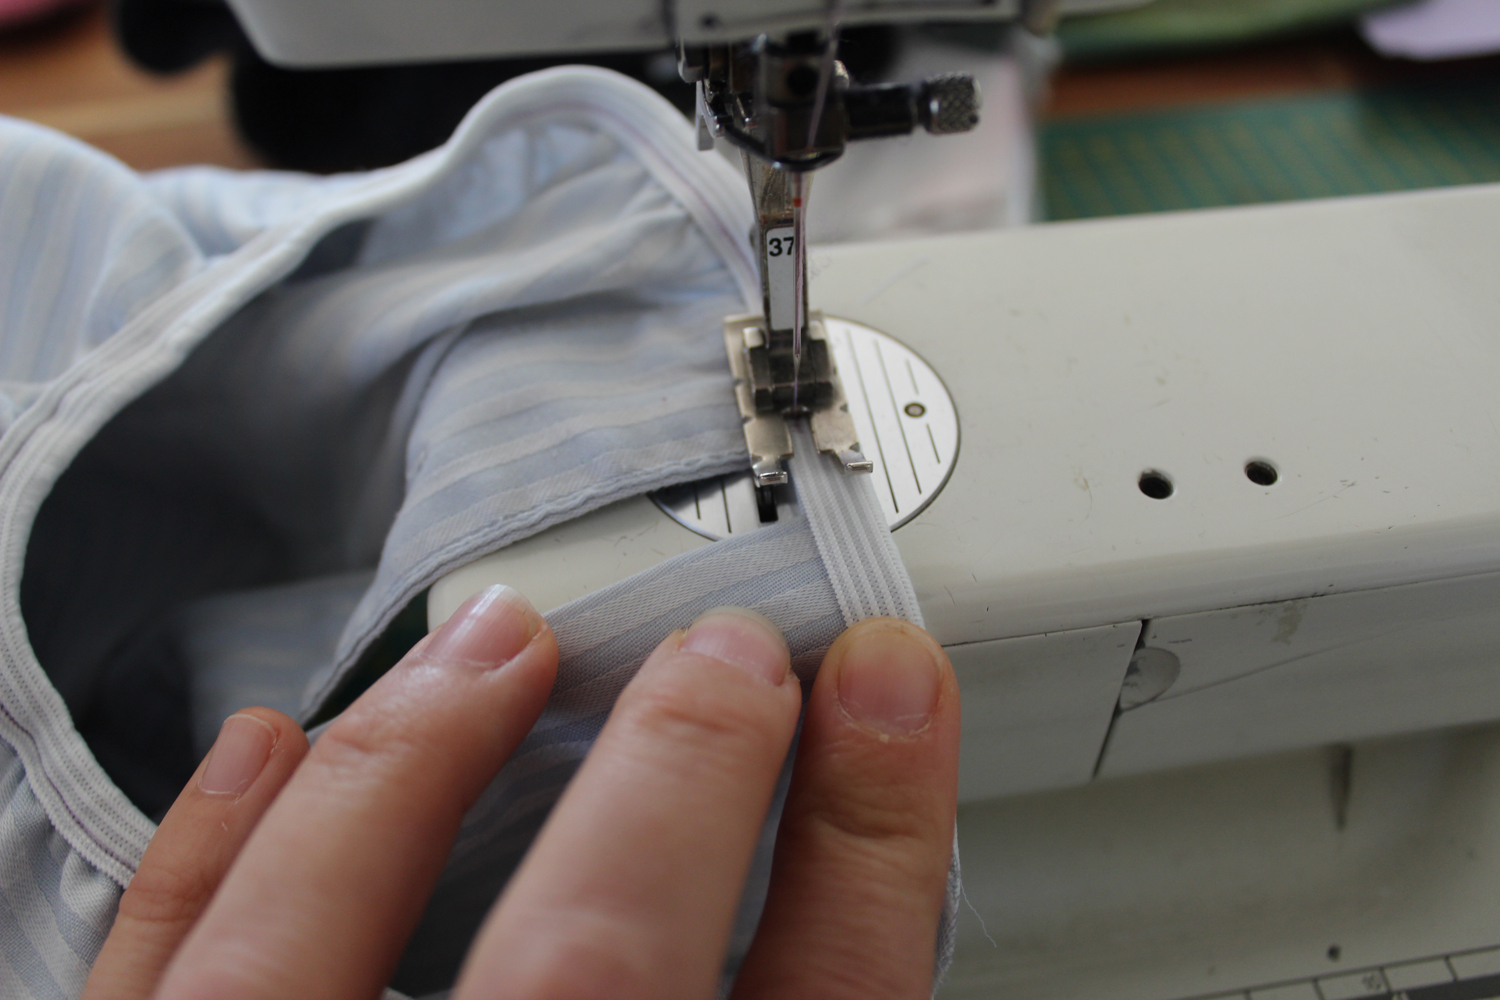
Upholstering –
Whilst I patiently waited for the main fabric to arrive in the mail, I stitched hexagons together for the two front pieces and covered those.
Once the fabric had arrived, I used all the pieces we pulled off the chair as a template to cut new pieces.
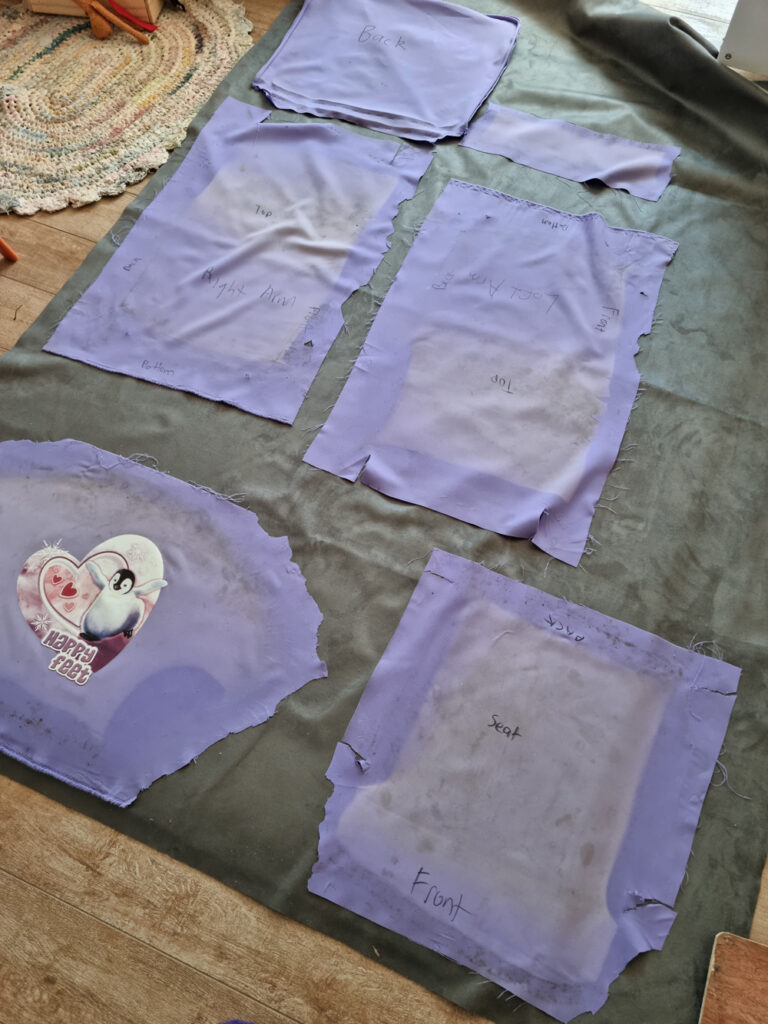
And then it was as simple as stapling it all back together…
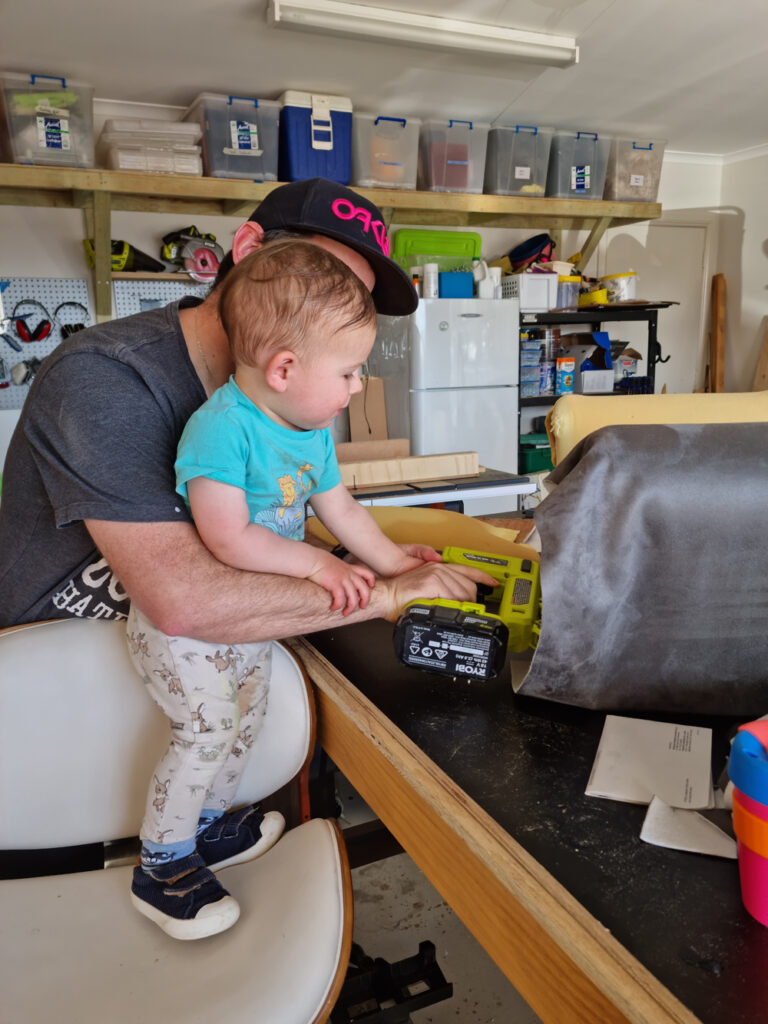
So easy, even the toddler can do it!
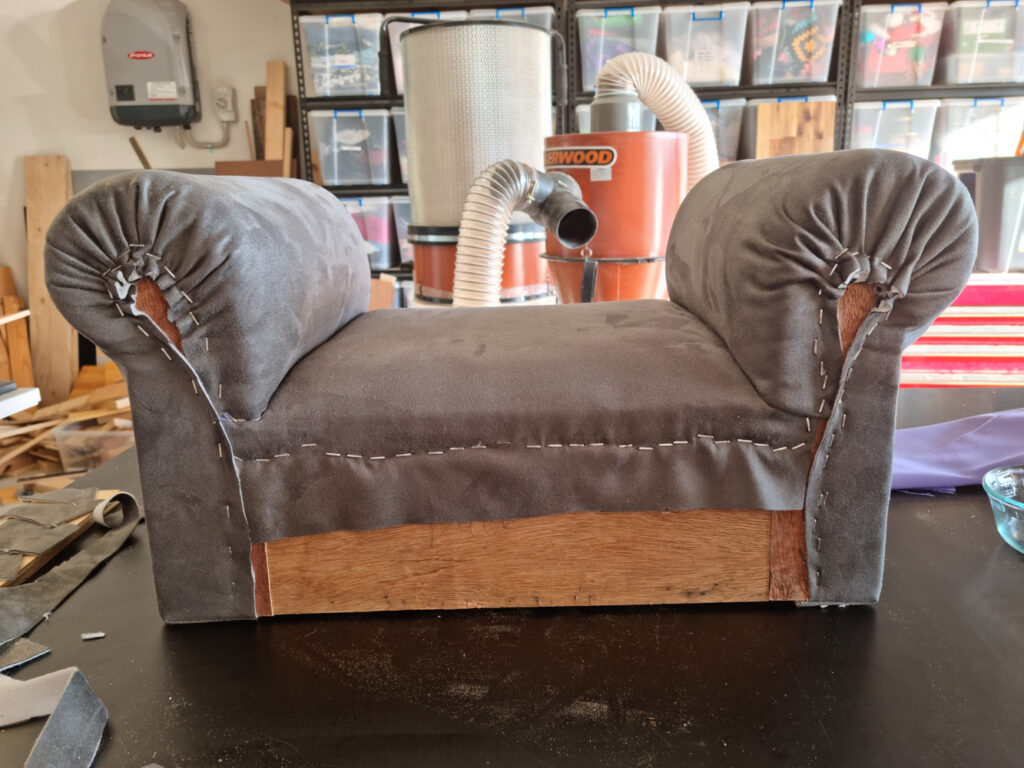
halfway through recovering the chair
It took me a long time to decide how to cover the back. Even now its finished I still think it would look pretty awesome with the whole back piece covered in hexagons. In the end I went with the flower motif as I didn’t have enough orange fabric to do the whole back and have it look good, I also wanted it finished by Christmas!
it sat like this for monthsssss before I decided how to finish the back
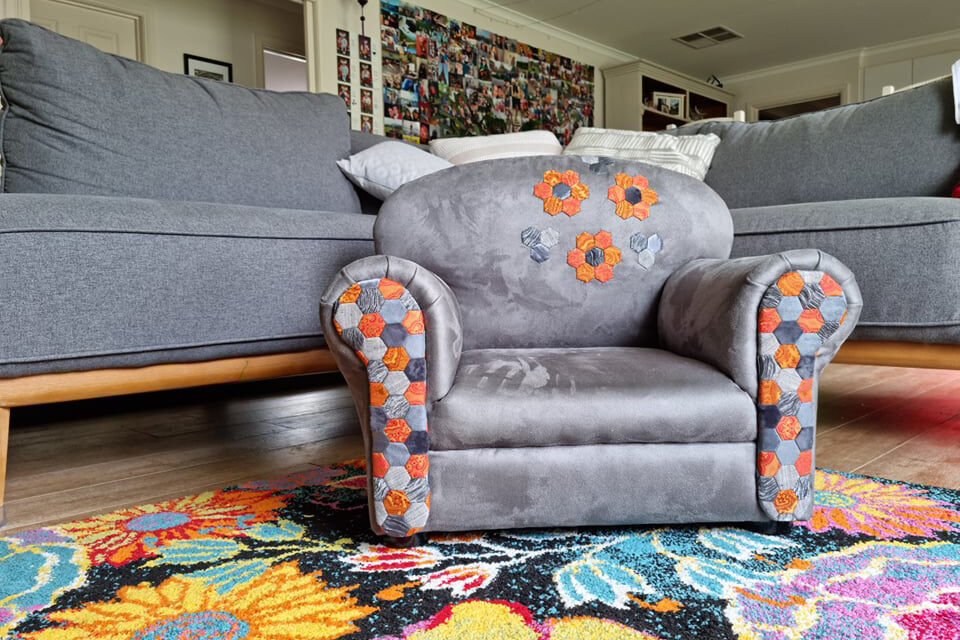
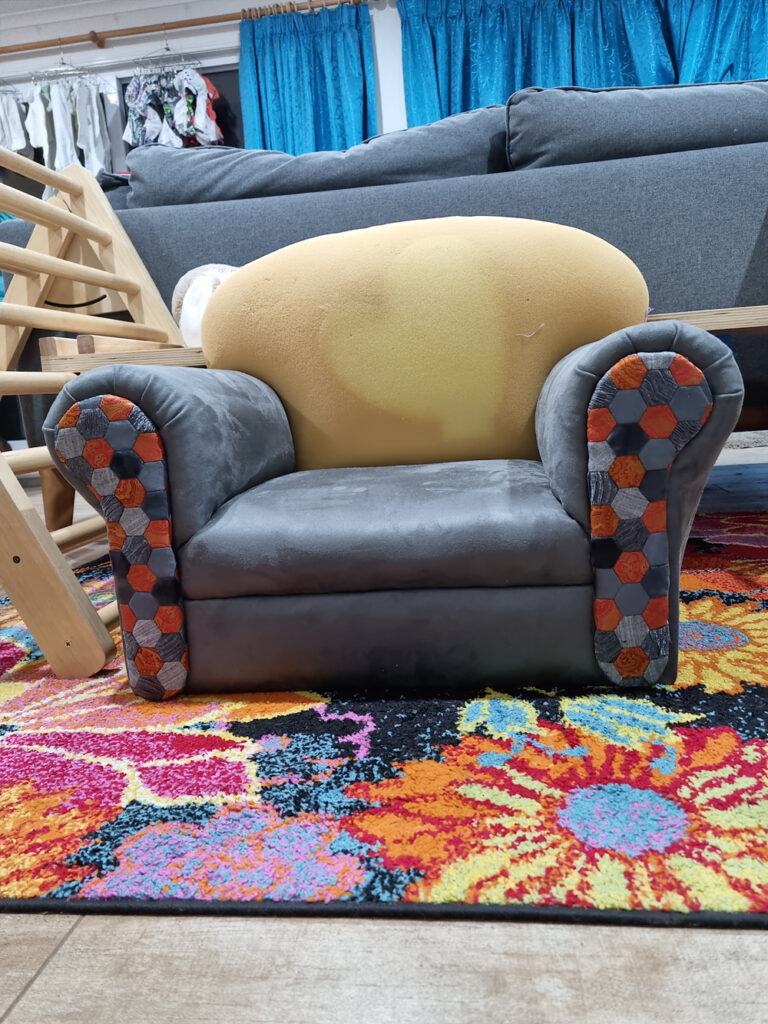
This is the flower motif i decided on for the back of the chair. something nice and simple to tie it all together
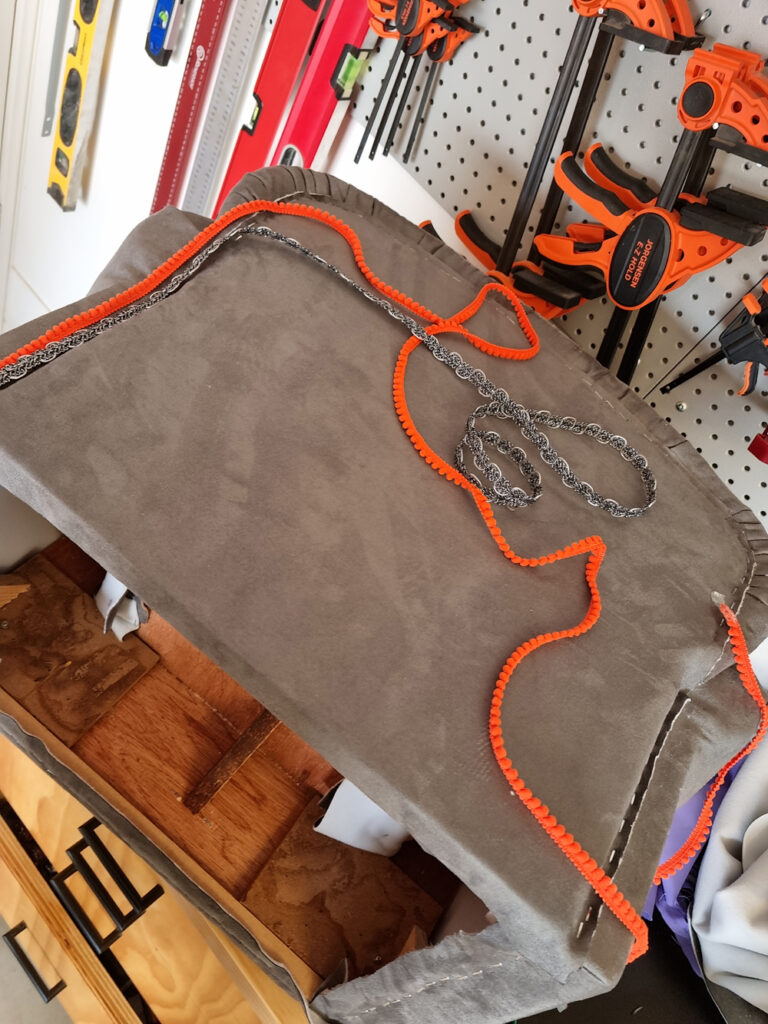
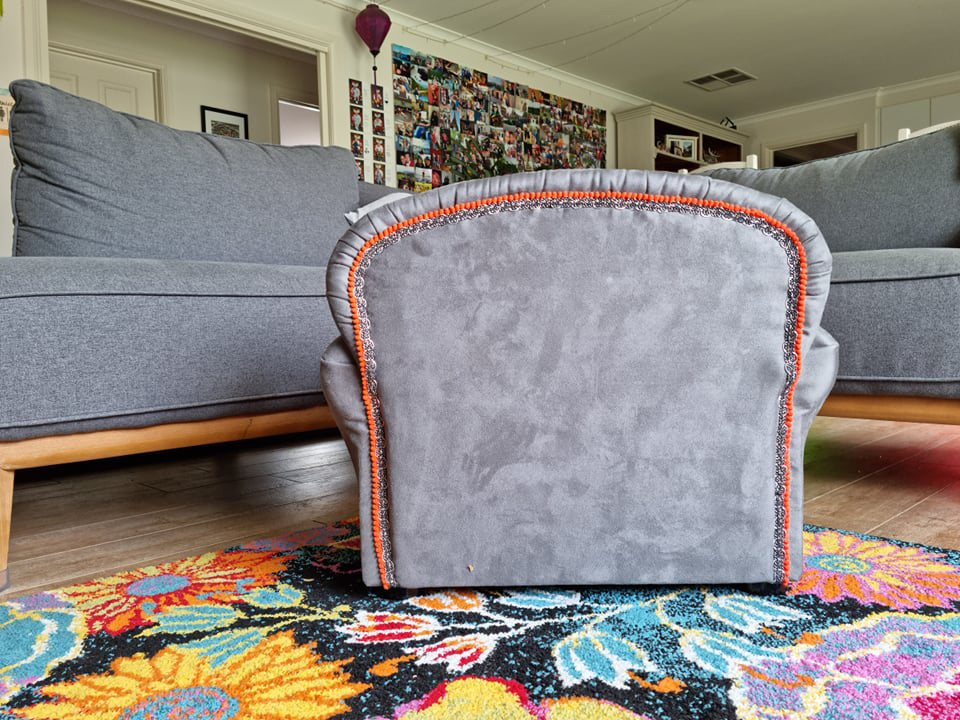
Once I had all the fabric stapled down I had to hide the last edges. I decided to glue trim over the edges (the original way seemed complicated haha) but I couldn’t decide between a grey silvery trim and orange bauble trim, so I used both!
And just in time for Christmas, it was done! Even though BB helped throughout the whole process, he still loved waking up to it under the tree on Christmas morning!
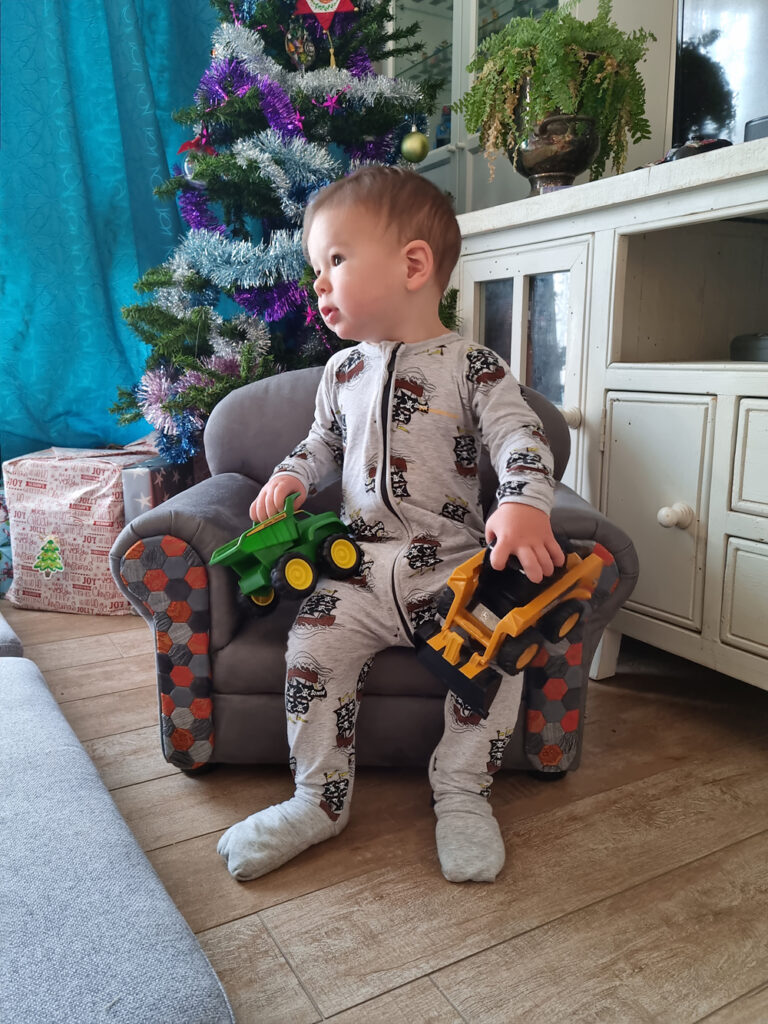
He loved waking up to his chair on Christmas morning
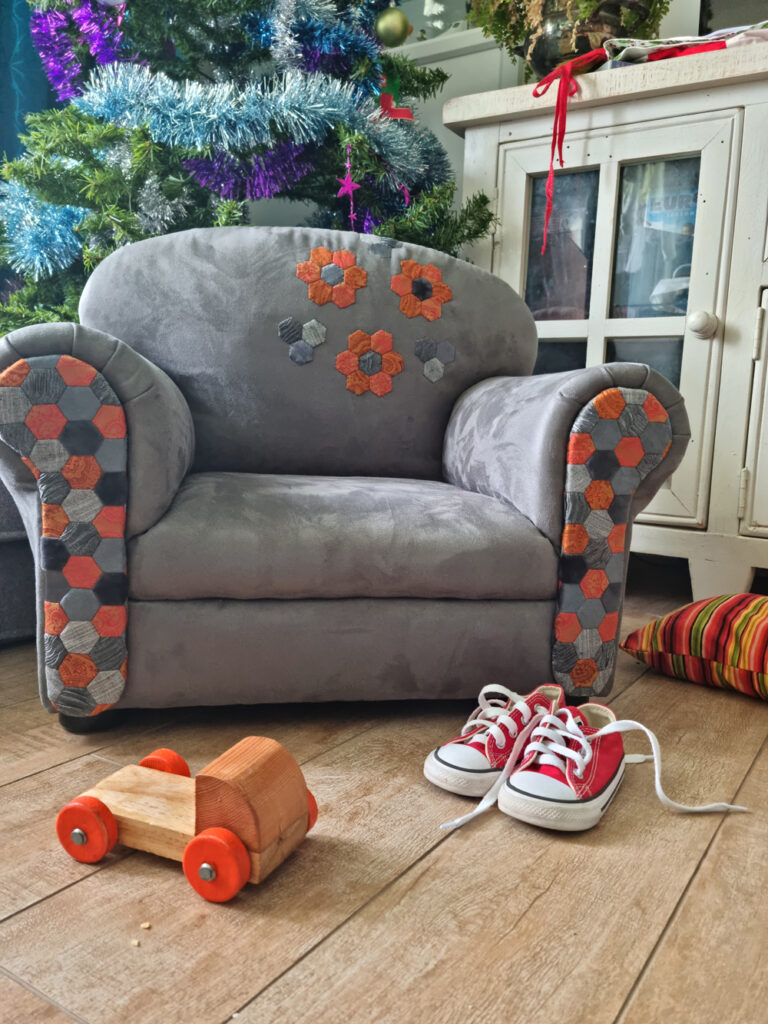
finished!
I’m sure I did a whole bunch of things wrong, and there’s bits that don’t sit quite right, but I love it! And the most important thing, BB loves it!
Reupholstering this chair was a lot of fun and I hope to be able to work on some more pieces in the future! I’m keeping an eye on our local “buy nothing” page to see what bits n pieces I can breath new life into! I do need to venture away from hexagons though, what would you like to see me do in my next piece?
Until you see me again, stay creative!
<3 Cate

Comments