

As I sit down to write this, I am a little bit annoyed at myself. I was hoping to have all my felting done and dusted. Alas, I am still working away at my bouquet. I showed you all the flowers I had made last week. I will be at least a week behind schedule when I finish them. With two months until the wedding, this isn’t a massive stress, but with two months until the wedding I had hoped to have at least STARTED my wedding dress.
Everything else is starting to come together. I found the most spectacular necklace and earrings from Mariana. I’m experimenting with beauty regimes that I would never have tried before (can you say manicure?) and the landscaping is coming along – we just need to plant the backyard and we have started the front yard.
So today…
I teach you now how to make a super simple flower.
It basically starts off felting a couple of circles. I draw circles on the back of bubble wrap as a guide to size and shape. Then I layer roving over these areas.
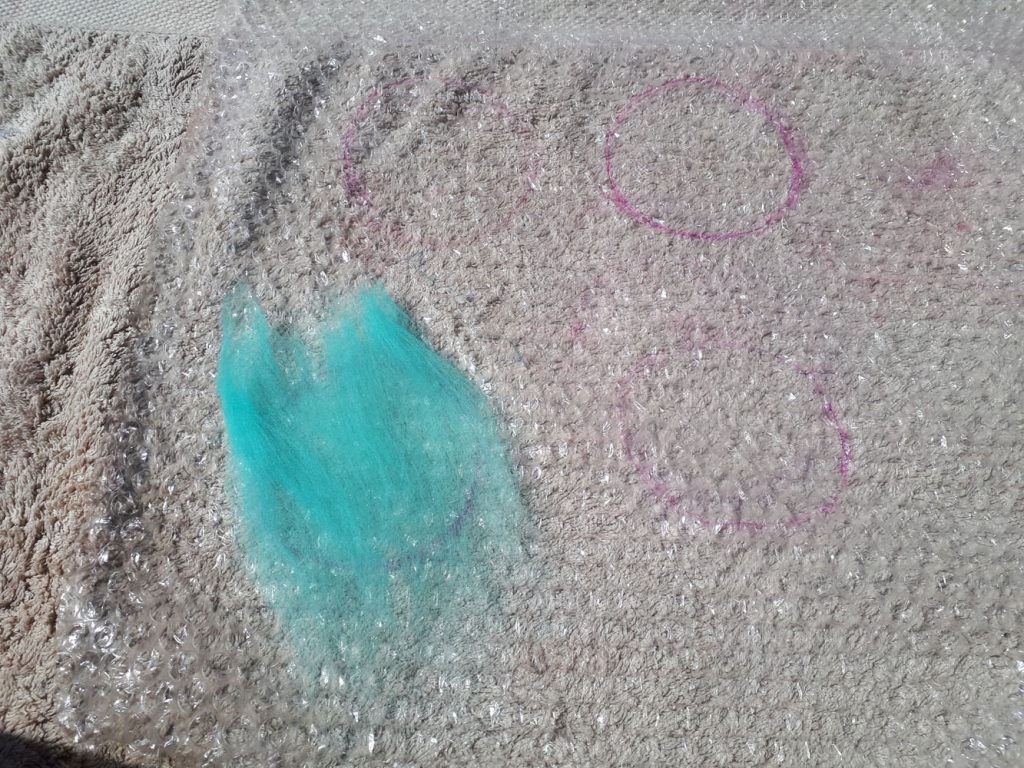
The first layer of wool roving is layed down on top of the bubble wrap, with circles drawn underneath as a guide to size and shape
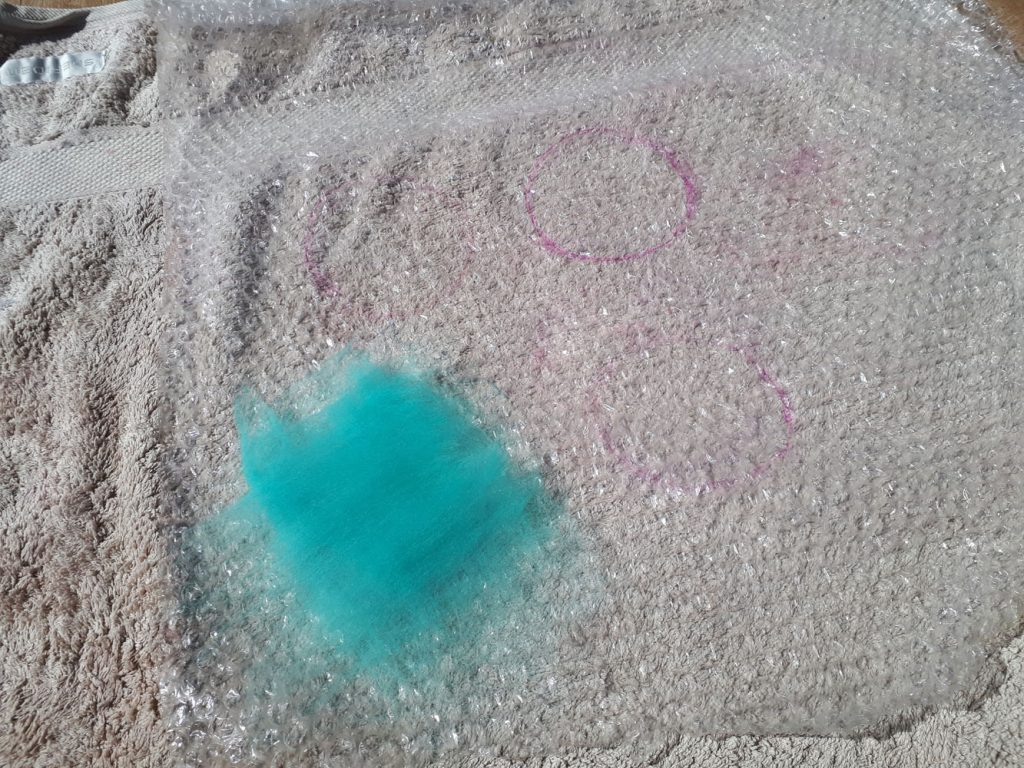
A second layer of wool is placed on top of the first, with the fibres running in the opposite direction.
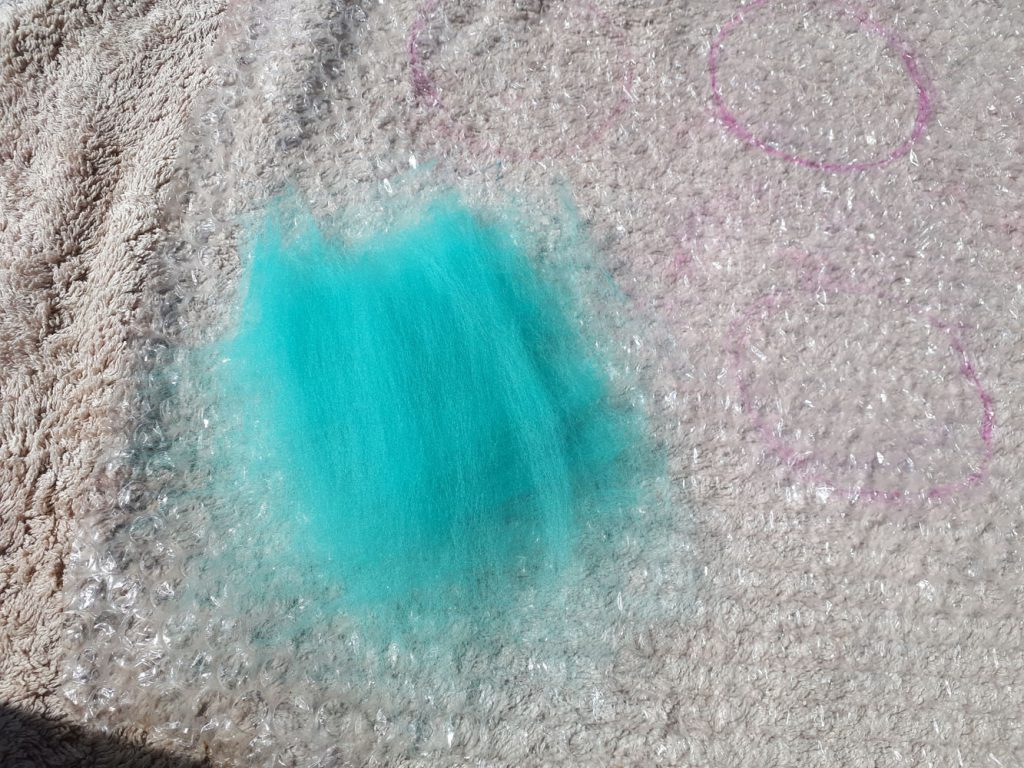
A third and final layer of wool is placed on top, again changing the direction of the fibres.
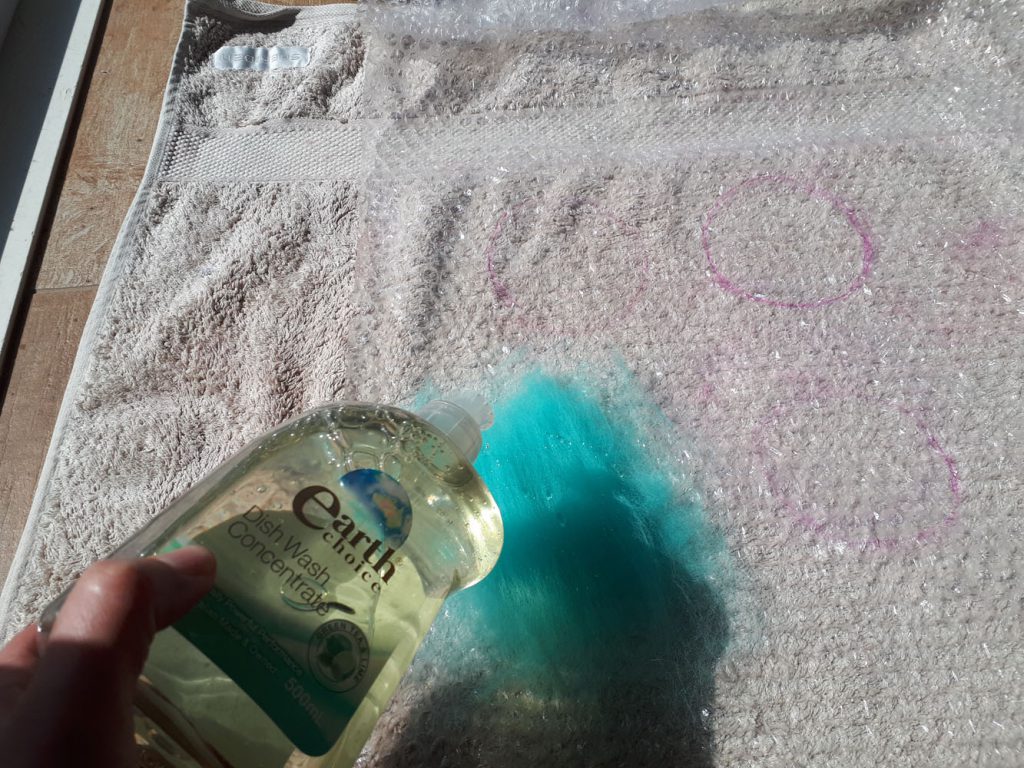
A little bit of dish washing liquid is squeezed on top of the layers of roving.
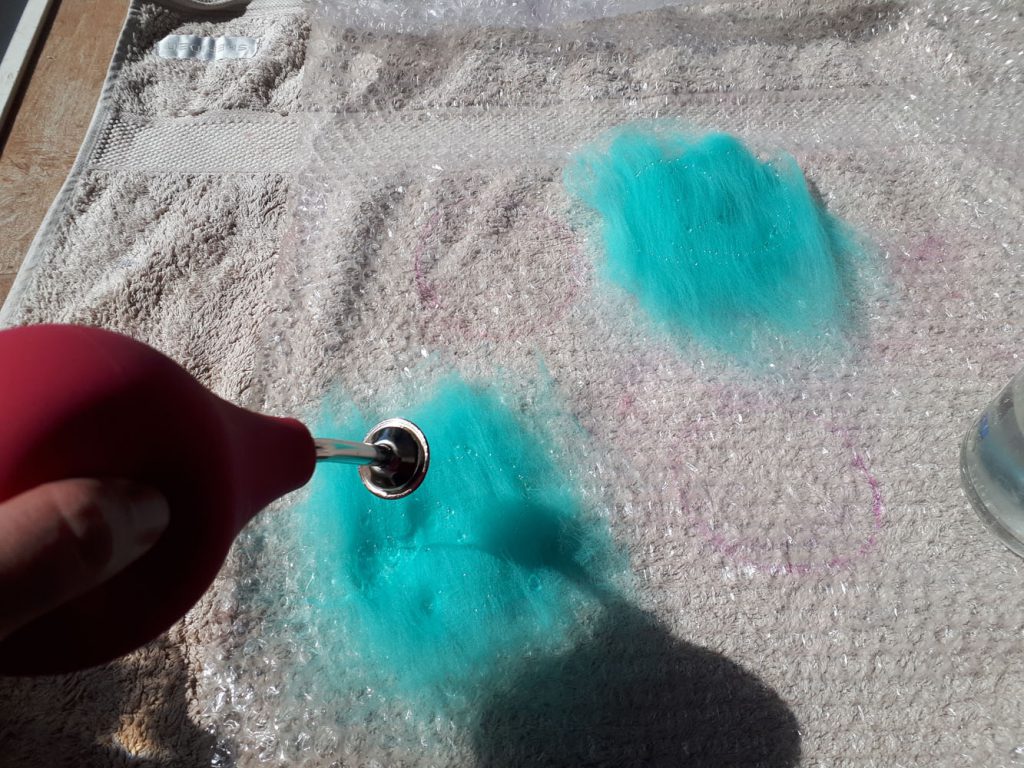
And then wet down the wool with warm (as hot as you can handle) water.

Gently fold in the edges, so the wool takes the shape of the guide drawn underneath.
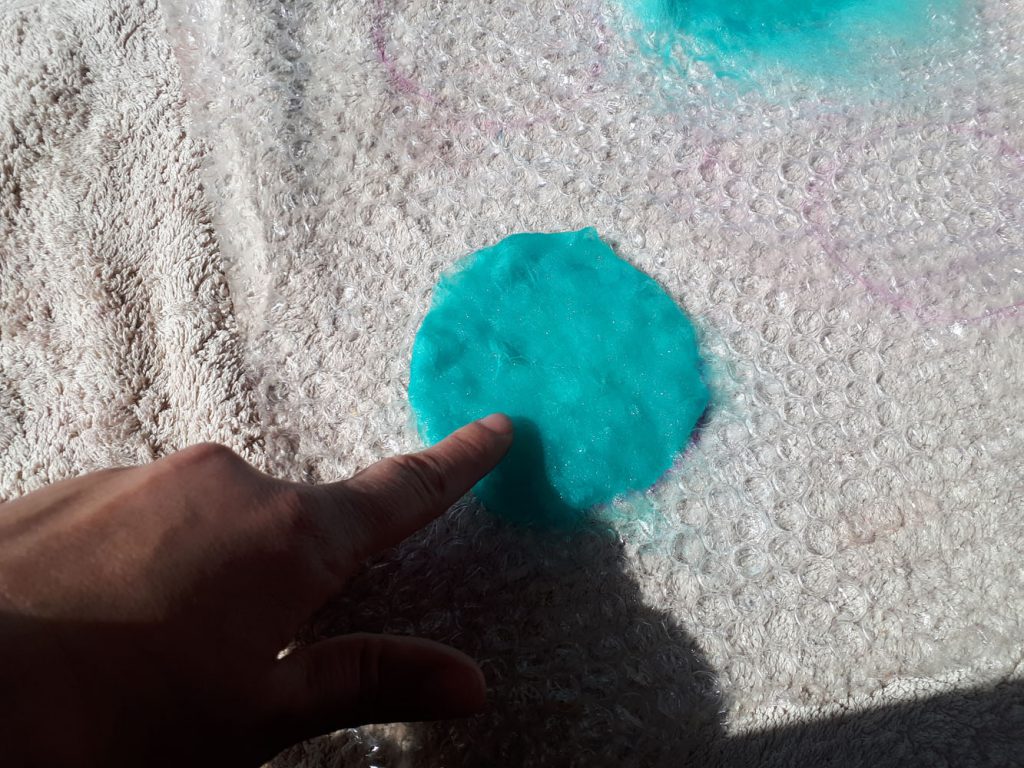
Edges neatened so it takes on the circle shape
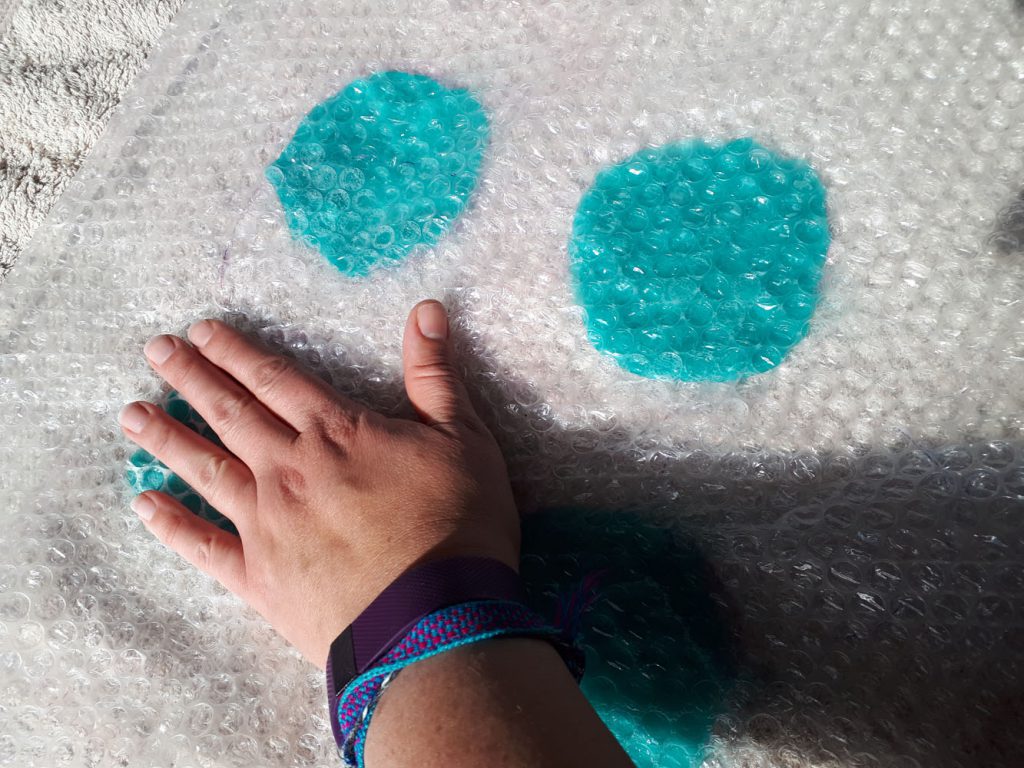
Place another piece of bubble wrap on top and gently massage. This will help the fibres start sticking together and allow you to move it to more rigorous techniques
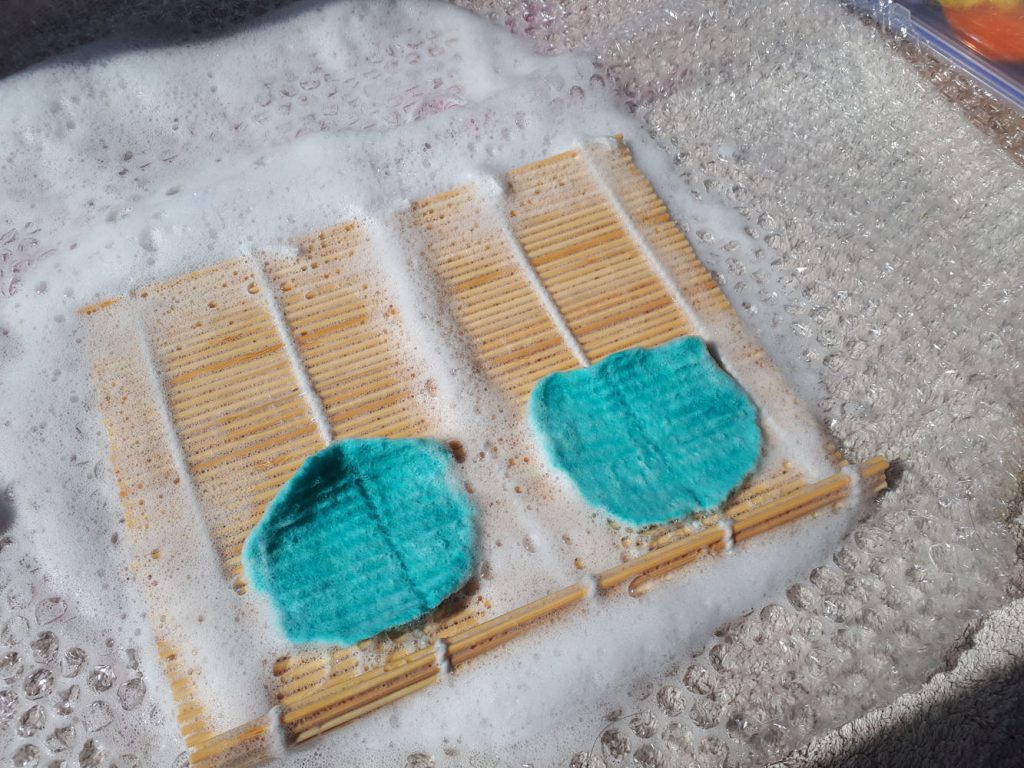
Place your circles on a sushi mat
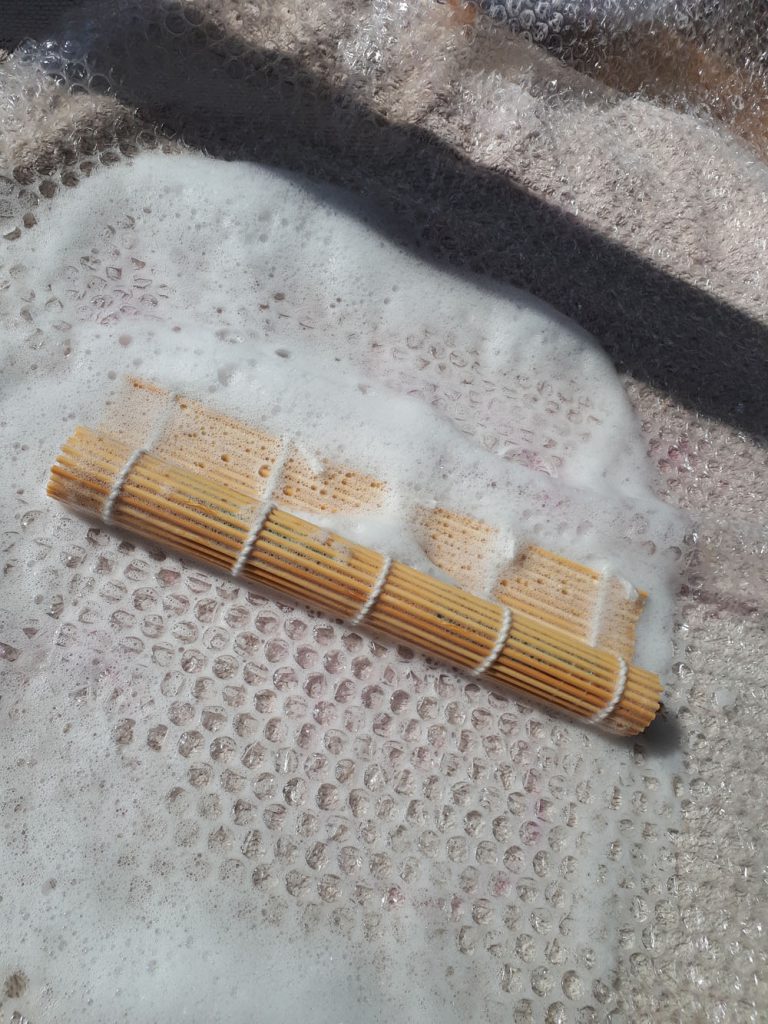
And roll! I tend to count to 20, unroll, move the pieces to a different direction, re roll and start all over again. Continue this until your pieces hold together well.
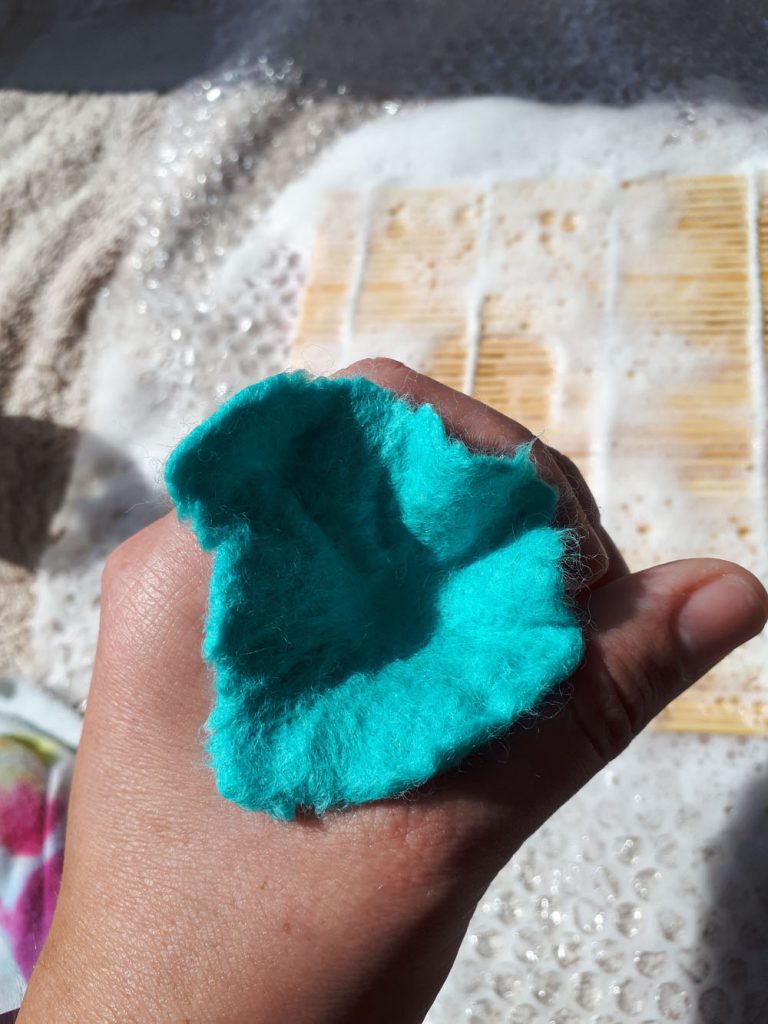
Then I take the circle, find the centre , push it down into a funnel like shape, then place this back in the sushi mat and continue rolling
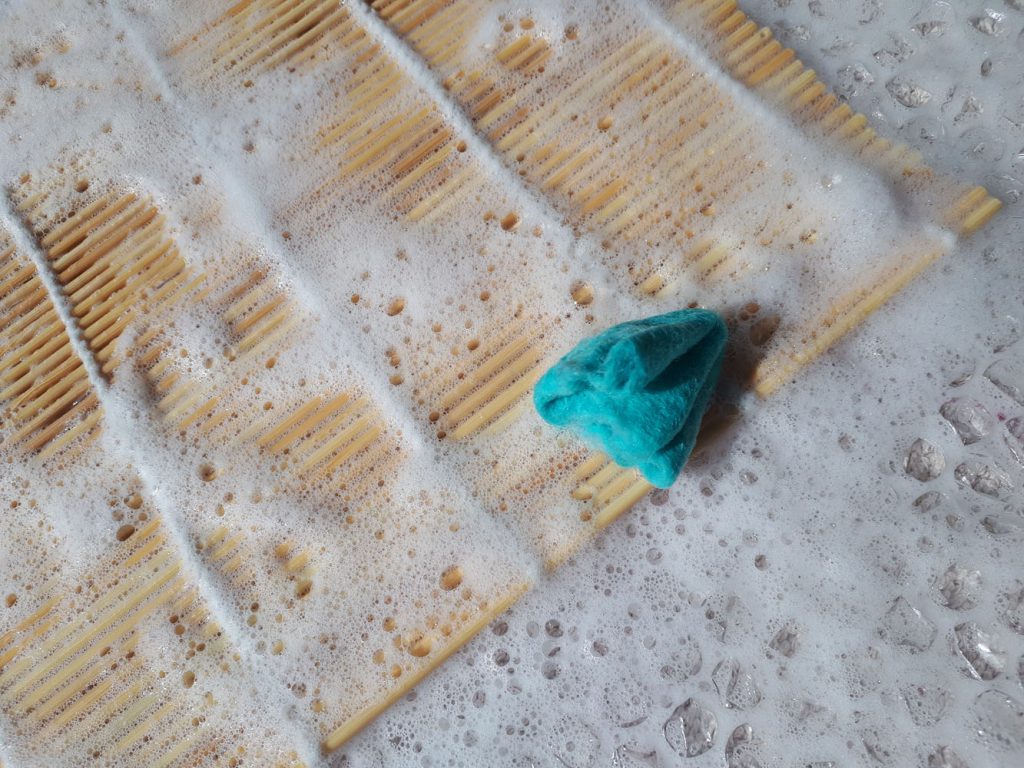
Continue rolling your flower until you are happy with how it has felted. I sometimes take mine to the kitchen sink which has that awesome drying area to one side. This is great for being extra rough on the felt and I can get a really nice thick felt rubbing it over this for a couple of minutes.
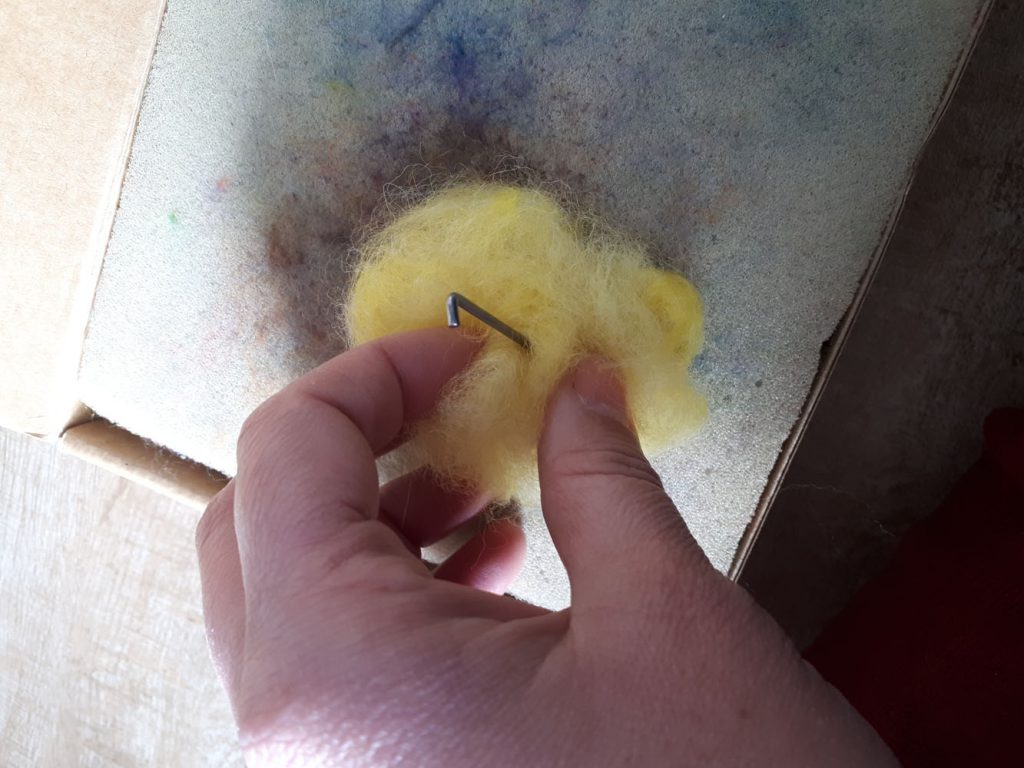
Then onto the flower centres. I have been making felt balls for this. I take some wool and twist it around my fingers until I have something that vaguely resembles at ball. I then use a needle felting needle to shape this into a nice neat ball
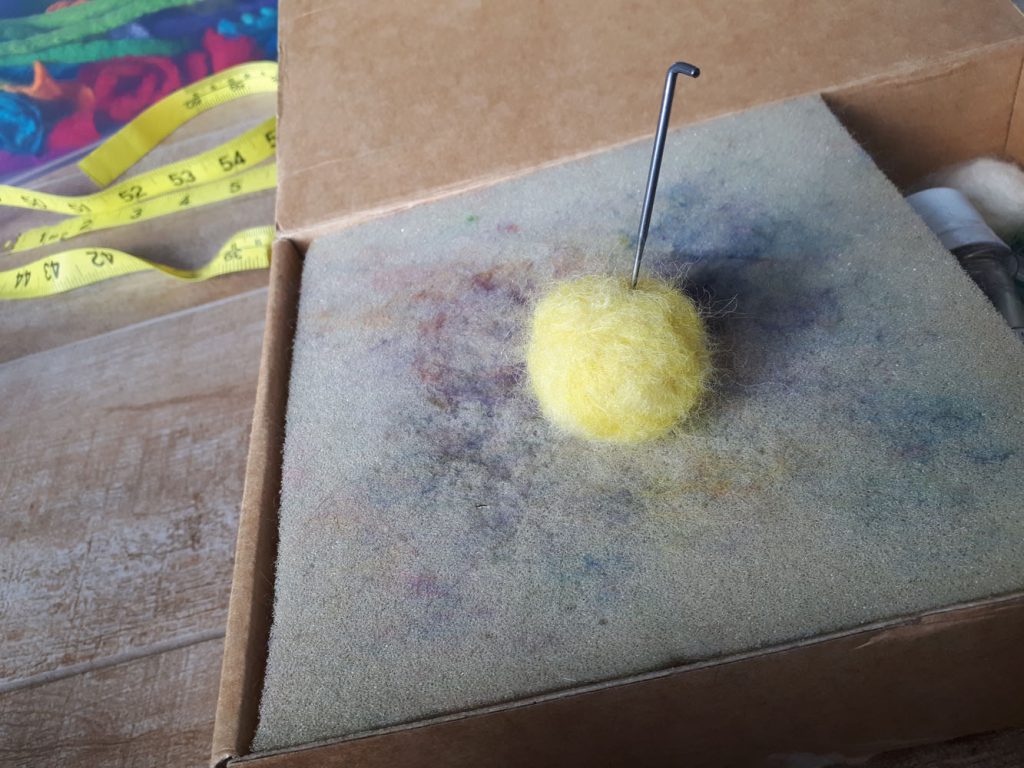
A nice neat ball shaped by needle felting it
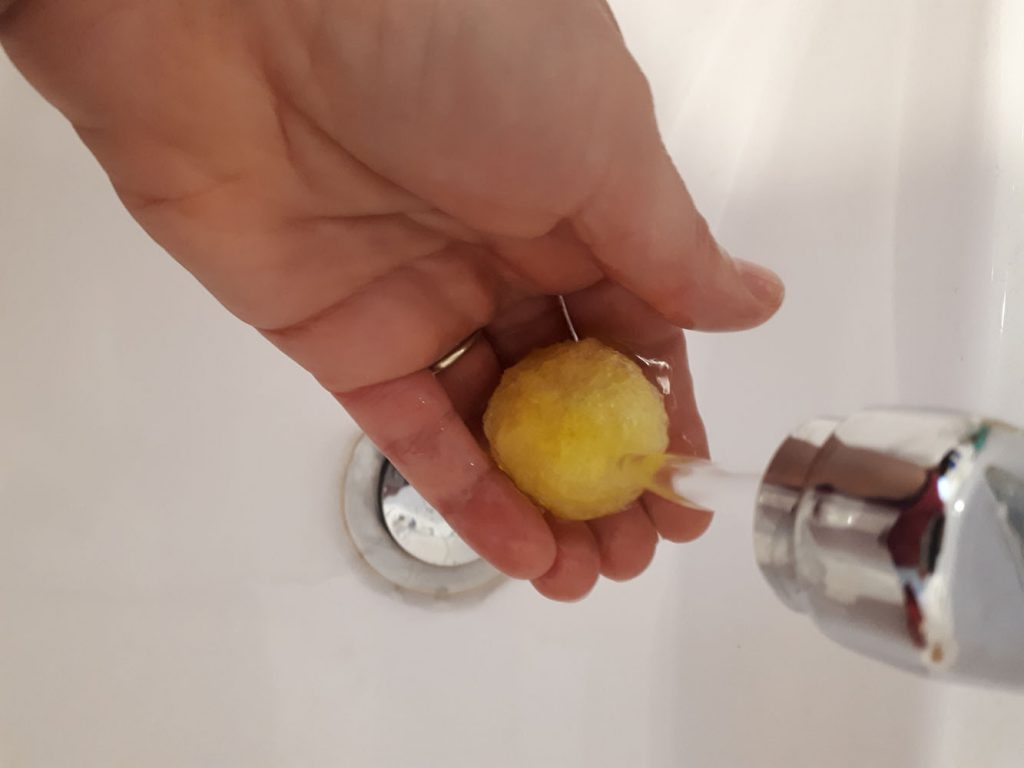
I then take the nice ball I shaped by needle felting and wet felt it to make a nice firm ball. I simply add a little dishwashing liquid and run it under the tap (again, as hot as you can handle, don’t burn yourself!) and roll it in the palms of your hands. Channel your inner child from the days of rolling play-dough balls! Make sure you keep checking it so you don’t roll it into a funny shape!
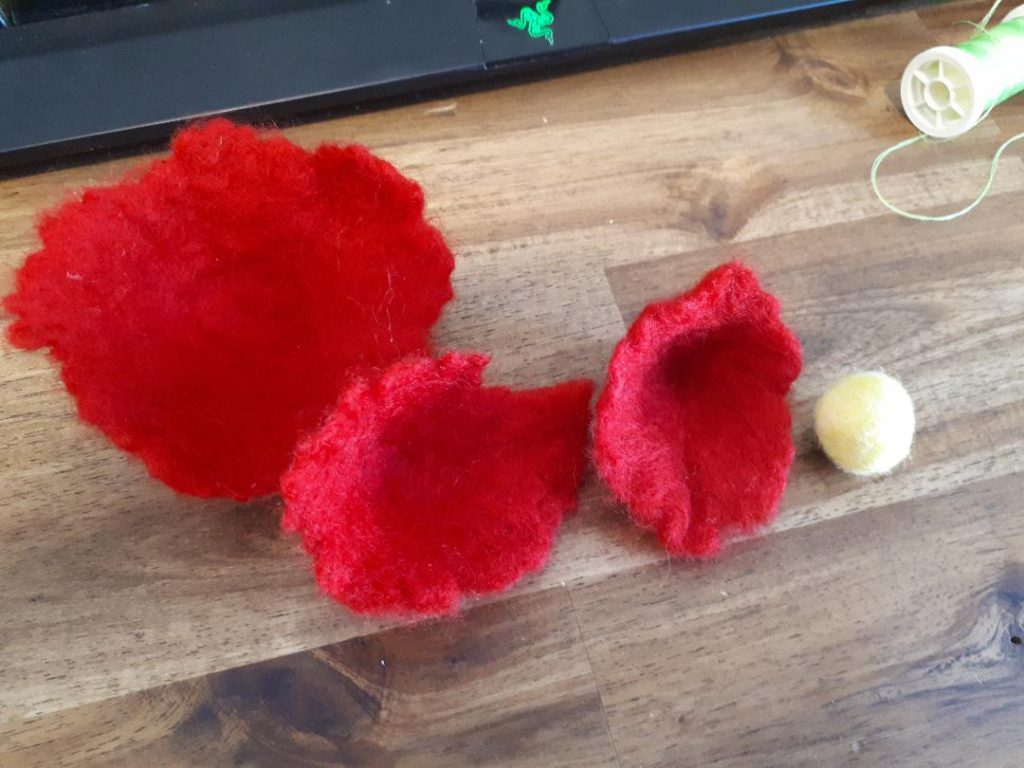
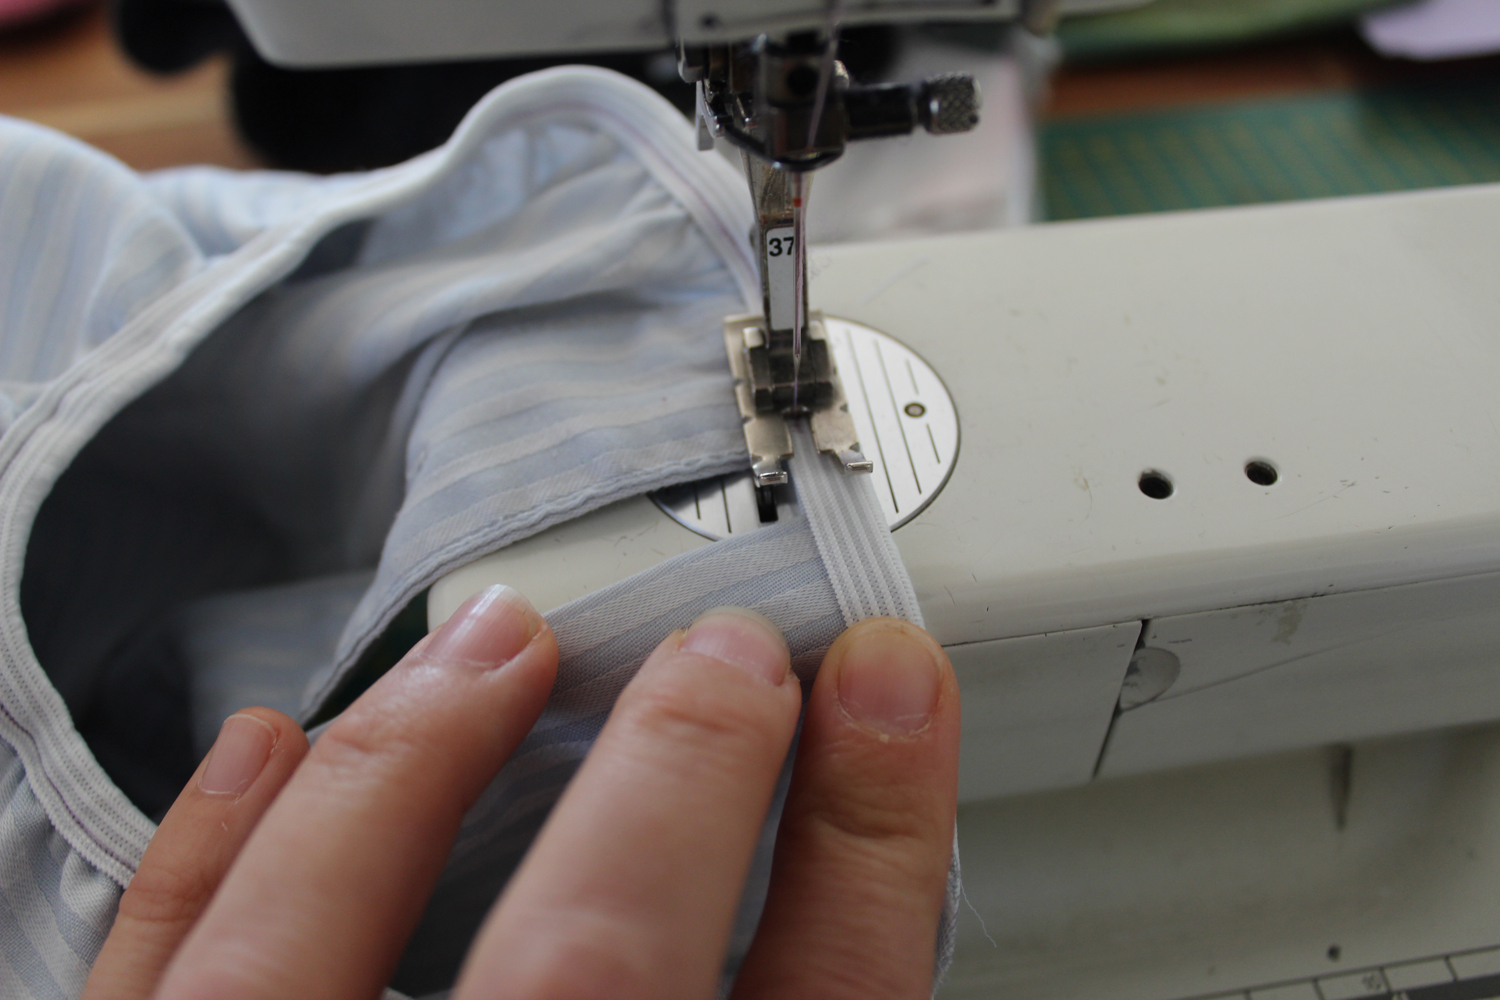
Now you take all layers and sew them together. I find it easiest to sew one layer at a time, starting in the centre and working out.
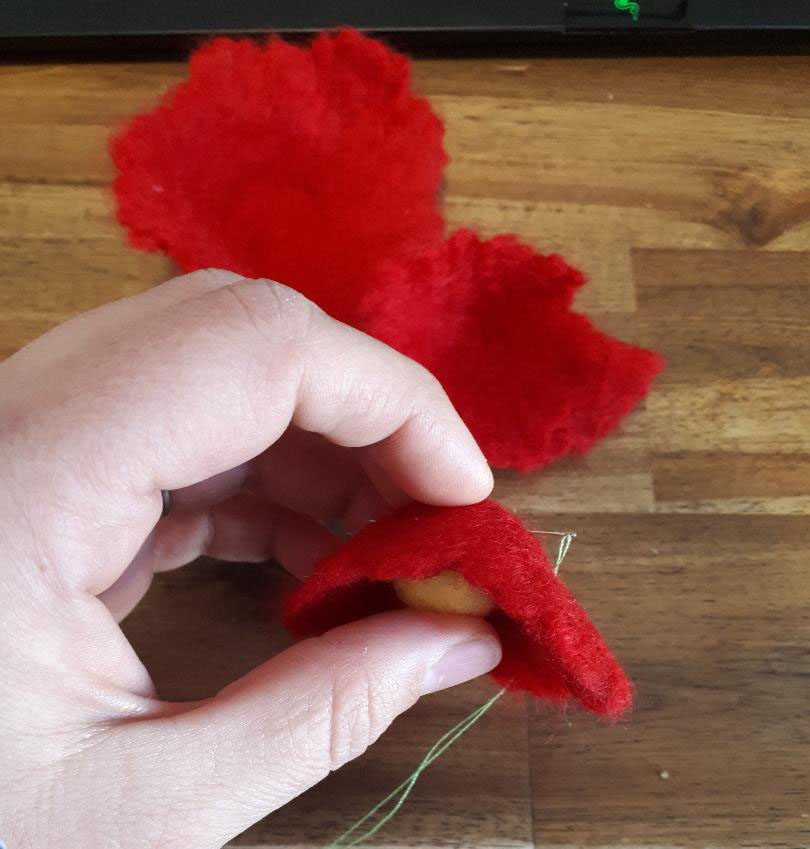
Sewing the layers together.
I used this technique and variations of this technique to make all my flowers. You can vary how many layers you use for a different look. You can leave out the ball for the centres and just use beads instead. I went to town with the beads, stitching them around the ball in the centre.
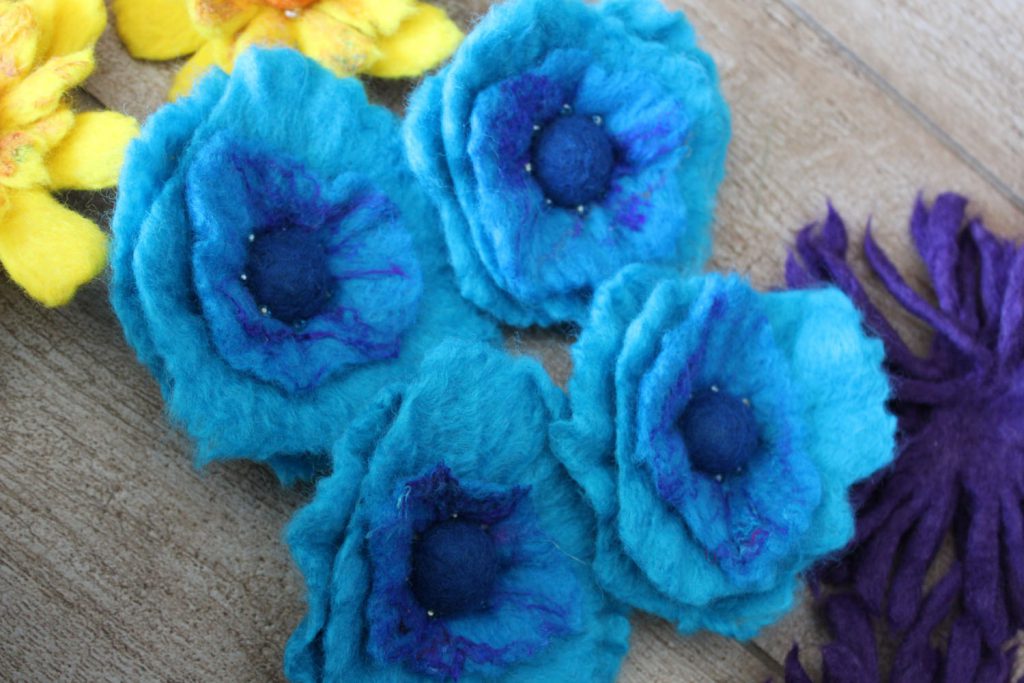
These were made with three layers of circles. I added some sari silk to give it some texture.
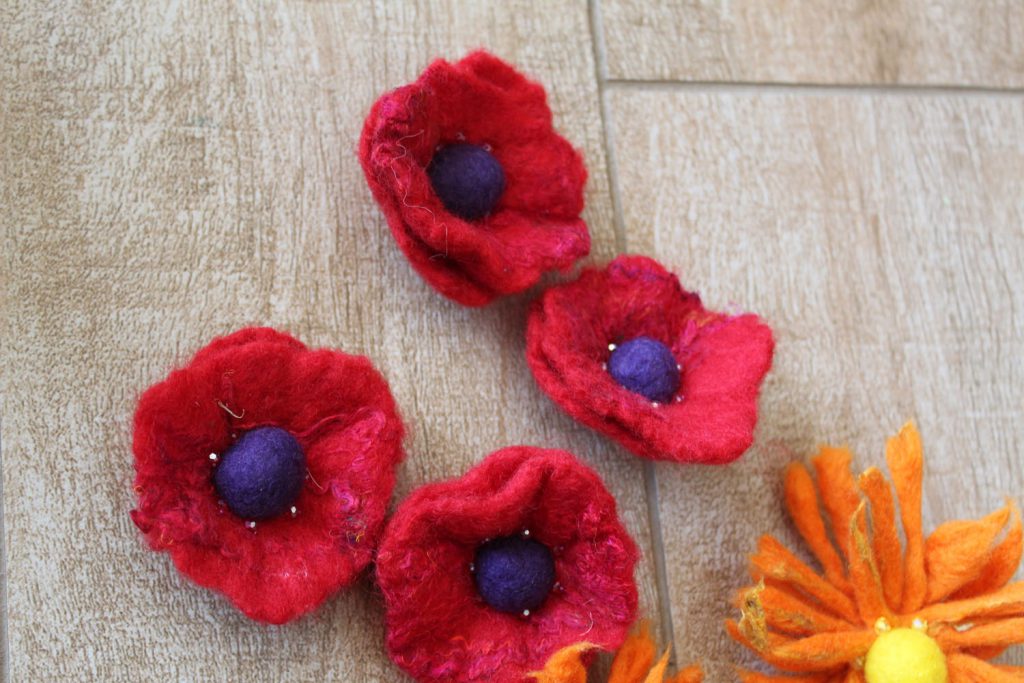
And these ones have two layers of felt circles
Today I’m madly sewing stems and figuring out if I need to make any more flowers! Hopefully *cross my fingers and toes* I’ll be reporting the beginnings of my dress next week!
Until then, stay creative!

Comments