
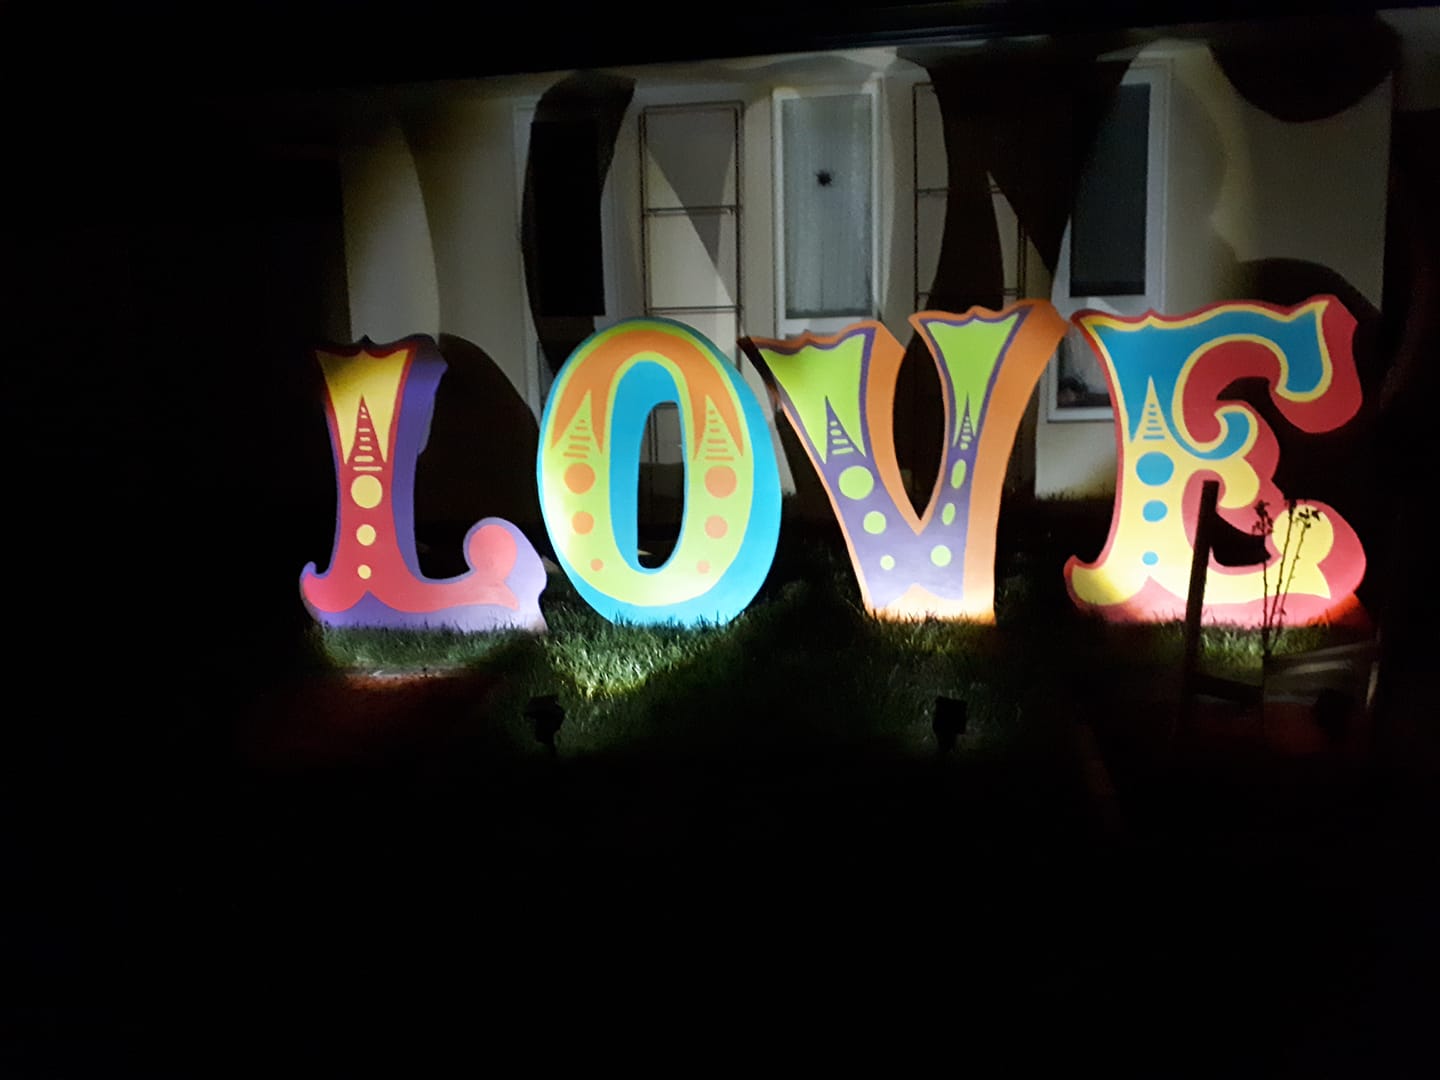
The LOVE sign was my favourite piece I made for our wedding. (and I made a LOT of stuff!) I’ve shown you bits and pieces of it over the last few months, but I think it deserves its very own post 🙂

It stands approximately 1.2m high, and spans ~4m depending on how much you space it out.
I started by finding, downloading and installing a font that I liked. I went for a circus style font, which gave me a lot to work with. I used Adobe Illustrator to lay out my letters, as this allows me to set the size and tile it ready for printing.
Then I scoped out Bunnings (yep, most of our paychecks go to them!) for suitable wood to make it from. I found a large piece of ply wood approx 1.2m by 2.5m by 12mm and bought that. I used the dimensions of the wood to determine the size of the letters. I quickly realized that I wanted my sign to be bigger than one piece of ply would allow, so I got a second piece and scaled my letters even bigger. I was able to cut two letters from each piece, with small amounts left over which Guy used for other projects.
Once I had my letters the size I wanted, I headed to office works and printed them off on A3 paper. Once back at home, I taped all the pieces together, then cut out each letter. This became my template to trace onto the wood.
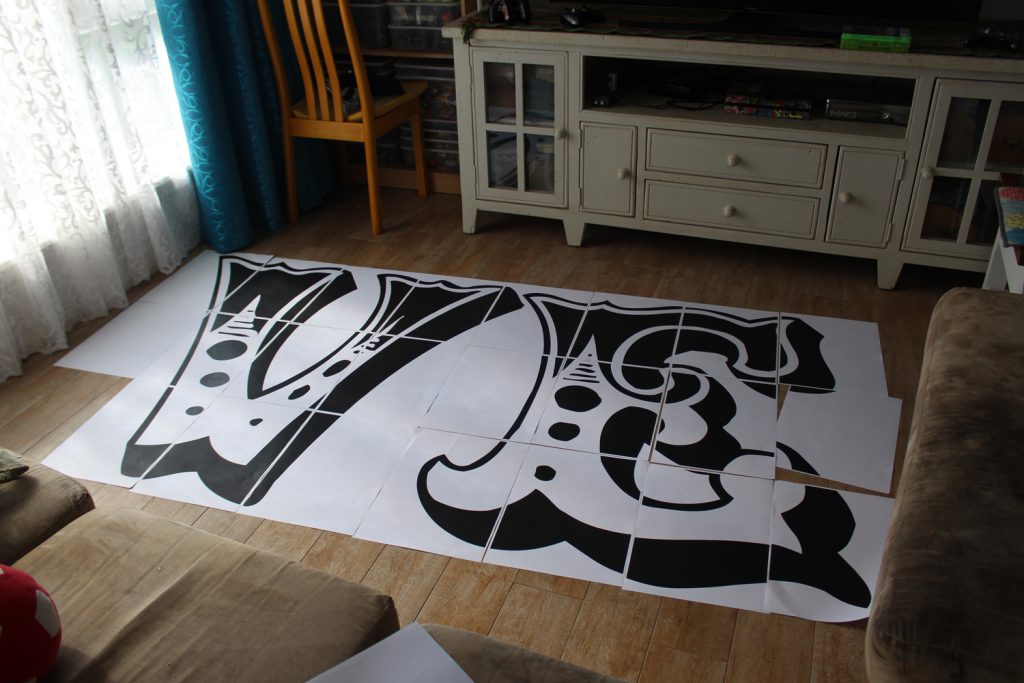
I printed the letters at Officeworks on A3 paper and then taped them together to make a template.
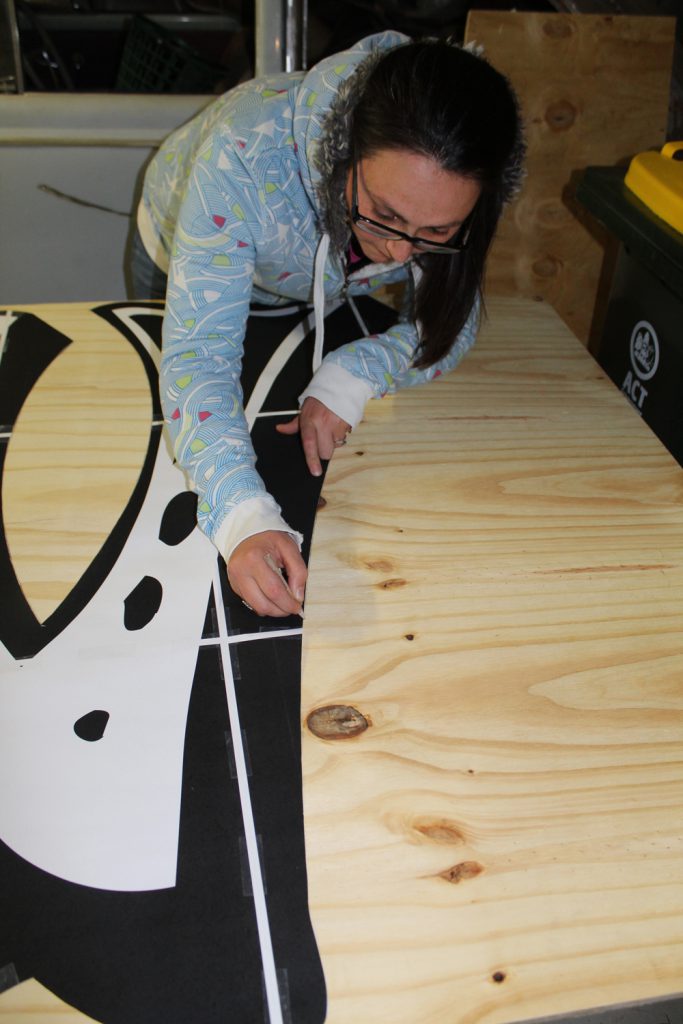
Tracing the letters onto the wood
I got a new jigsaw just so I could cut these out! Hadn’t used one in years, and I learnt a few things along the way… like be careful of whats underneath… you don’t really want to cut into the table!
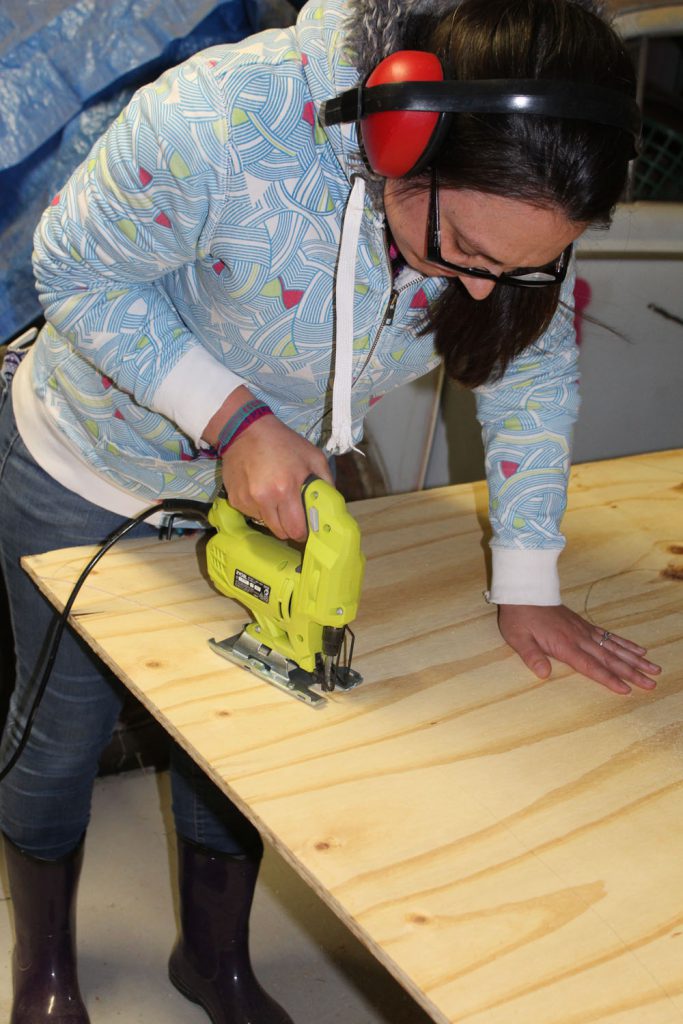
Using the jigsaw to cut the letters out
Once I had all the pieces cut, I put on Netflix and plonked myself down on the lounge with some sand paper and went to town on the edges until they were nice and smooth. Probably not the best idea if you like your couch, but ours is horrid and desperately needs replacing, so whats a little saw dust to add to the mix of unknown grossness.
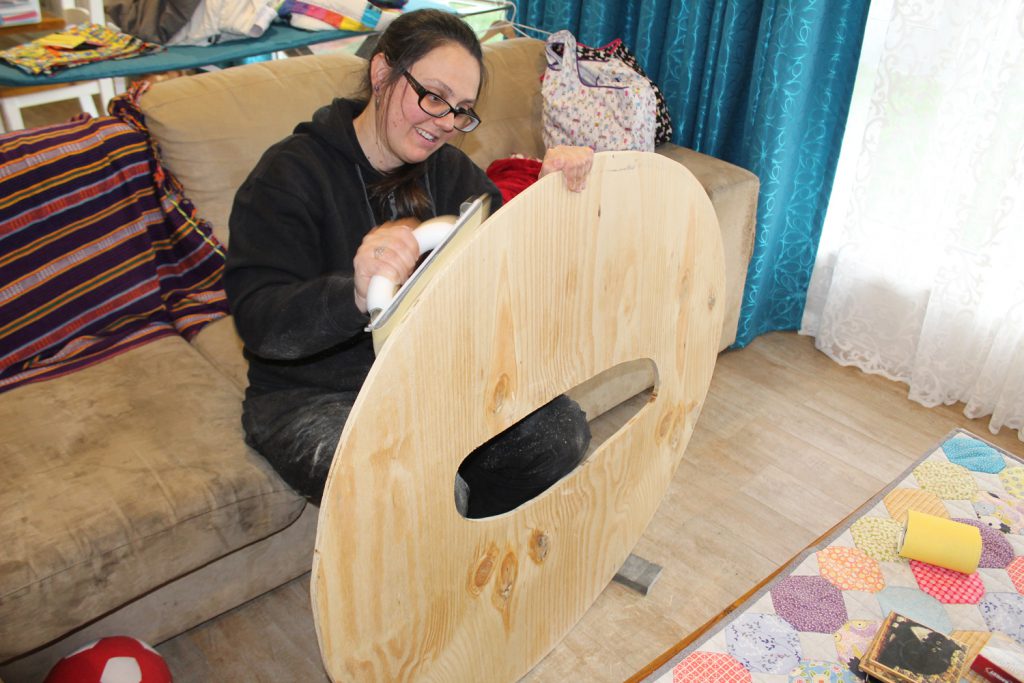
Sanding the letters in the lounge room!
They went into the garage for a few months after that. We pulled them out again a few weeks before the wedding to finish off.
Guy added H frames to the back. He added holes so we could peg them down (luckily as the day was terribly windy and they would have blown over otherwise)
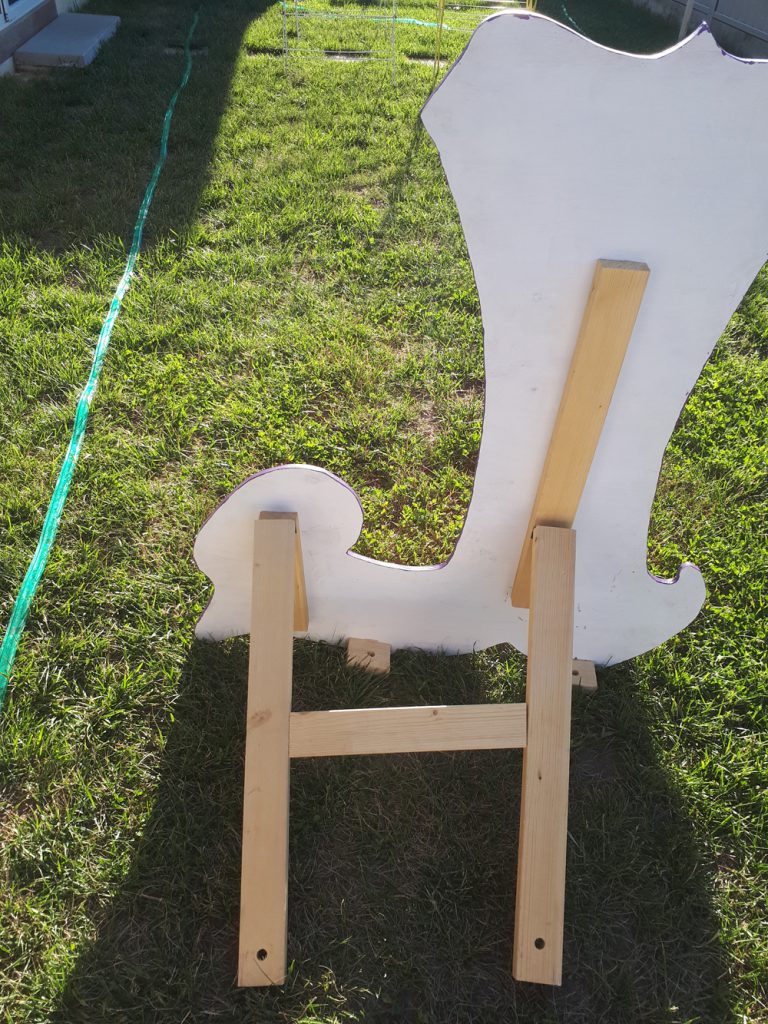
H frame on the back makes it stand
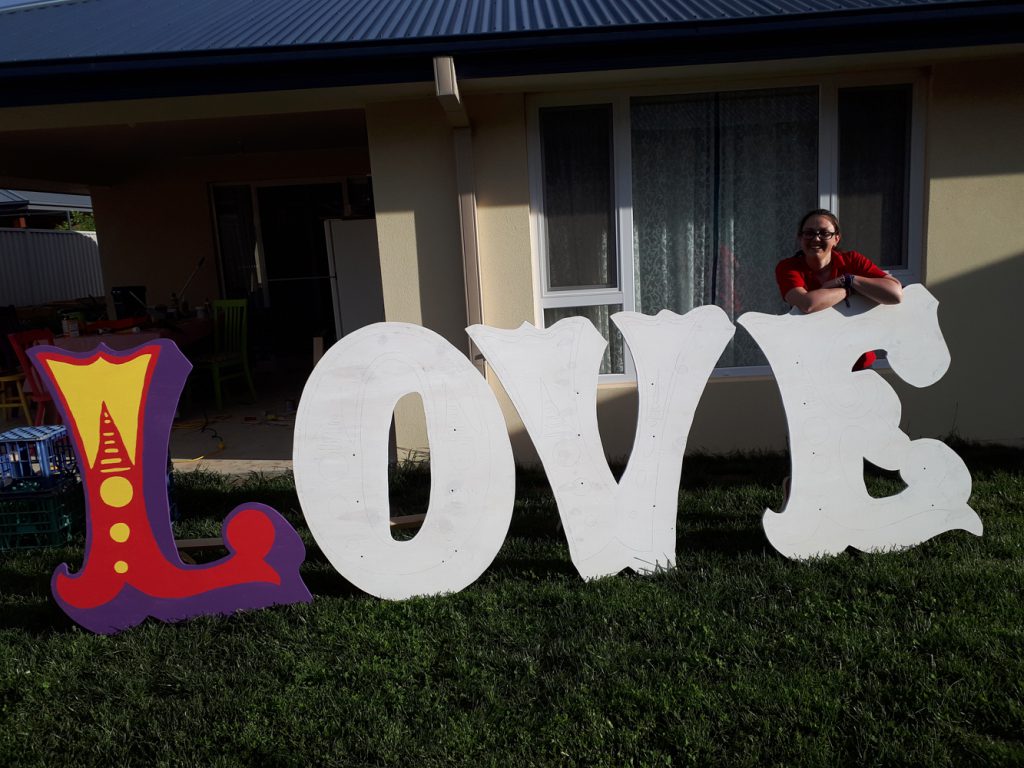
When painting them, I started with a base coat of white (thank you leftover house paint!)
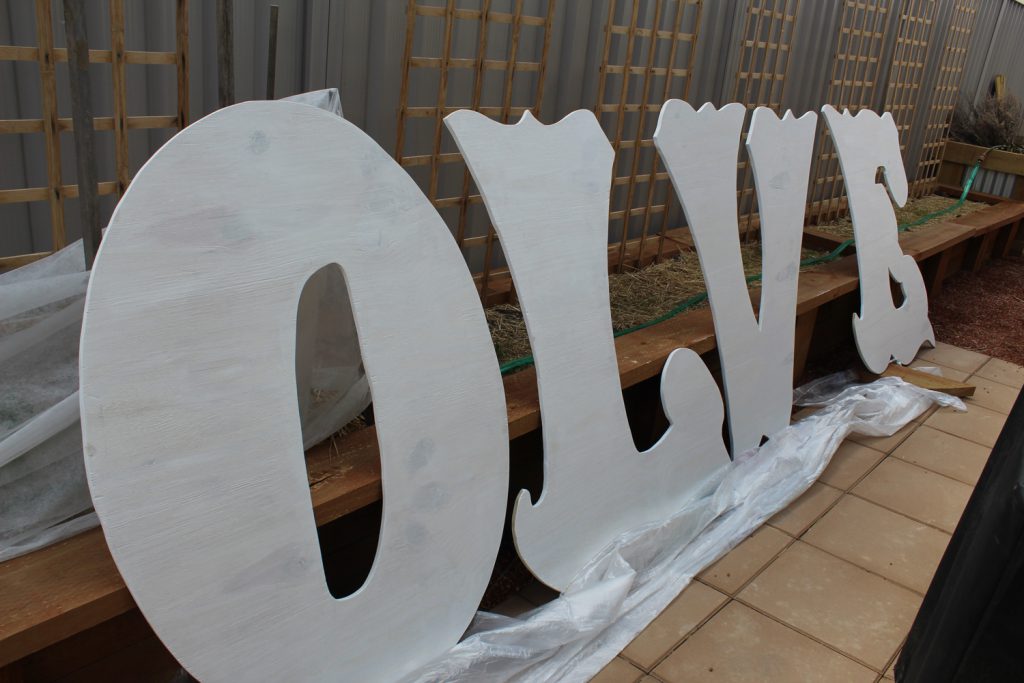
White under coat
I printed off small copies of the letters and tested colour combinations. Armed with a plan, I set about painting the letters in pretty colours! All the paints we had left over from other projects. The white was what the builders left after the house was painted, the lime green is the colour of Guys study and the other colours we bought when we refurbished chairs for the alfesco. I finished painting the letters two days before the wedding!
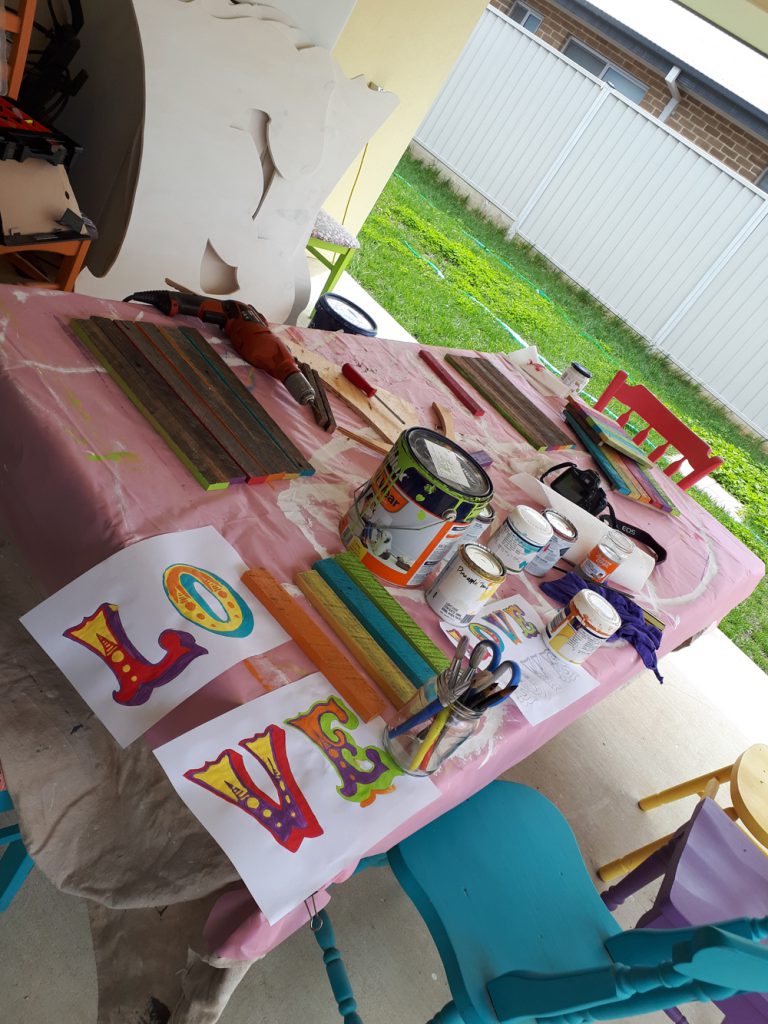
Testing colour combinations for the letters before painting the real thing.
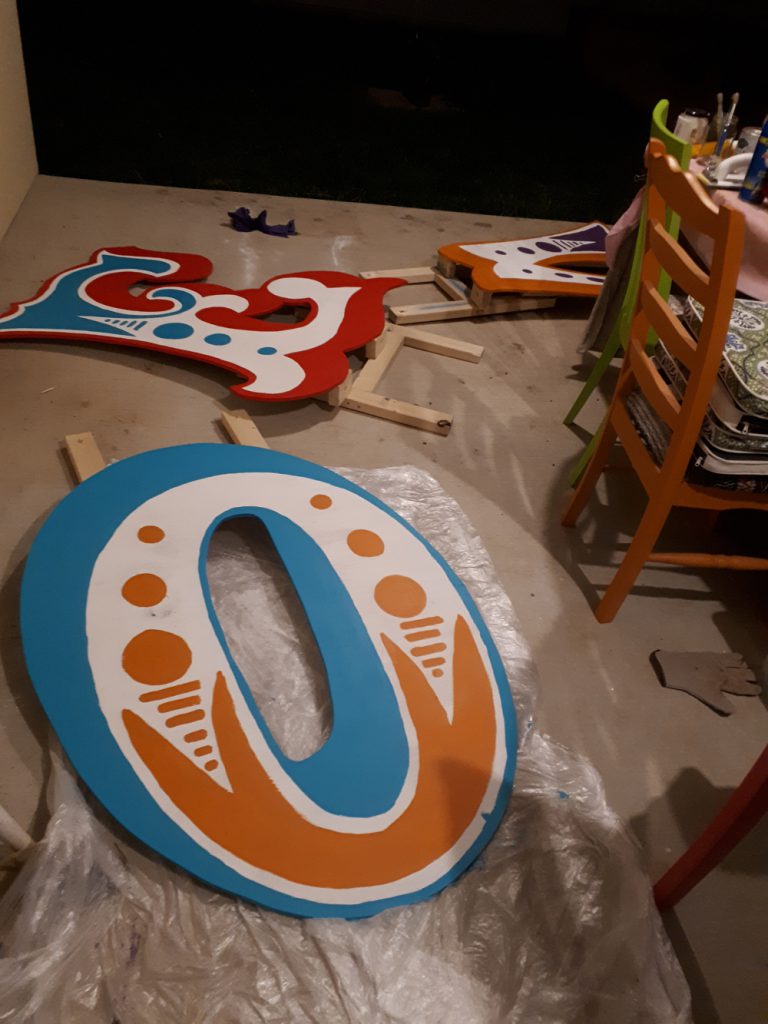
Painting the letters
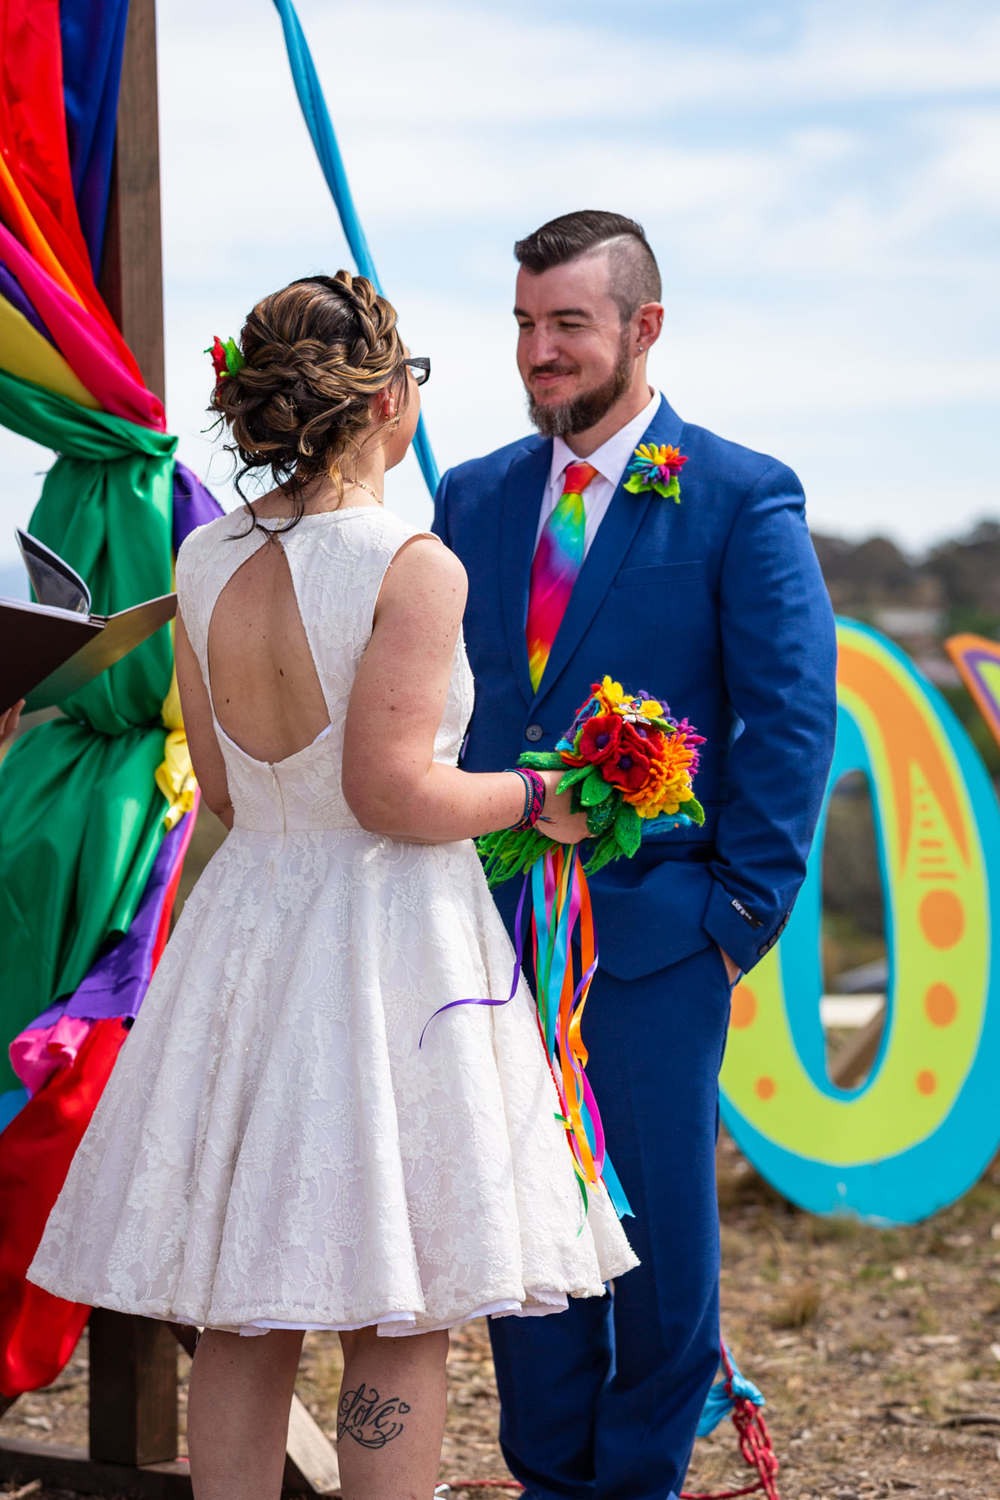
It looked amazing on the day. And lots of people took photos standing with it. A certain cheeky monkey loved to sneak into the photos as well!
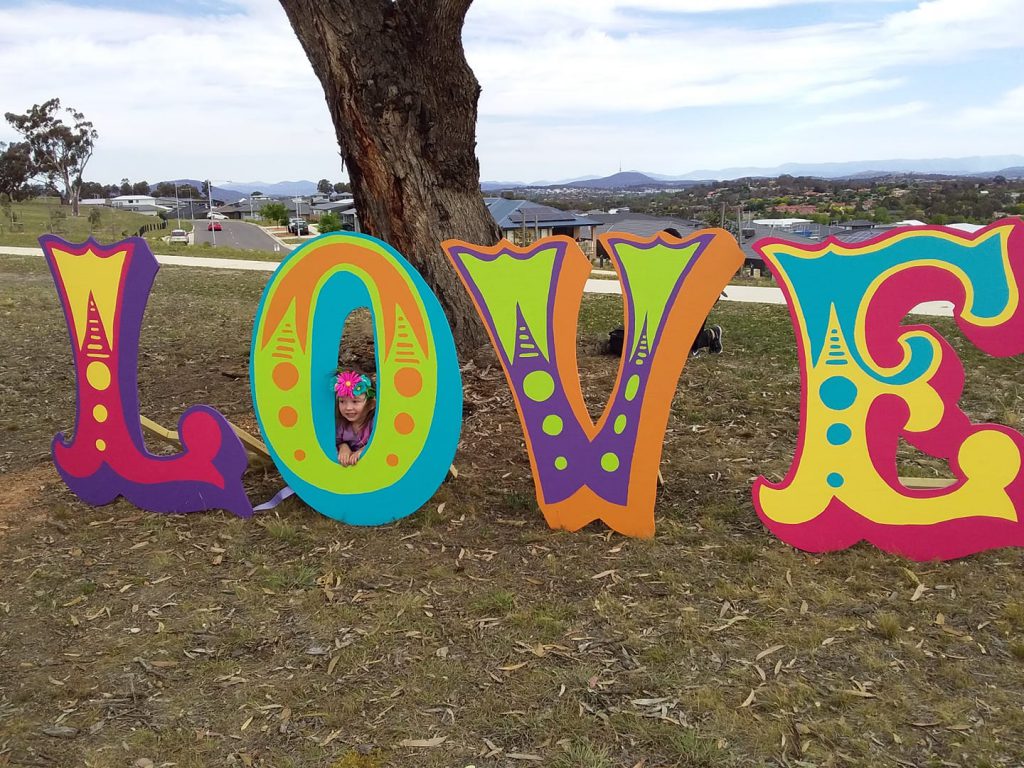
It looked amazing on the day! Even (especially?) with a cheeky monkey hiding in there 🙂
Unfortunately me and Guy never got a photo with it 🙁 The closets I have is these photos before it was finished, and a selfie I took the day after.
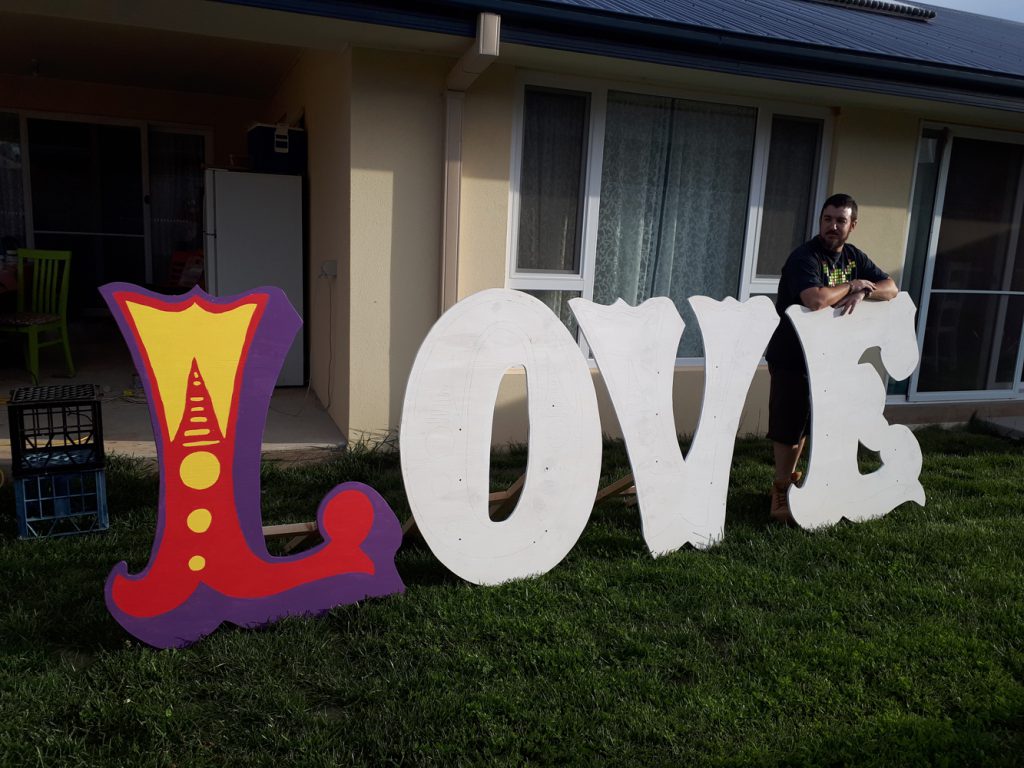
Guy with the sign before I had painted most of it
We were just seeing the size. It was exactly what I had imagined!
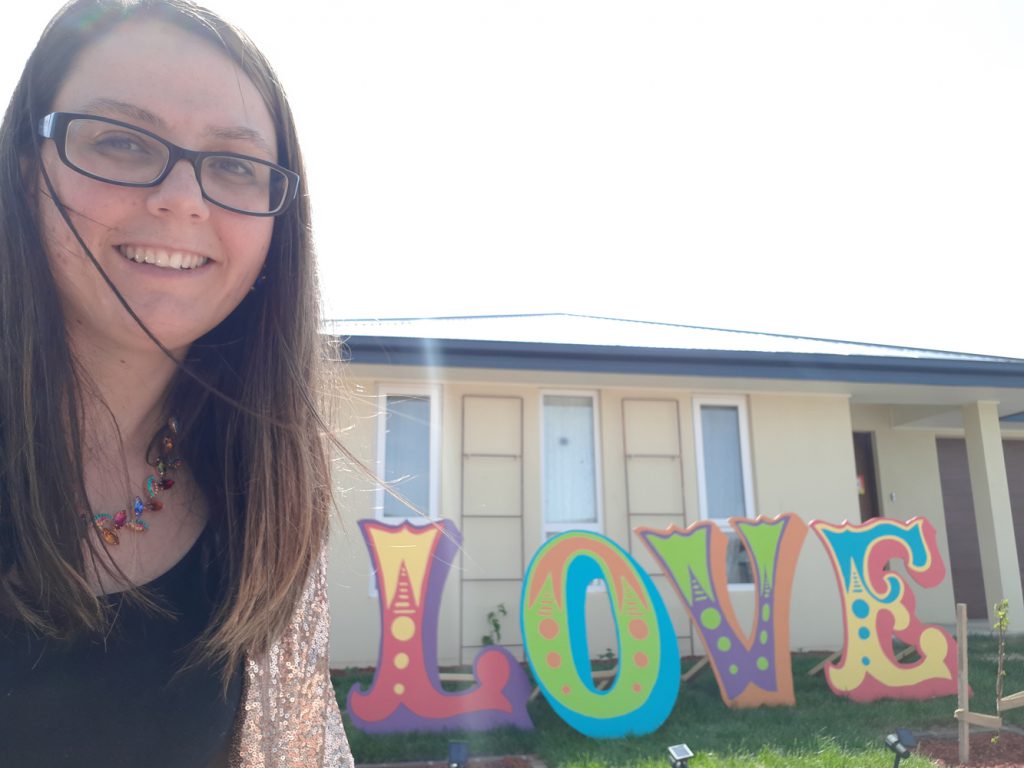
I made a “Selfie game” for people to play throughout the day. I completed mine the day after. This was me with “lots of LOVE”
We put it up for sale, as we did with a lot of the wedding stuff, but no takers yet. We were told by one of our friends that under no circumstances are we to sell it. So I guess it goes into the garage for the time being. Could be cool to have a family photo with when (if) we ever have children.
Have a creative week!
<3 Cate


Comments