
I discovered in my dyeing research adventures, that using a slow cooker is a legit way to dye yarn, more specifically, wools and what not, as they need the heat source to set the dye.
Much to my delight, when a neighbor was having a clean out, I managed to grab a bag of yarn! And it was all white and natural colours! Perfect for dyeing!
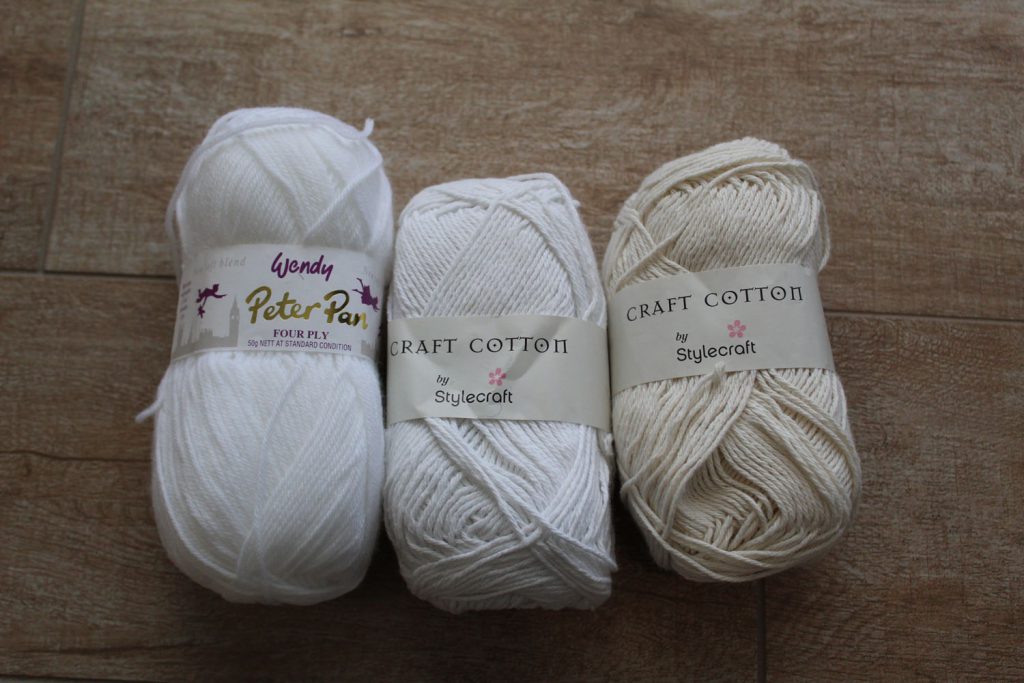
Inside the bag was 7 and a bit balls of 4ply nylon/acrylic blend (all white) and 8 balls of cotton (half white, half natural). I was happy to find out that my “Landscape” dye would work on the nylon/acrylic blend! This presented the perfect opportunity to try out “Slow Dyed Yarn”
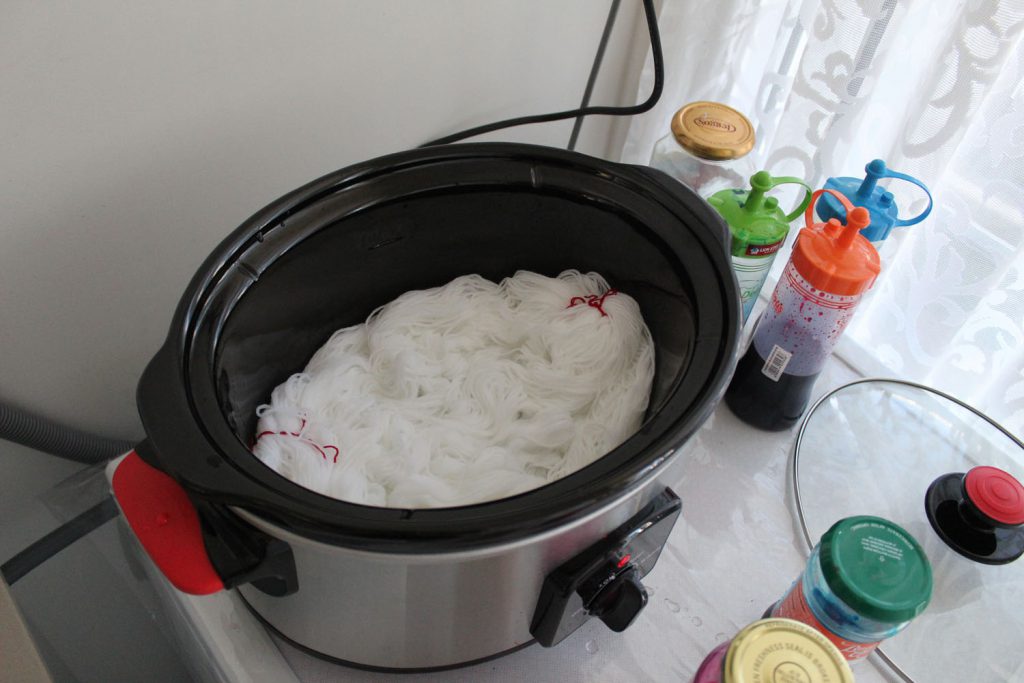
I picked myself up a cheap slow cooker, and set up a “Dye Studio” in the laundry. Some plastic table protector helps keep the washing machine and bench tops clean. The slow cooker sits nicely on top of the washing machine, whilst I have supplies and running water close at hand! (I’ve even cleared a shelf off to store stuff, so it has turned into quite the studio space, but shhhh told tell the housemates!)

Welcome to the Dye Studio!
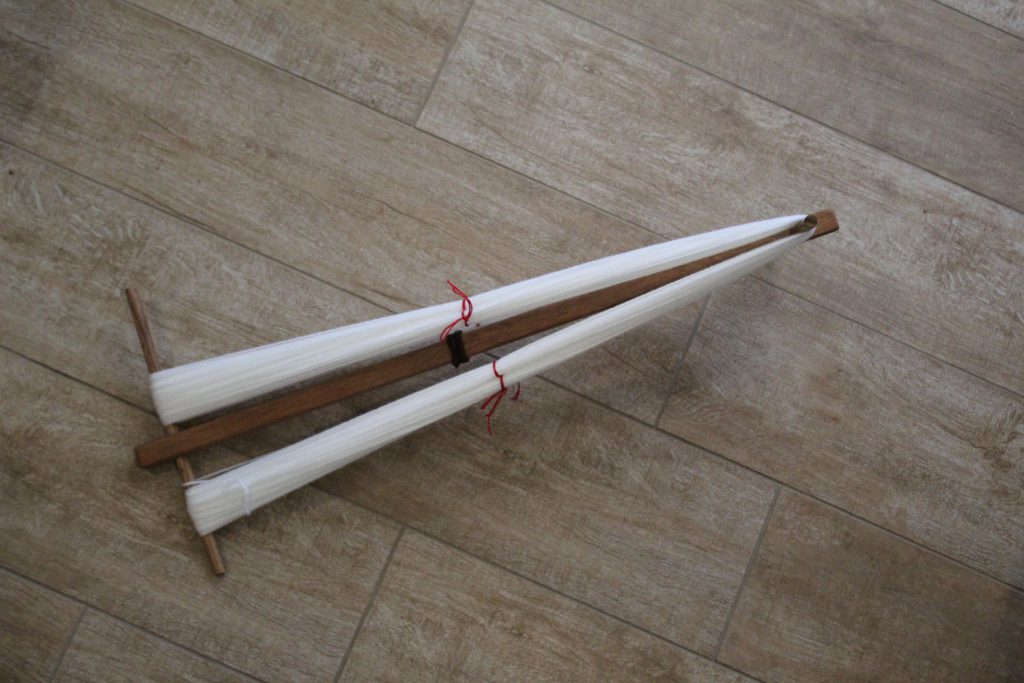
To dye the yarn, I first skein it. I use a niddy noddy to wrap the yarn around, then some cotton string to tie it together in (at least) four places.
After that I soak it in a vinegar/water solution for half an hour, then gently squeeze out excess fluid, but leaving it fairly wet.

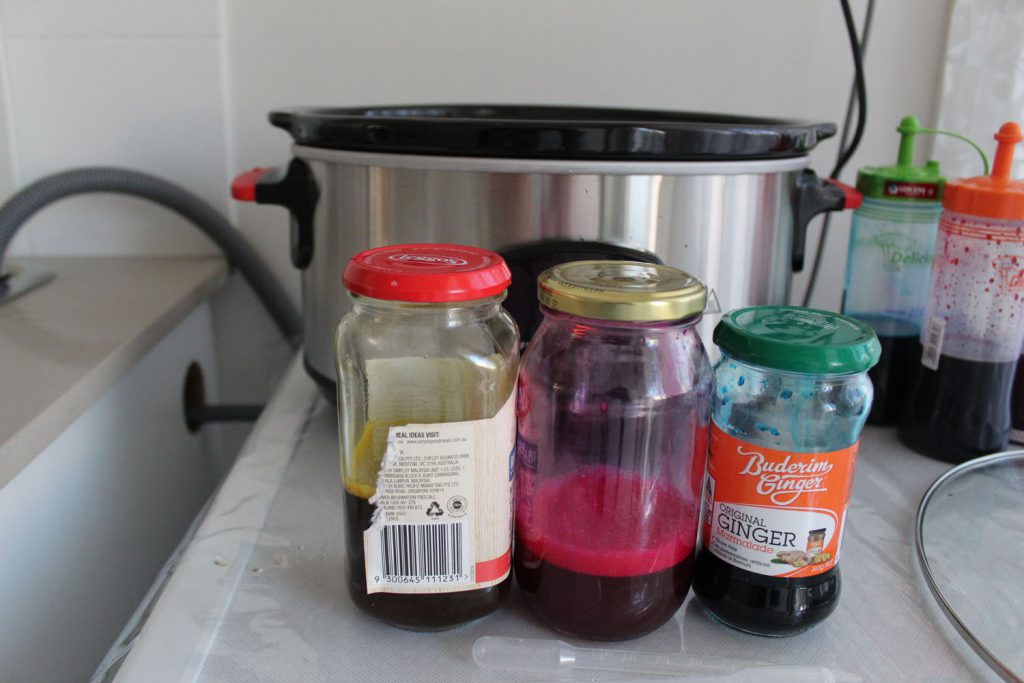
Whilst it is soaking I mixed the dyes. I have “Landscape Dyes” suitable for dyeing wool, silk and nylon.
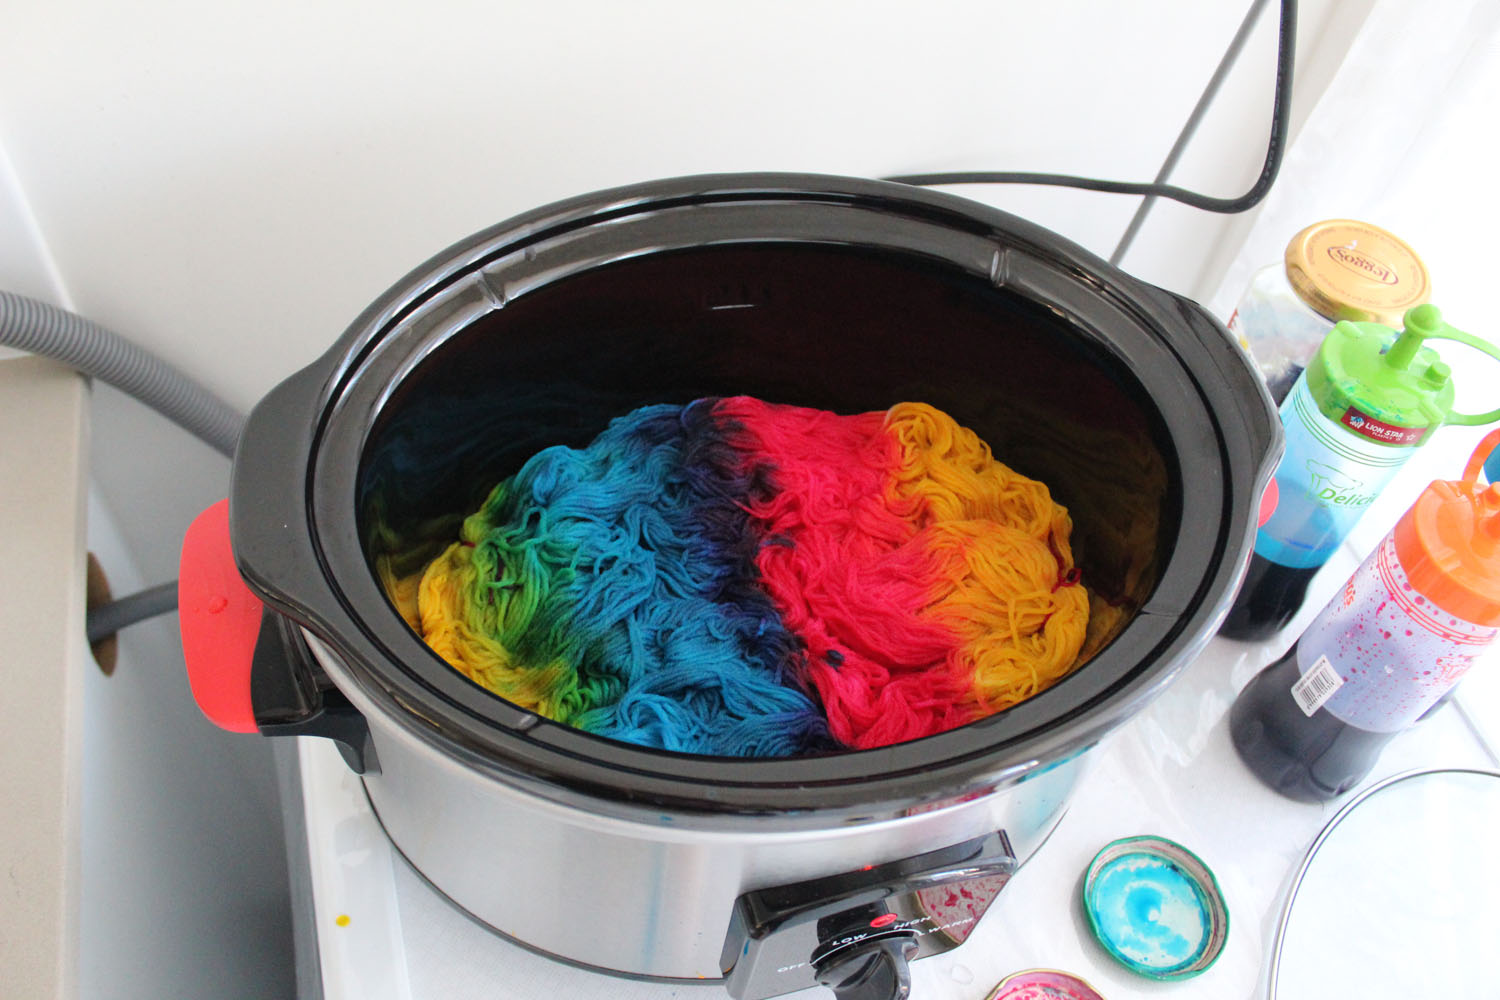
Lay it in the slow cooker. I manage to get two skeins in at once.
Now apply dye as you wish. I’ve tried laying it on in stripes so far, but its open to a whole world of exploring!
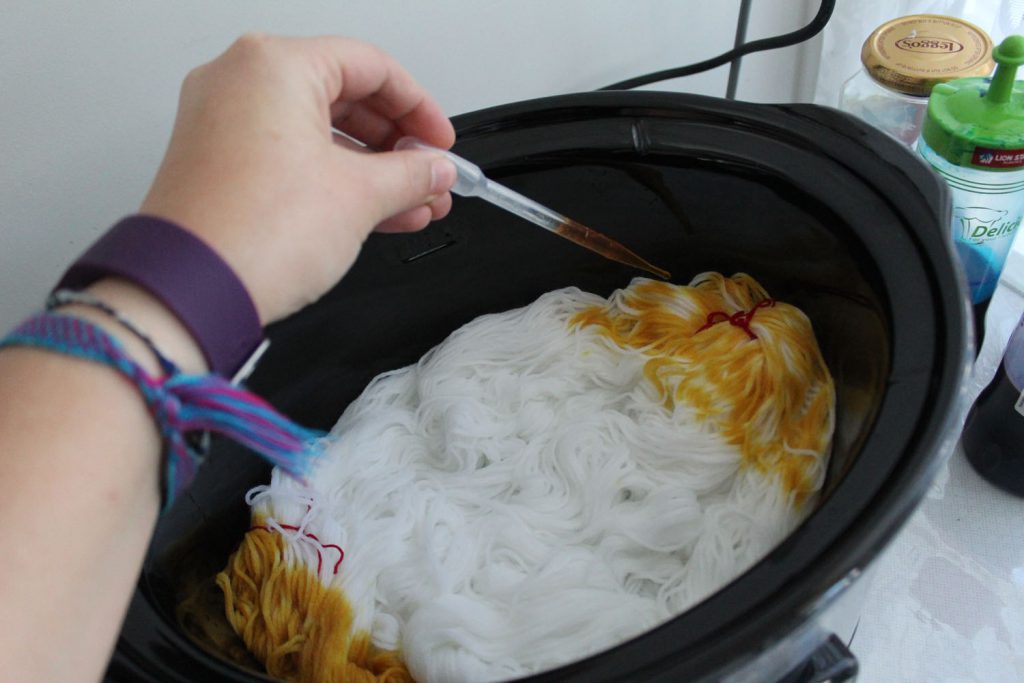
Make sure you get dye right through the layers, as you might end up with patches that don’t come into contact with the dye and get patchy bits. This could be fun to experiment with too though! A gentle squeeze will also help get the dye through the layers, but be careful as this could result in colour mixing (something else to explore!)

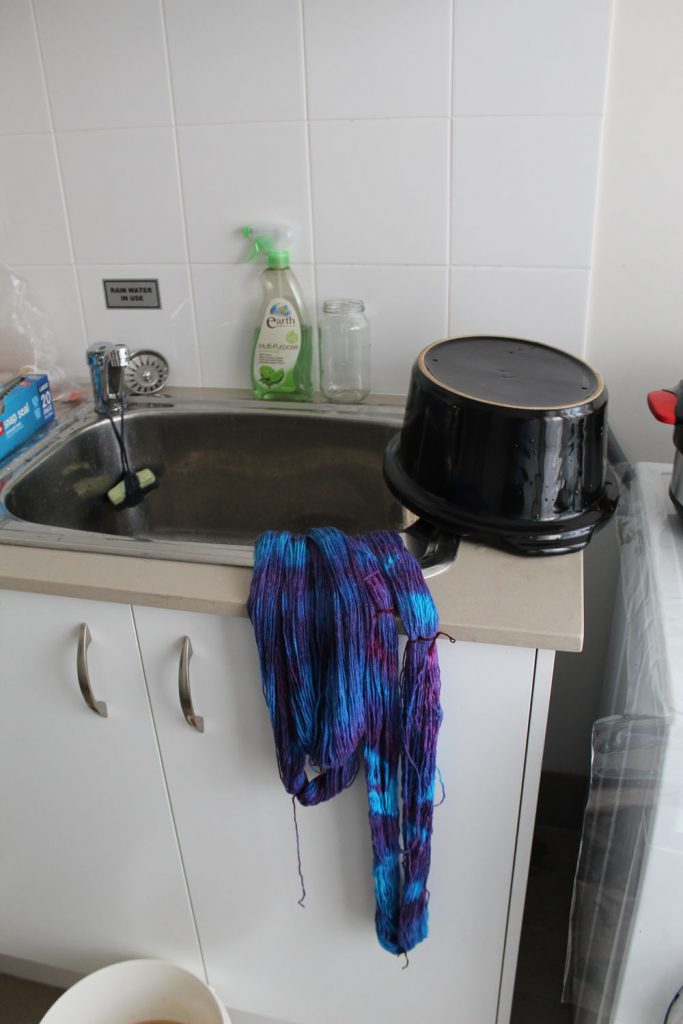
Turn the slow cooker on high, place the lid on and let it do its thing. I have left it in for 3 hours whilst I do other stuff. The water should be fairly clear. Then I turn it off, Take the lid off and let it cool. Then rinse out until the water runs clear. If your dyeing wool you’ll need to be extra careful to keep everything a similar temperature to avoid felting, but I didn’t need to worry about that with this yarn! Once rinsed, its time to let the yarn dry. Squeeze it between a towel to get excess water off, then hang on a coat hanger to dry. I tend to hang a coat hanger with a towel on it to catch any drips. This is a habit I picked up from washing handspun, as it helps set the twist, but it works to keep things clean too.
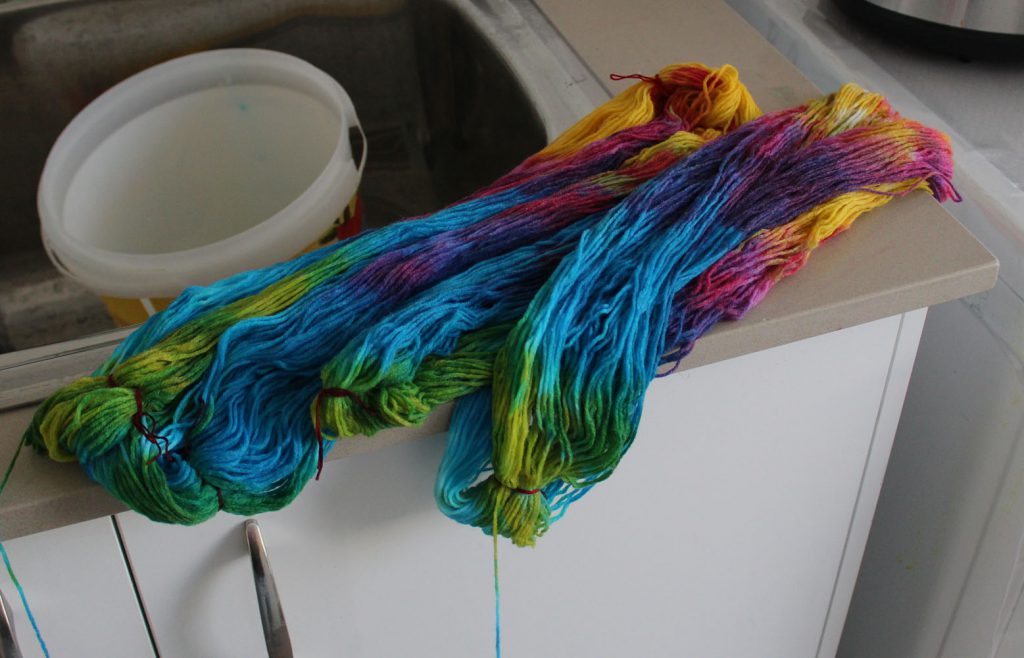
Once dry, you can ball it up on a ball winder, ready to use! And its happy creating time!
And whilst I was doing all that, I was also dyeing up a storm using Drimarene K dyes on canvas shoes and the cotton yarn! Stay tuned to see how they came out!


Comments